Figure templates development
Figure templates allow you to detect a figure in a user photo and manipulate it separately from the rest of the photo, or together with it. You can replace the background in a figure template, use masks, blending modes, distort a user photo region, use filters and neural filters. You can also combine figure templates with other template types.


You can see examples of figure templates in the Photo Lab app in the Art Backgrounds, Smart Filters sections and others.
In order for a template to be properly processed by the Template Creator, it needs to have a certain structure in Photoshop. Read this page for rules and special aspects regarding layers arrangement in a PSD document.
Creating a project in the Template Creator
To work with the Template Creator, you should associate your PSD file containing layers with a *.pttp2 format project file.
Use the Template Creator to generate template drafts easily. The Template Creator generates a set of groups and subgroups with valid names, minimizing the error probability while creating the template structure.
How to start: a step-by-step guide
Open the Template Creator when Photoshop is already launched (if Photoshop is not running, it will start automatically when you open the Creator). Go to the File menu, and select Create Project:
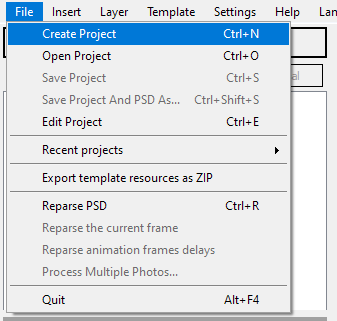
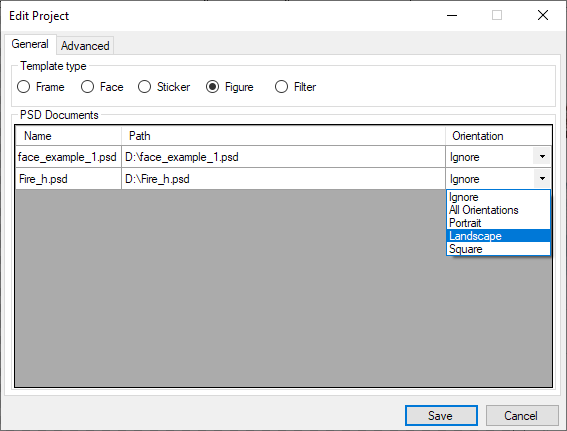
A dialog will open, where you need to fill in the parameters of your template and save it in a selected directory.
This dialog allows you to create several types of PSD documents:
- Universal orientation.
- Several orientations in a single PSD document (learn more here).
- Several orientations, with each of them stored in a separate PSD document (learn more here).
When you are done with the dialog, The Template Creator will generate a new PSD file in Photoshop. This file is associated with a new project and has the necessary structure of groups and subgroups:

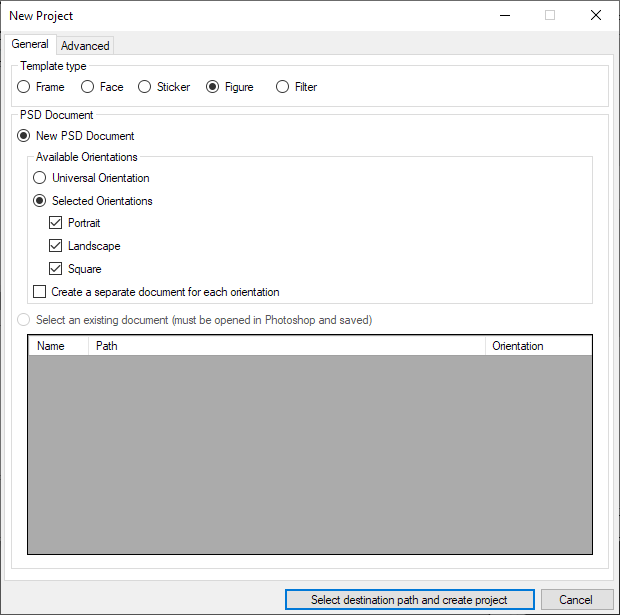
If there are open documents in Photoshop, the project creation dialog will allow you to make a project based on existing documents:
Select one or several PSD documents to include into the project, depending on your template type. To select a PSD document, specify its orientation. As a reminder: you can use several PSD documents for one template. To do so, specify an orientation for each PSD document (learn more).
You can change the binding of a PSD document to the project at any time by clicking "File → Edit Project" (CTRL + E).
More information about the Template Creator and how to test ready templates can be found in this section.
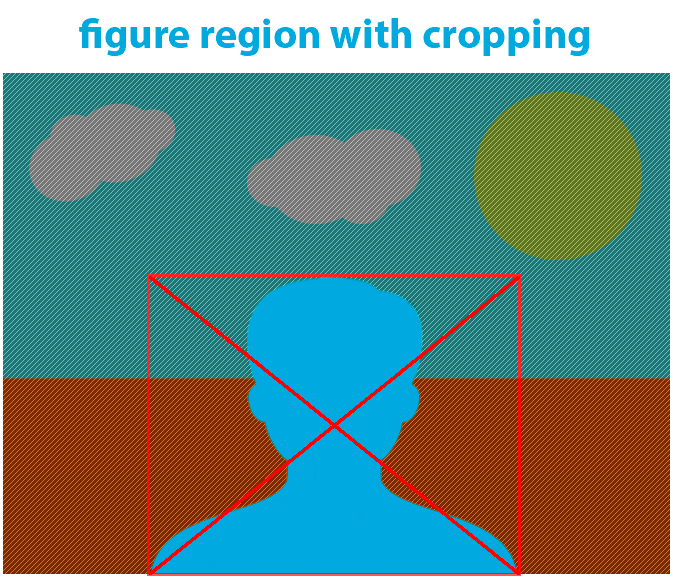
User photo region
A figure user photo region allows to detect a figure in a user photo and make the background around it transparent.
Types of user photo regions:
There are two types of figure regions:
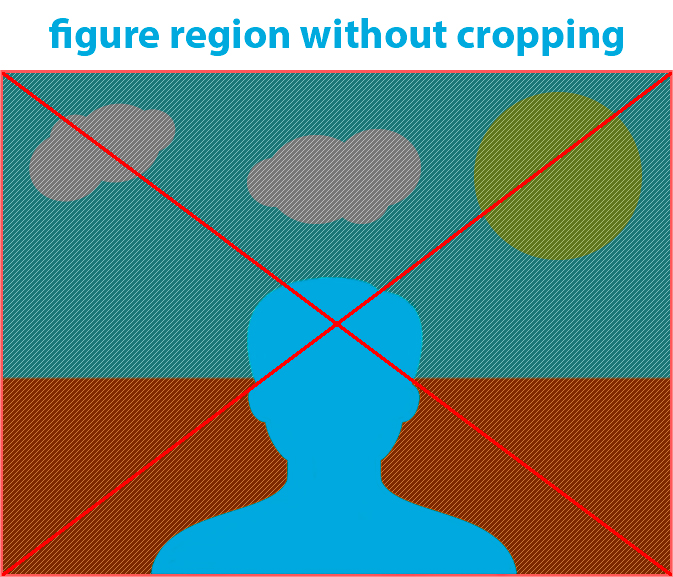
- a figure region without cropping the original user photo (its name starts with the FSQ prefix).
- a figure region that supposes that a user photo is cropped to the rectangle that fits the figure bounds (its name starts with the FSQR prefix).
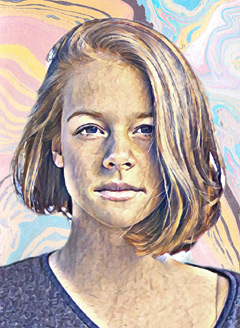
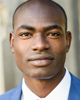
Below you can see results of processing the same photo in case different types of figure regions are used.
The original user photo is not cropped:
| source photo | result of detection |
|---|---|
 |
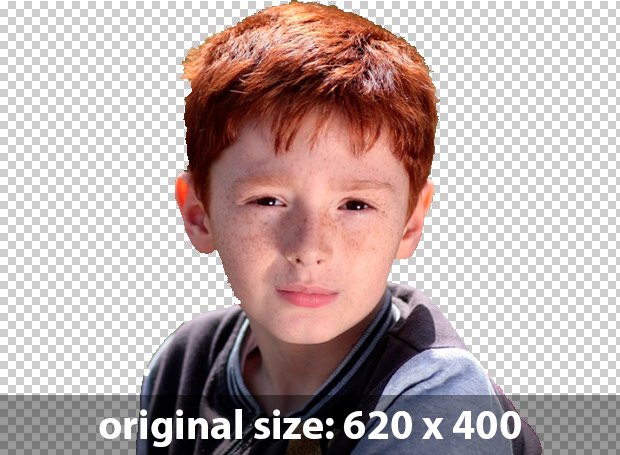 |
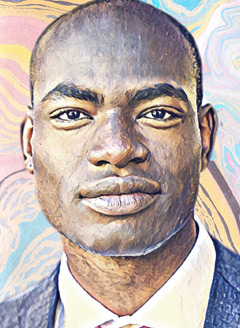
The user photo is cropped to the rectangle that fits the figure bounds:
| source photo | result of detection |
|---|---|
|
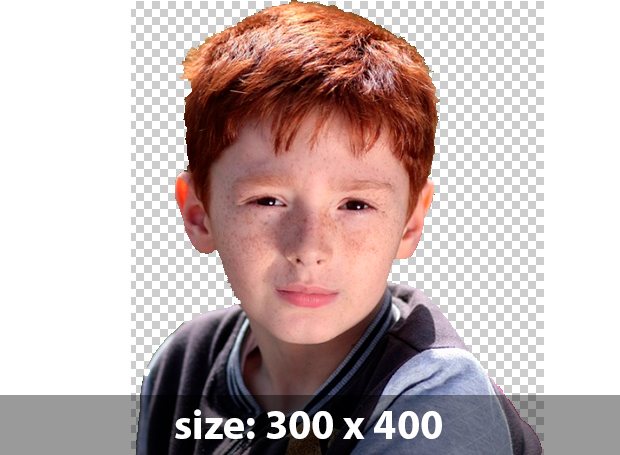 |
Different types of figure regions let you implement different creative ideas:
- It is best to use figure regions without user photo cropping (see example above) to create background replacement templates, as well as templates where the user photo region is shifted with regard to the canvas / its position in a source photo, etc.
- Figure regions with cropping can be used to create templates with all kinds of compositions of the figure and the background, no matter where the figure is originally positioned in a user photo (see example above).
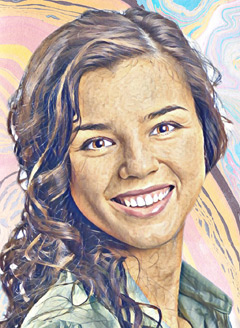
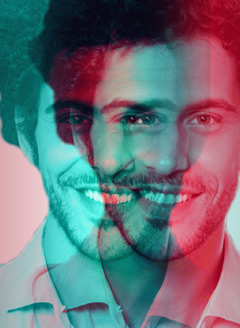
Below are illustrations showing the difference between figure regions without cropping the original photo (FSQ) and with cropping (FSQR):
| FSQ | FSQR |
|---|---|
 |
 |
In case you use a figure region without user photo cropping, you cannot specify the exact size and position of a figure in a template canvas, as figures are positioned randomly in user photos.
On the contrary, figure regions with original photo cropping make it possible to control the figure size and position, because an FSQR region first crops a user photo to fit the figure size, and only then it inserts the cropped image area into the specified position in a template canvas. In this way, a figure will occupy the most part of a FSQR user photo region.
The ‘Insertion mode’ parameter lets you specify how a user photo will be inserted into a figure region. The following values are allowable:
- Crop.
- Fit.
- Stretch.
A figure user photo region can be distorted. To do so, enable Distortion Mode for a particular user photo region in the Template Creator.
There are different approaches to distorting a figure region, depending on what particular type of region (see comparative illustrations above) you want to distort.
With an FSQ user photo region (without cropping a user photo), you cannot control where exactly a user figure will be positioned. Since a user photo region is distorted as a whole, results will be different depending on the figure position in a particular user photo. In some cases a figure will be distorted, while in other cases you will get a distorted transparent background around a figure.
With an FSQR user photo region (cropped to fit the figure bounds) distortion is applied to the figure itself. It is important to keep this difference in mind when applying distortion effects to figure regions.
When applying masks to FSQ and FSQR user photo regions, follow the same considerations as for distortion effects (see above).
You can also use filters and neural filters, as well as simple masks, with figure user photo regions.
Figure templates can be combined with other types of templates, for example, with frame templates. Besides, several copies of one figure can be used in one template.
There are several restrictions that you should be aware of when creating figure templates:
- Only one figure can be extracted from a user photo, no matter how many figures there are in a photo.
- While working with FSQ figure regions (without cropping a user photo), please keep in mind that a user photo will not be cropped to fit the figure size in templates containing a figure region without cropping a user photo the canvas is not cropped to fit the figure size. This means that a user figure can be positioned in any random place of the canvas, and you cannot determine its position and size. If you shift a user photo region to one side or the other, a user figure can be moved beyond the borders of the template canvas. It is also important to remember about special aspects of applying distortion effects to figure regions of this kind (see above).
- It is also worth keeping in mind that user photos can contain human figures without a head, or figures / heads positioned otherwise than vertically.
The Template Creator lets you flip smart objects of the user photo region horizontally or vertically.
To flip a smart object of the user photo region, use standard Photoshop tools. For example, go to Edit menu → Transform → Flip Horizontal / Vertical.
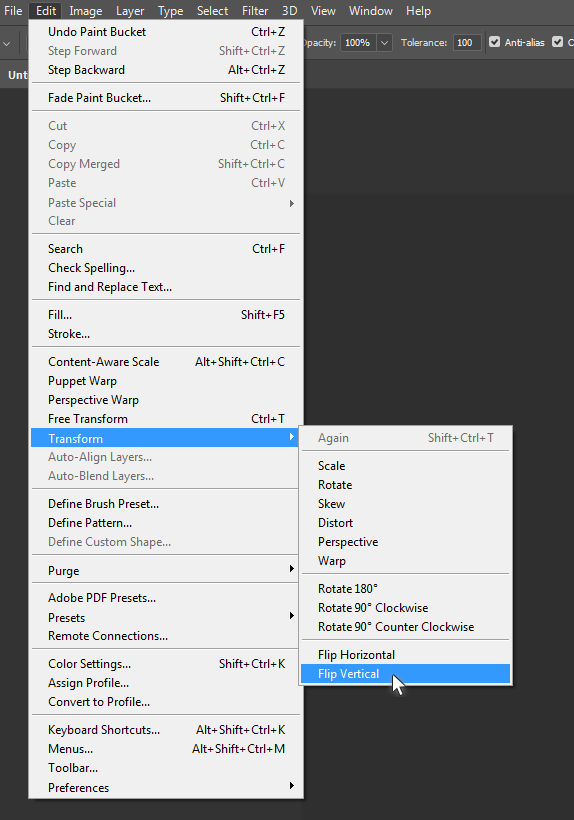
When you reparse your PSD document, you tell the Template Creator that one or several user photo regions have been flipped. Later, when you process test photos, make notice that images placed into a specified user photo region are flipped horizontally or vertically.
Flipping works in the same way for all user photo regions regardless of the template type.
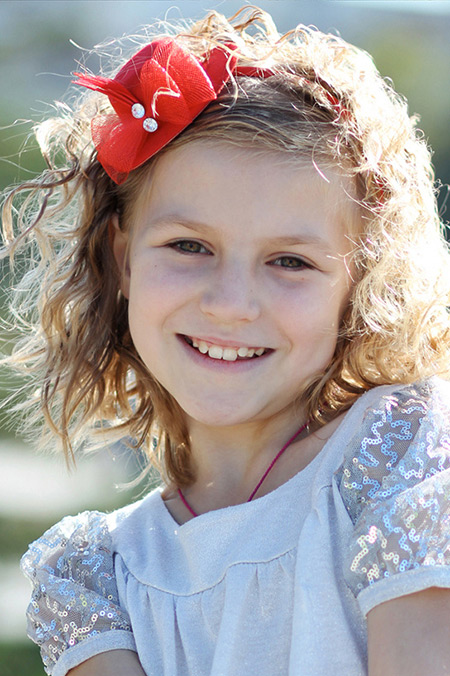
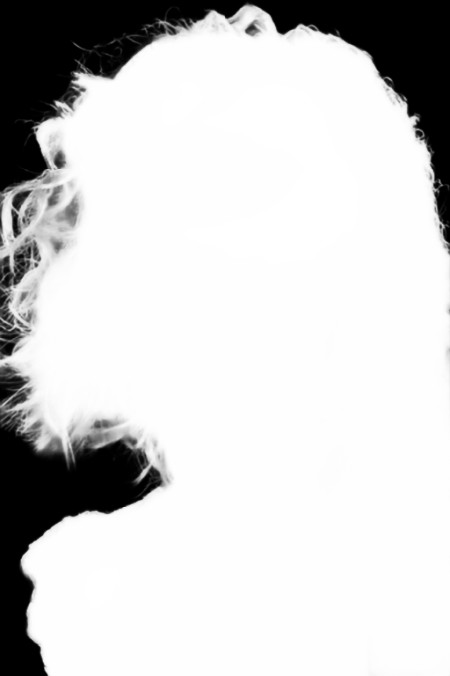
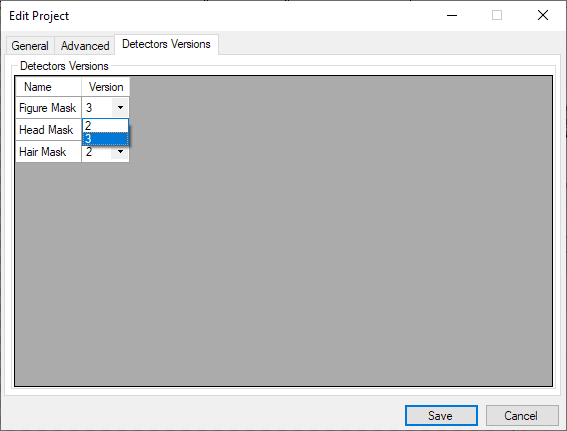
Detector Versions
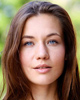
The template creator supports the 3rd version of Figure Detector which has more precise hair detection. The main feature of the new version us that it returns a mask with semitones (not binary, like the previous versions). It means that using a nonzero value of eroding and smooth radius will destroy semitones and detalization.
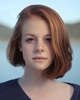
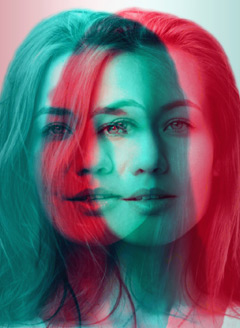
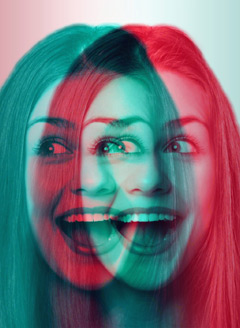
| Source Photo | Figure Detector v2 | Figure Detector v3 |
|---|---|---|
 |
 |
 |
You can choose between different detector versions. To do this, open the tab Detector Versions in the menu File - Edit Project.
Additional information
Automatic resizing of templates
If a user photo is smaller than the template, the photo will be upscaled to match the template size. If the difference in their sizes is quite noticeable, the user photo will look blurred and low quality in the template.
To avoid problems related to size mismatch, use the automatic resizing option.
Creating templates with several user photos
The Template Creator makes it possible to create projects with several different user photos inside one template. Read more about it here.
Animated templates
This template type can be animated. More information on animated templates development can be found here.
There are some temporary restrictions regarding using animation in templates. Learn more about them here.
Figure templates: examples of development
Step-by-step example of creating a figure template
Using a mask based on a user photo