Requirements to templates and their formatting and composition
General requirements
1. A high level of realism is required when designing photorealistic templates. To achieve this realism, you need to be especially mindful of the following:
- careful and natural-looking collaging of composition elements;
- photorealistic insertion of a user photo;
- the fact that drop shadows direction should relate to the direction of lighting;
- textures combinability;
- accurate perspective distortion, etc.
Below are examples of good and poor realism in templates:
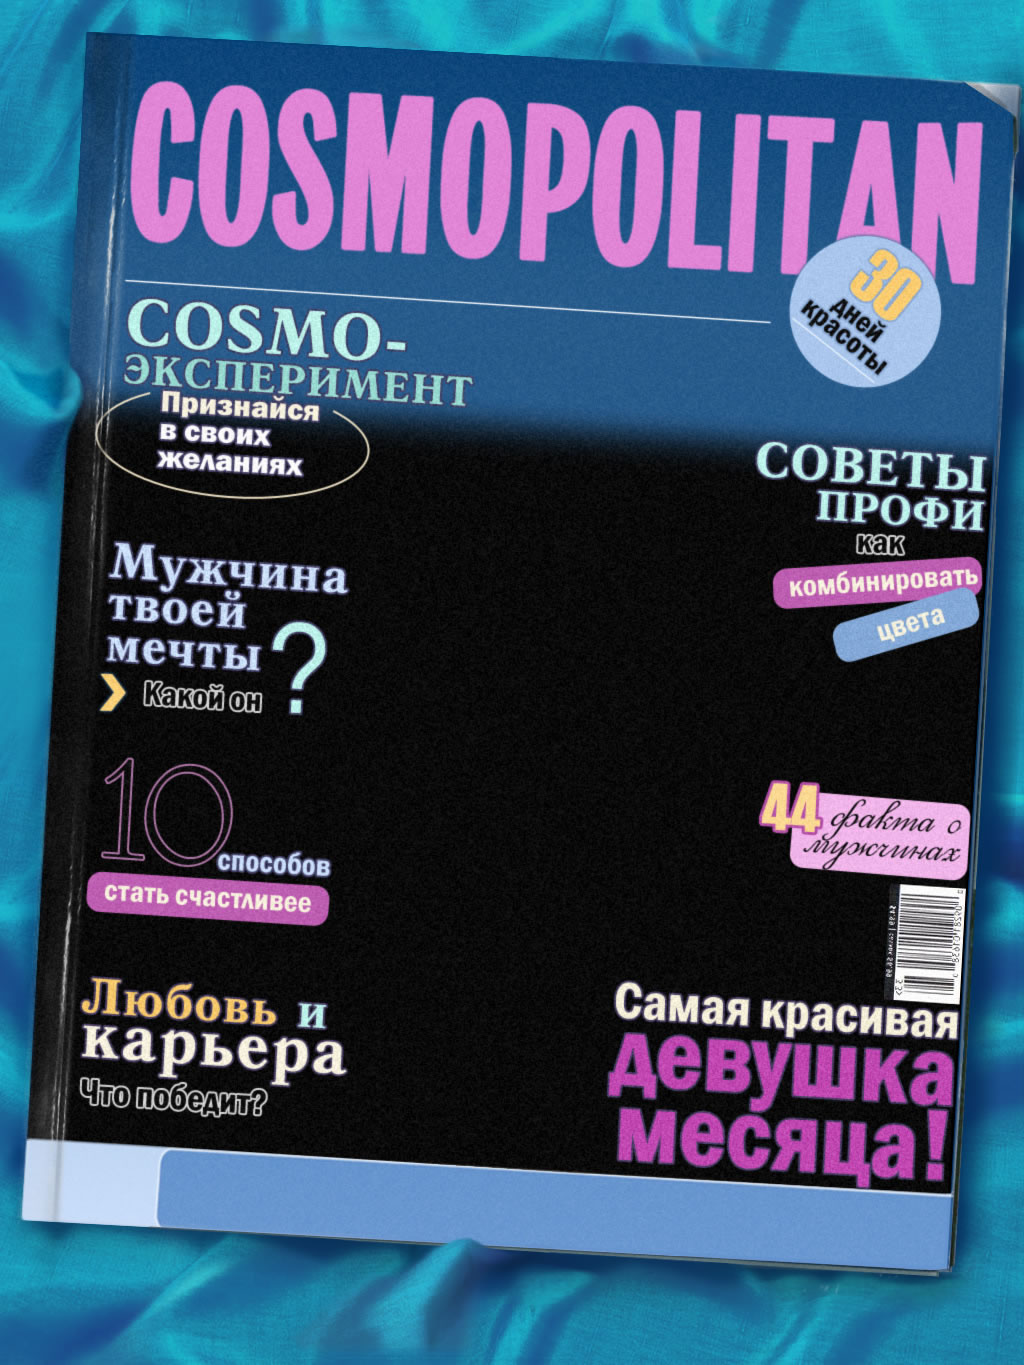
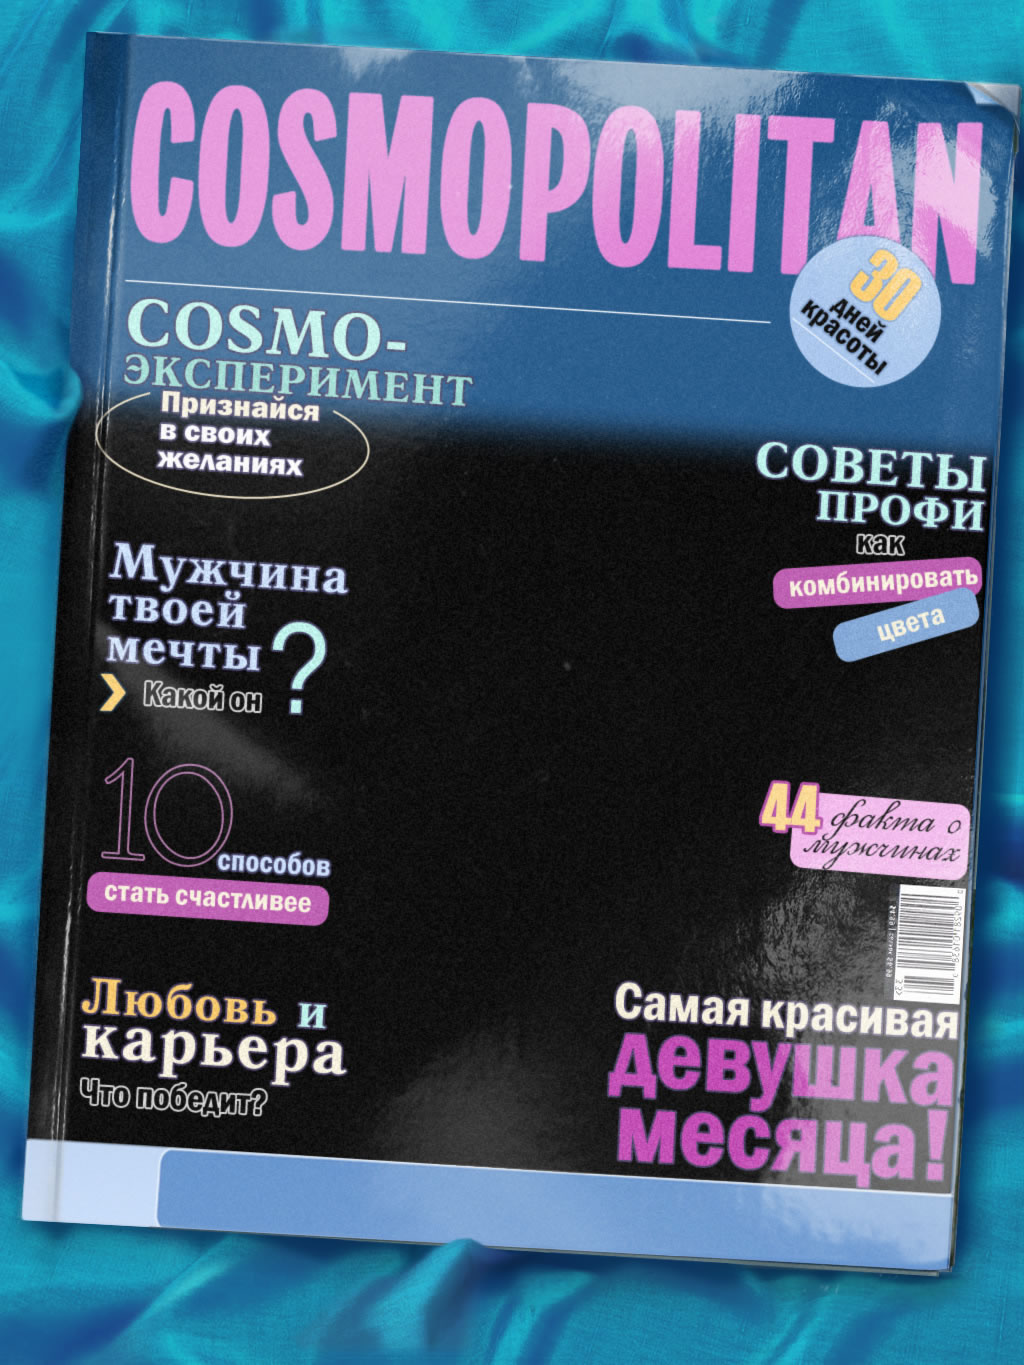
| The magazine cover does not look realistic. | Realistic glare spots are added. |
|---|---|
|
|
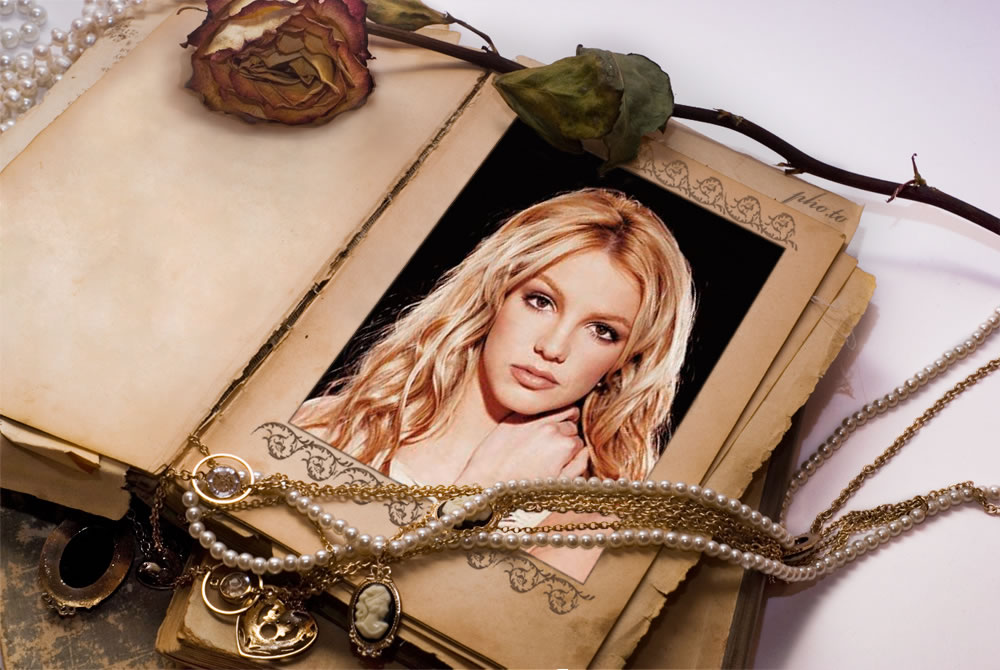
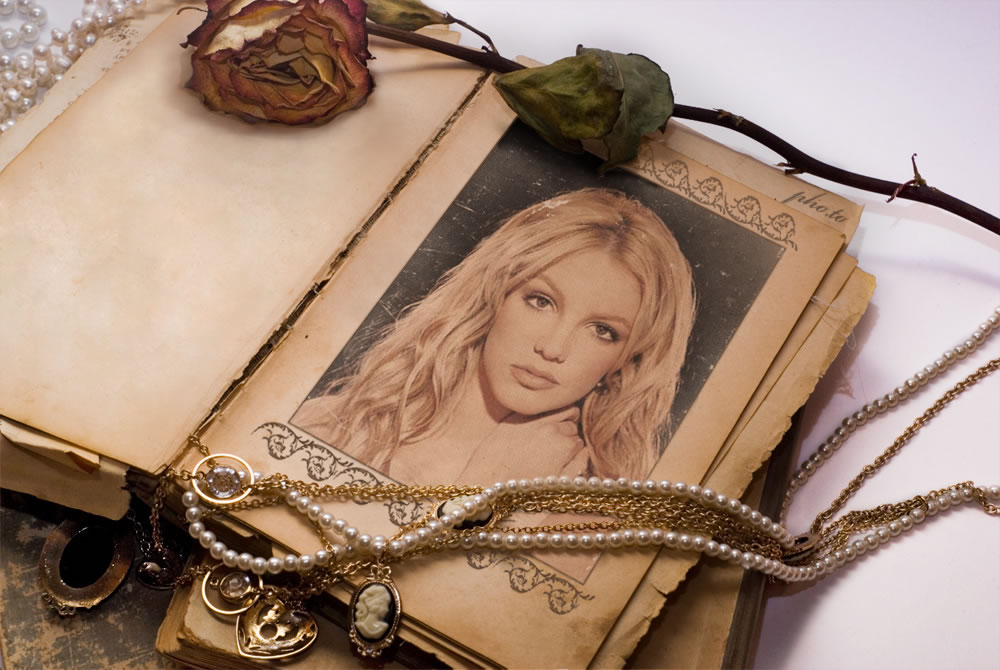
| The photo looks as if it does not belong there. | The photo looks aged thanks to effects and additional layers with blending modes. |
|---|---|
|
|
| The photo looks unnatural and ‘out of place’ in the template. | The photo blends seamlessly into the scene thanks to the frost texture. |
|---|---|
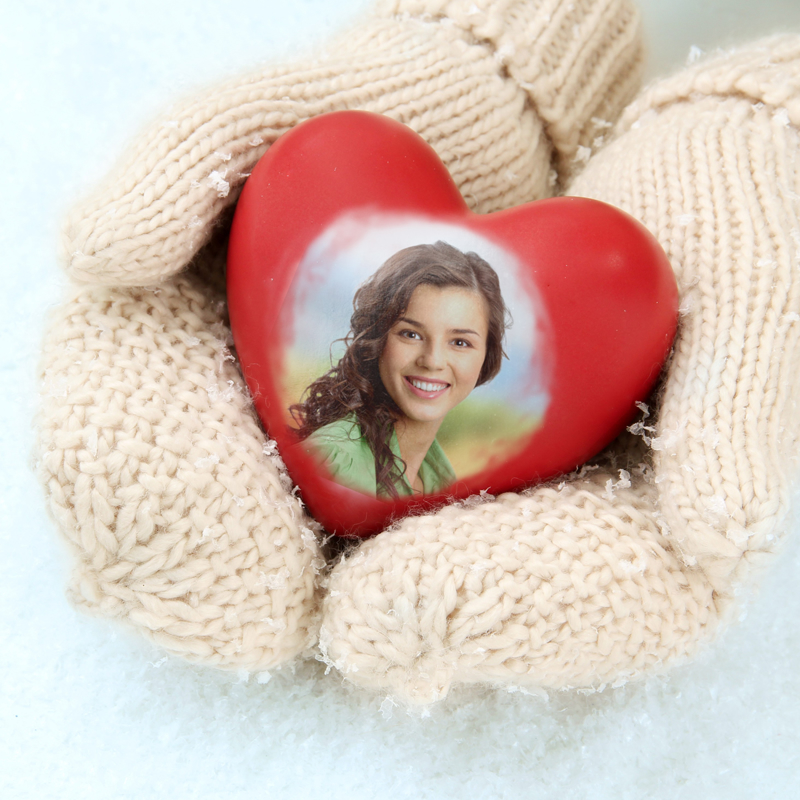
|

|
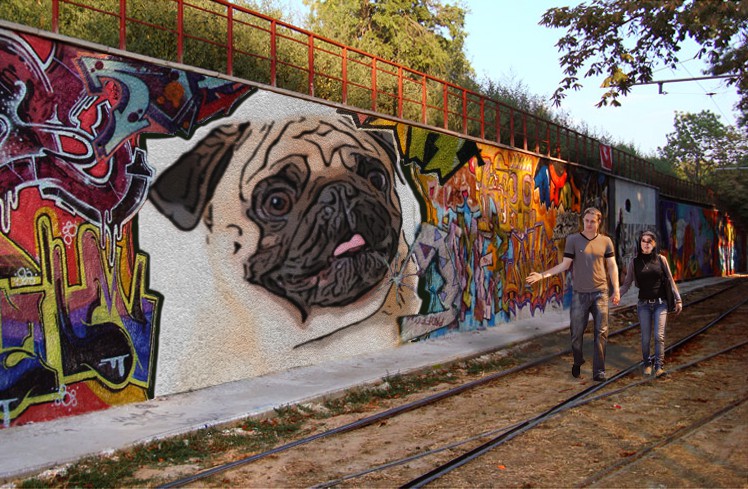
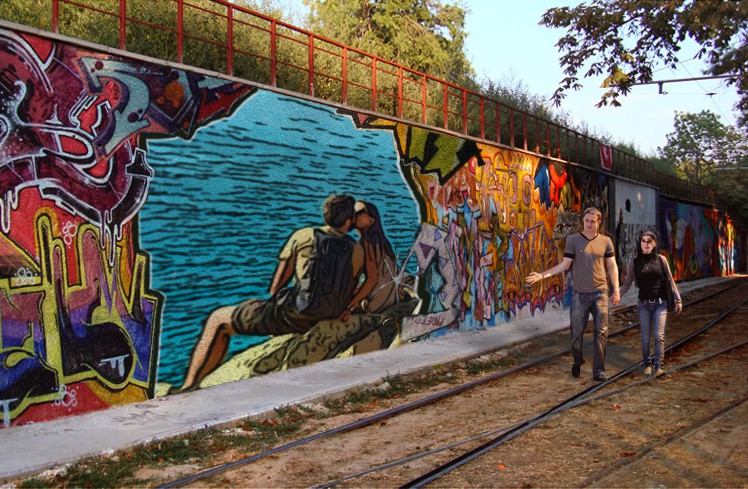
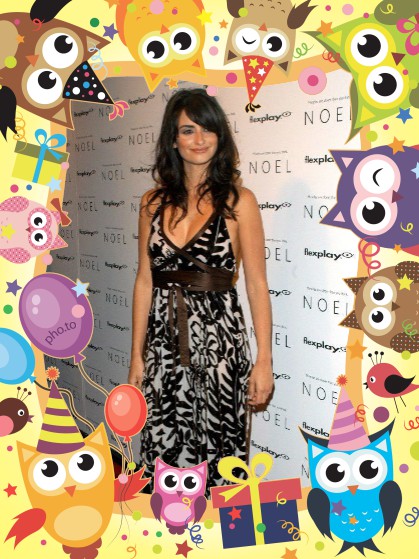
2. A user photo region should be large enough. It is advisable to make it as large as your template design allows.
| Avoid creating scenes with a user photo region that is too small compared to the overall template size. | All other things being equal, compositions with a larger user photo region are preferable. |
|---|---|

|

|
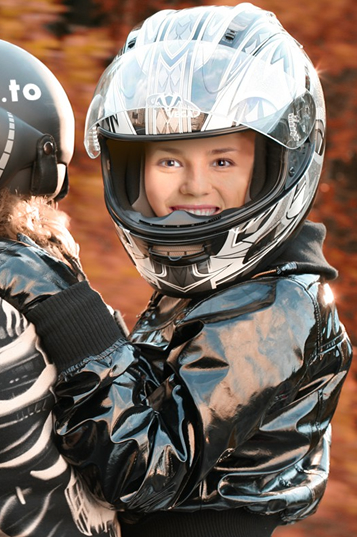
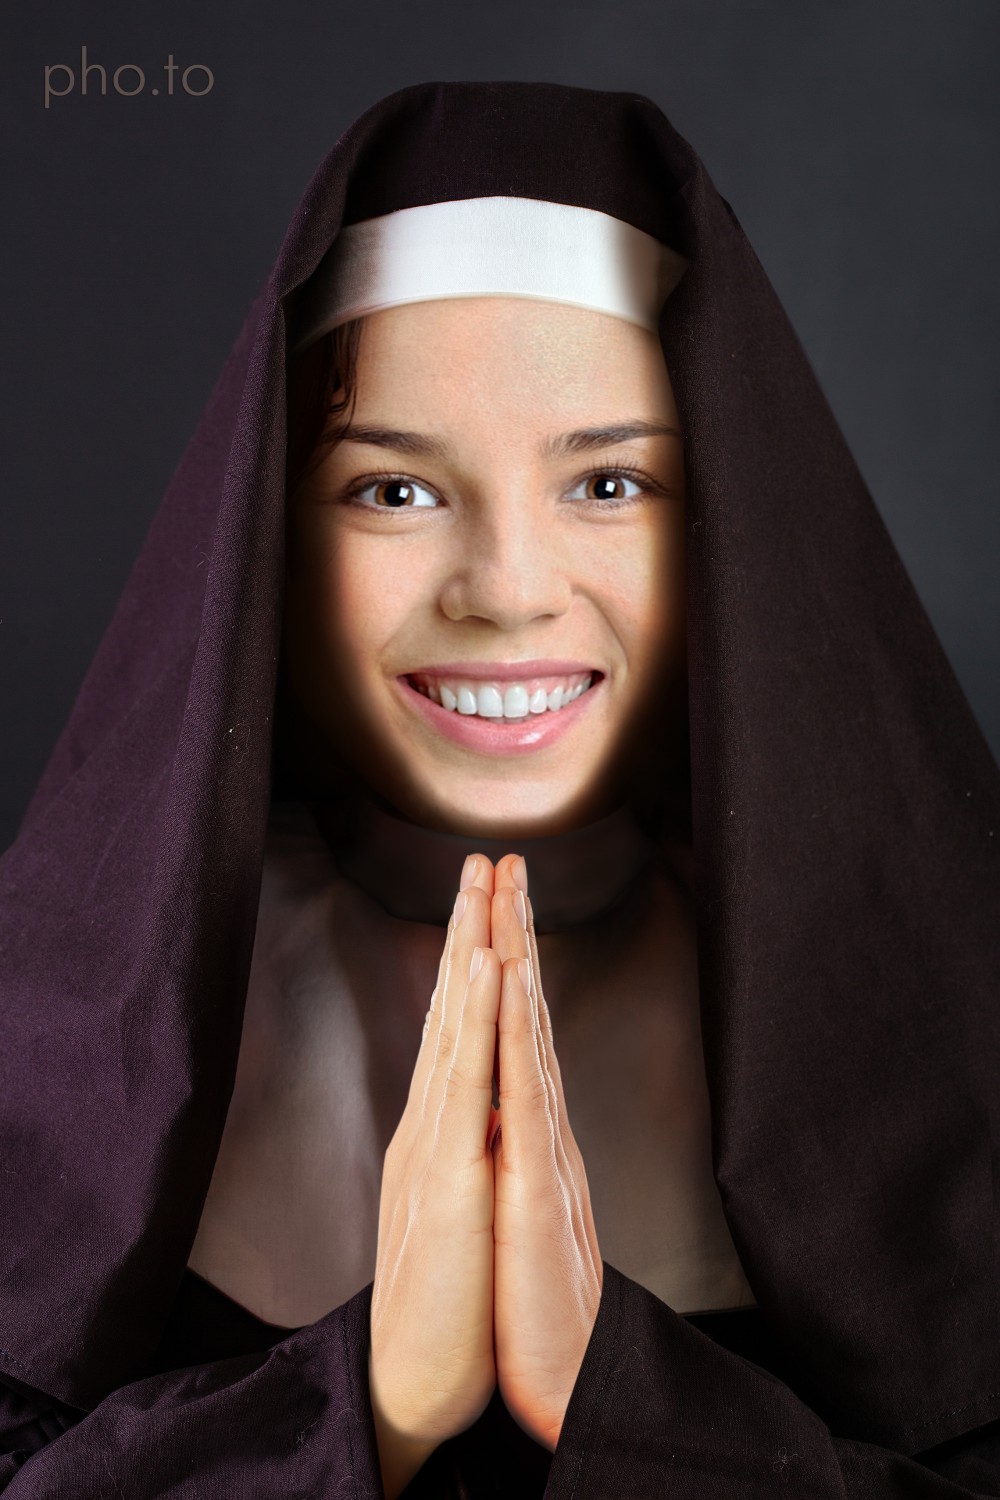
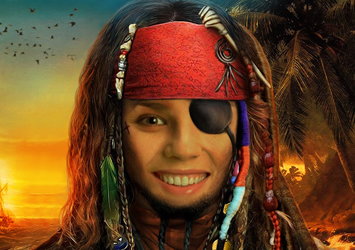
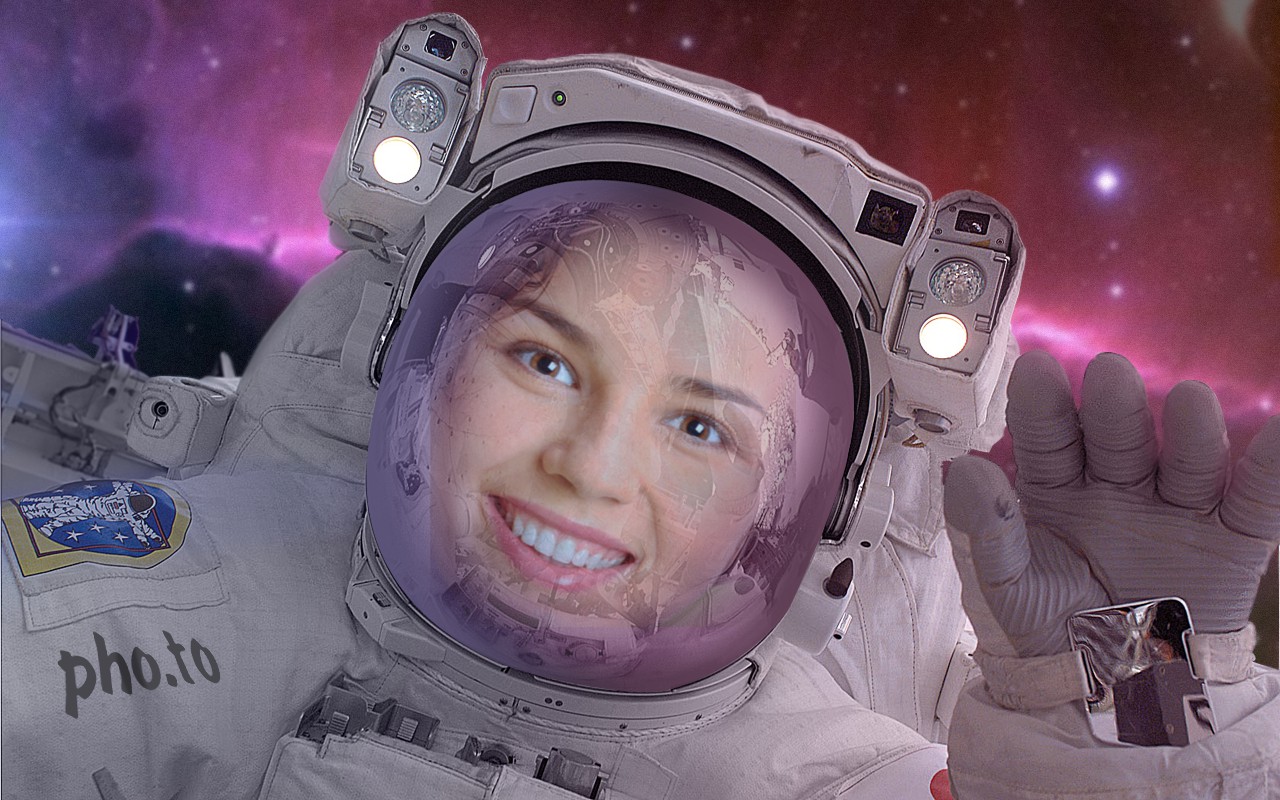
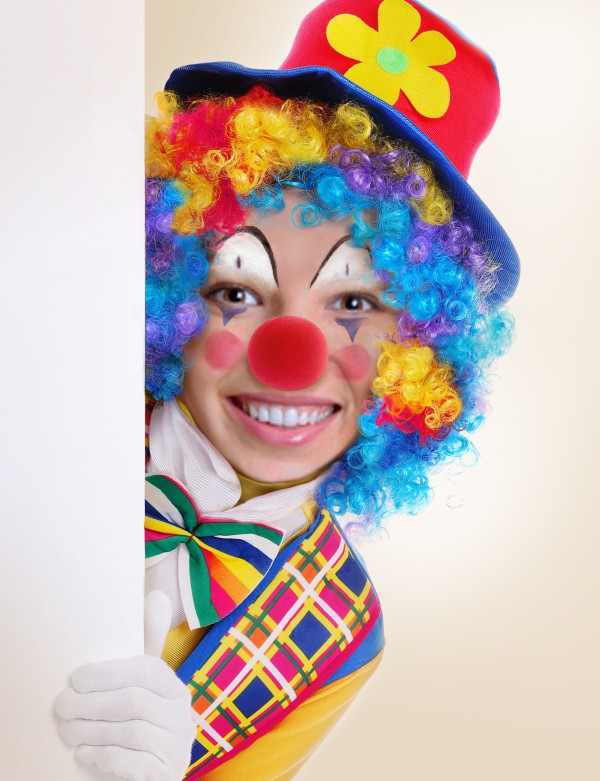
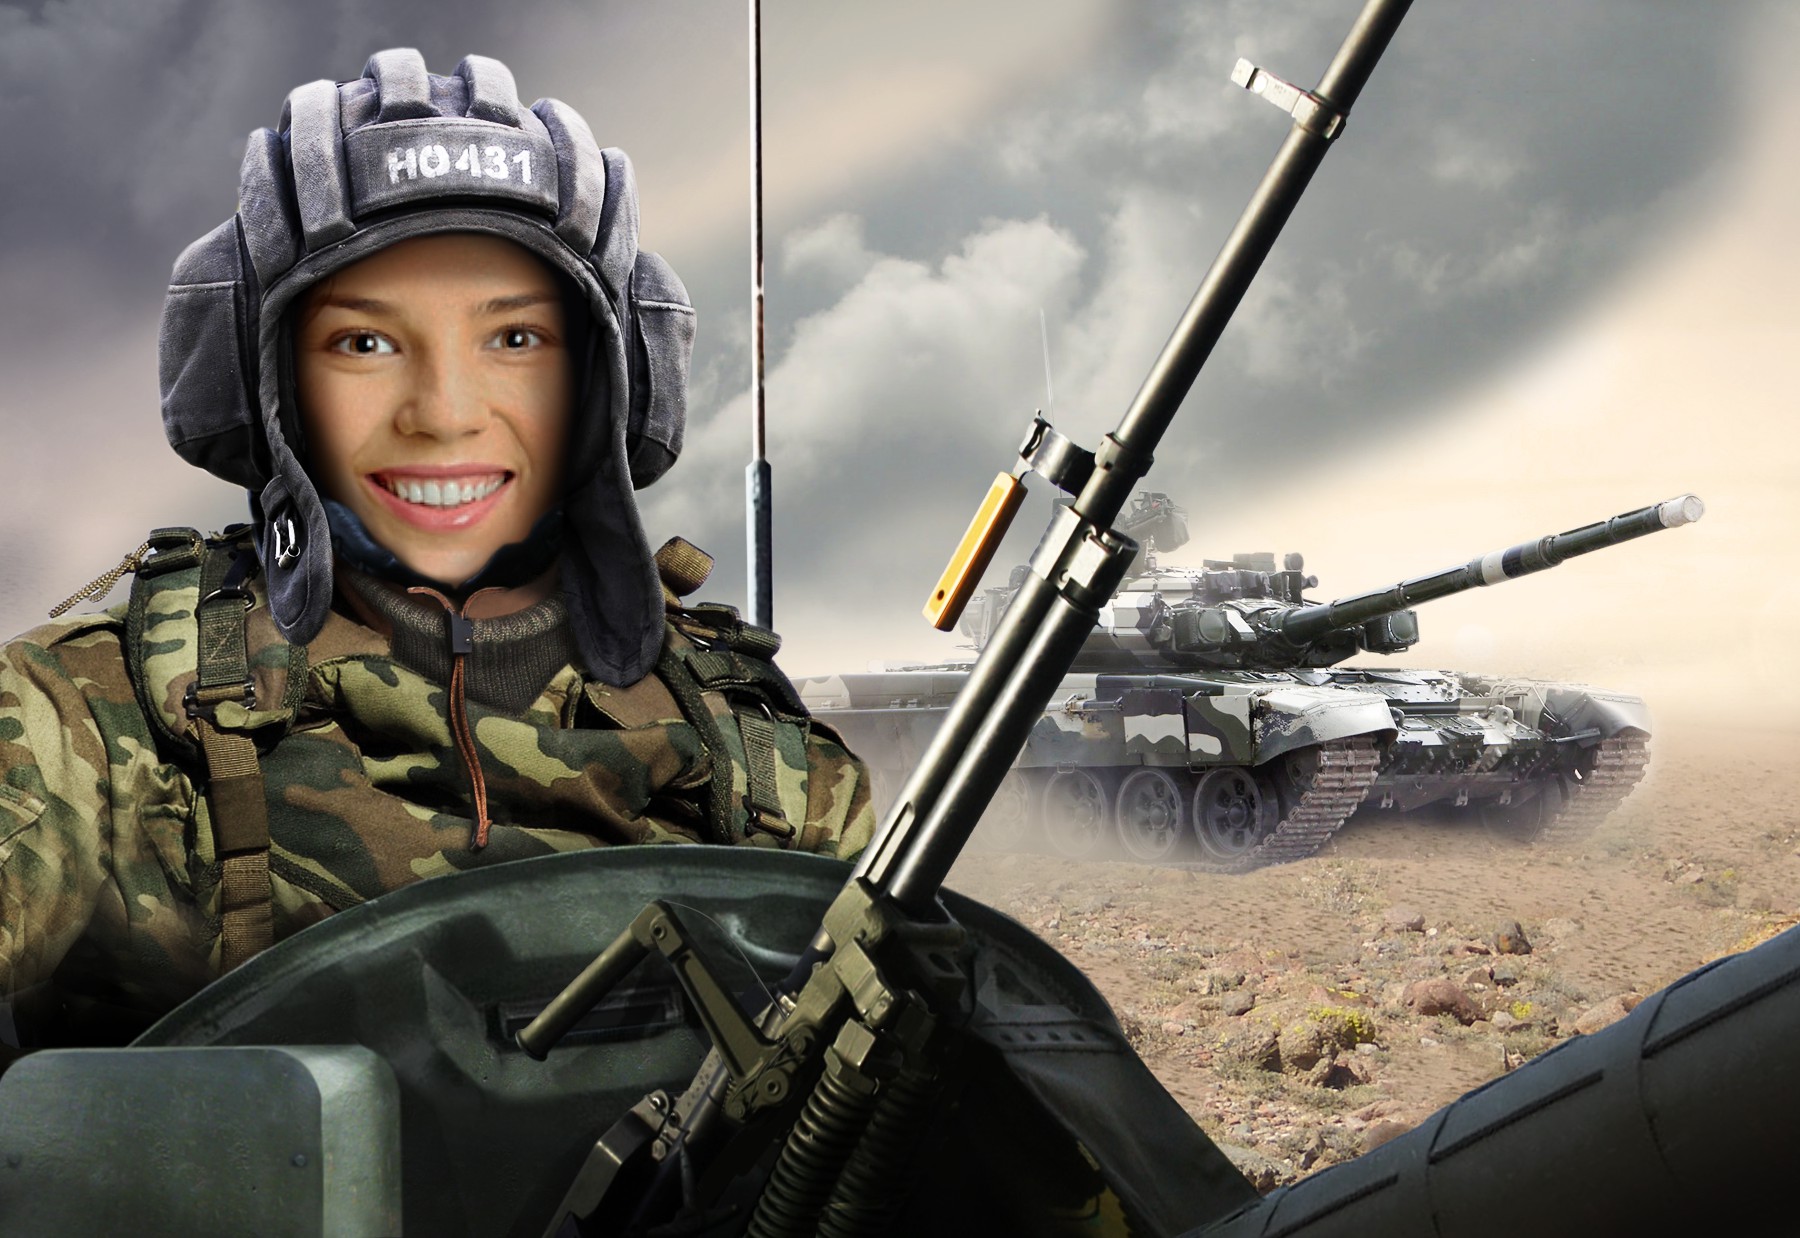
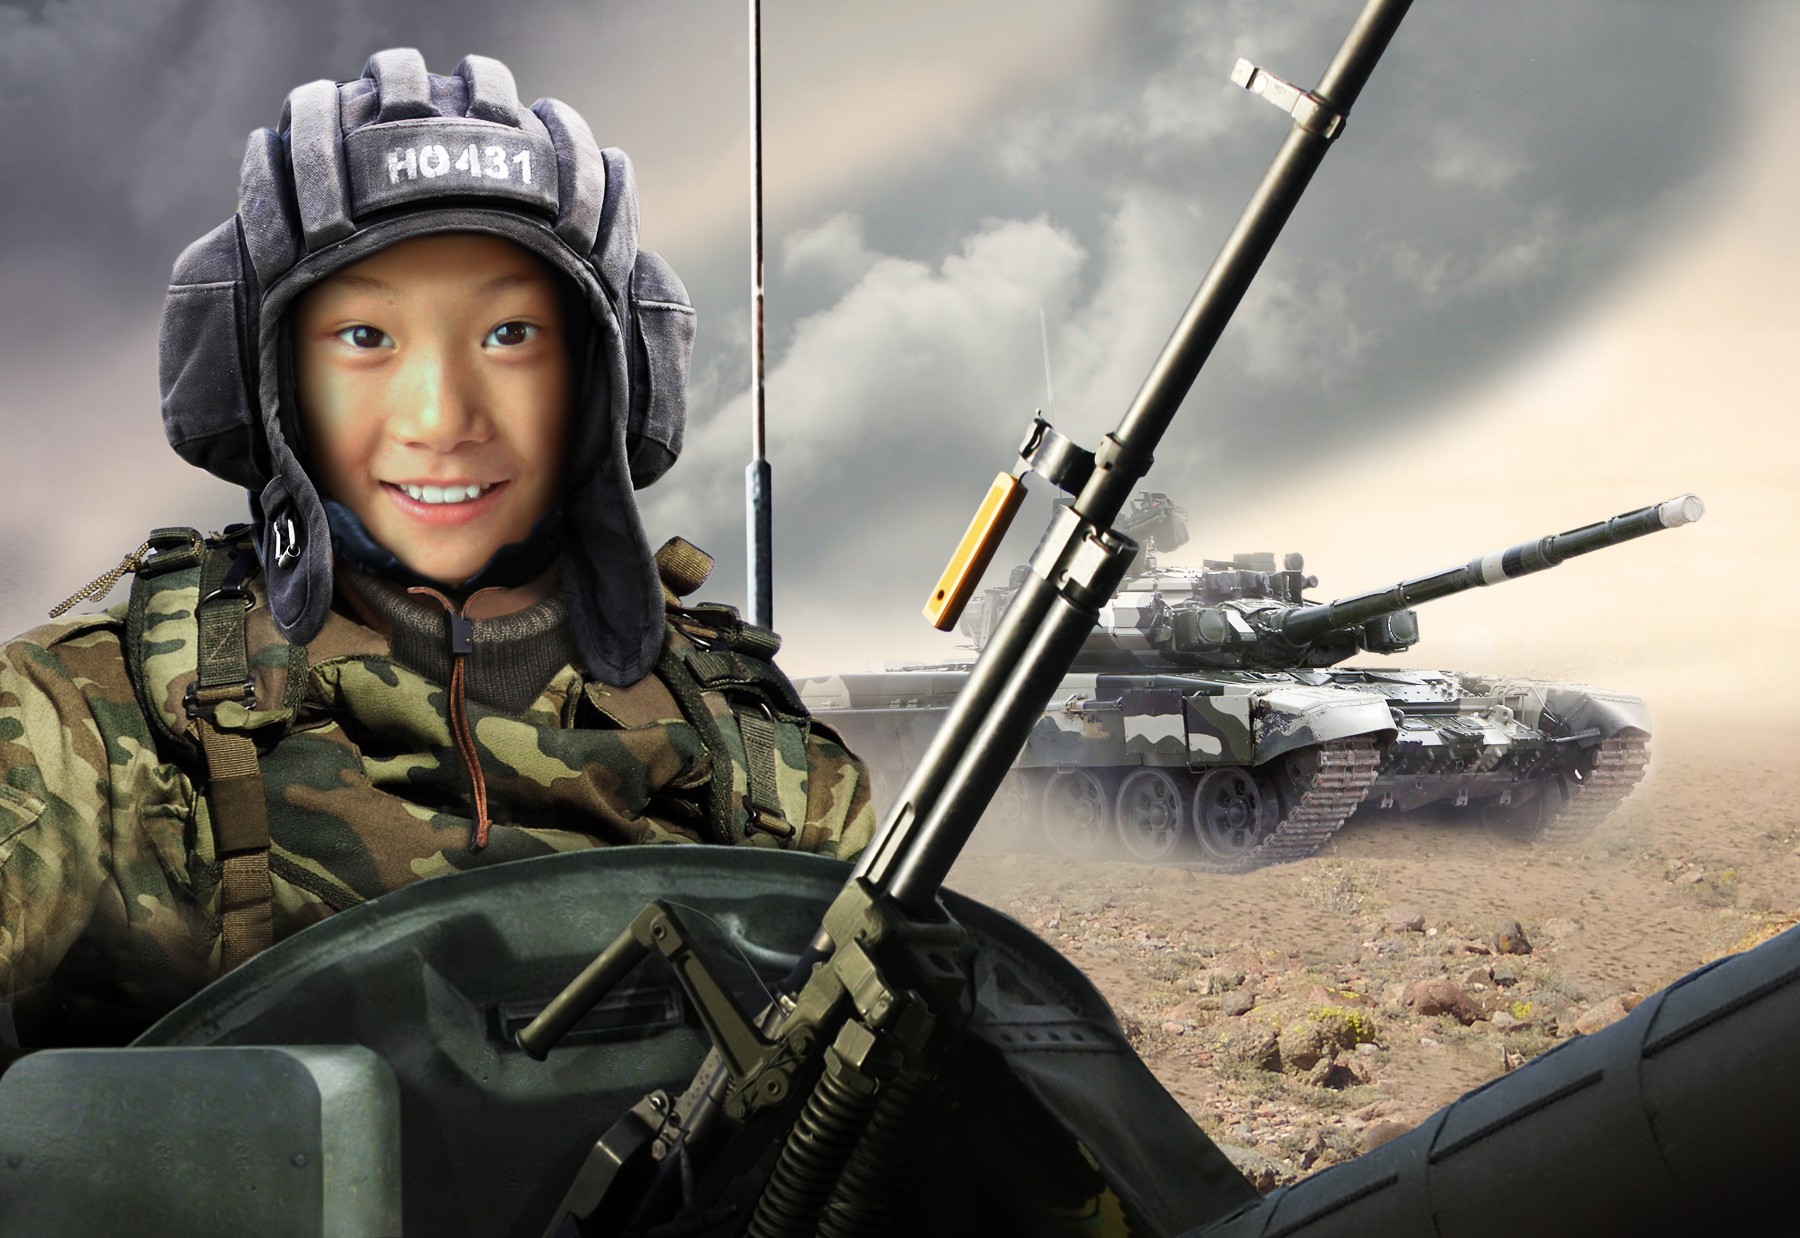
3. In realistic facial templates faces from user photos should blend seamlessly into the template thanks to color correction (where needed) and adding a smooth mask along facial contours. Also, it makes sense to mask facial contours with hair / hood / helmet etc. to hide them. A face region should be as large as your template composition allows.
| The head position of the template character is not in accord with the frontal face position. | The template character faces the camera directly. |
|---|---|
|
|
| If the contours of the face are not hidden, it is difficult to mask them smoothly and adjust the skin tone. Besides, a user’s facial features are inserted into a face with facial contours that may look unusual or unnatural with these facial features. | In the two templates below facial contours are masked with hair, beard, hair band, space helmet. |
|---|---|
|
|
|
| No color adjustment is performed when inserting a face into the template. | Color adjustment is performed when inserting the face. |
|---|---|
|

|
| Avoid creating scenes with a face region that is too small compared to the overall template size. | All other things being equal, compositions with a larger face region are preferable. |
|---|---|
|
|
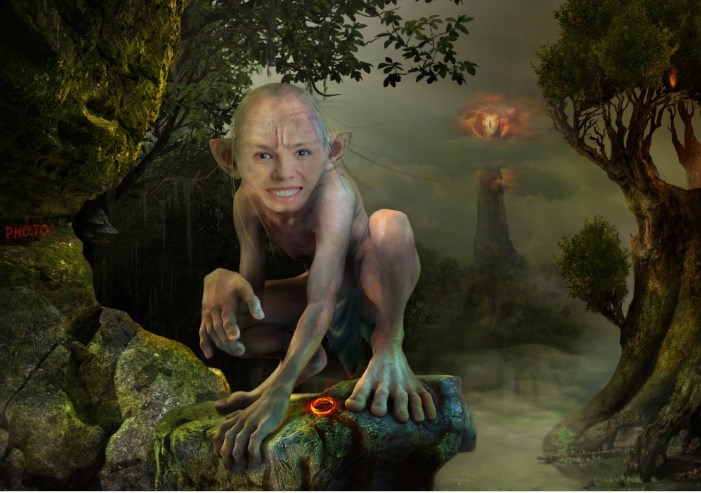
4. It is highly desirable to make a template universally applicable, so that all (or nearly all) kinds of user photos look good in a template. Facial templates should also be adapted to people belonging to different races and, if possible, to people of both sexes and of different ages.
|
|
A facial template below is an example of a universally applicable template. Faces with different skin color, both grown-ups and kids faces, as well as male and female faces blend naturally into the template.
|

|
|
|
5. If a template is supposed to insert user photos with different orientations, it needs to have a portrait, landscape and sometimes square versions (called template orientations). Read more about template orientations below.
Photo insertion modes
User photos and user photo regions inside templates very rarely have the same proportions. Let us look at a template with a rectangular user photo region:

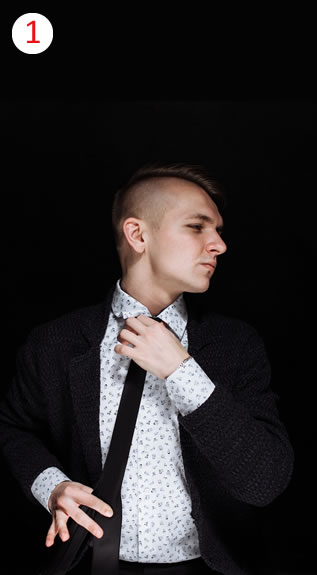
Imagine that you need to insert the following photos into the template:
|
|
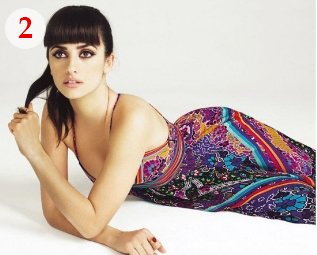
A user photo will be cropped to fit into the user photo region inside the template. So, when a portrait-oriented photo (1) is inserted into the template, its top and bottom will be cropped; when a landscape-oriented photo (2) is inserted, its sides will be cropped:

|

|
The solution to the problem is creating several template versions called template orientations. In most cases, landscape (horizontal) and portrait (vertical) versions are enough. Sometimes, it is better to add a square version as well. Learn more about template orientations here.
Template preview pictures
Preview pictures are a set of thumbnails that represent a template in mobile apps, at funny.pho.to index page, etc. Figuratively speaking, a preview picture is a template ‘face’. A good preview picture is a guarantee that users will get interested in the template and click on it.
A designer needs to create several preview pictures in jpeg format in the following sizes: 500 х 500px, 168 х 168px, 120 х 120px, 84 х 84px.
Requirements to preview pictures:- A preview picture should look appealing and reflect the essence of a template clearly. To make a preview picture easy to understand, it is allowed to insignificantly modify its composition and the arrangement of elements (e.g. enlarge the most relevant elements, remove the elements that are not so important, etc.)
- To create a preview, downsize the template image carefully: the resulting preview picture should not be jagged (aliased) or blurry.
-
If a template inserts several user photos, label them with numbers in a preview:

Below are examples of a well done preview composition, and vice versa:
| If you downsize the template image keeping the proportions of all elements safe, the graphics might be difficult to perceive and understand. | The number of elements (butterflies) is decreased. They are made bigger and arranged differently. |
|---|---|
|
|