Creating a template with a sticker dynamic mask
Let’s take a look at the process of creating a template where a certain user photo is added into the center of a figure found in the first user photo, with a gradient transition from one to the other.
All graphics that you’ll need to create this template can be downloaded here. resulting template is available at this link.
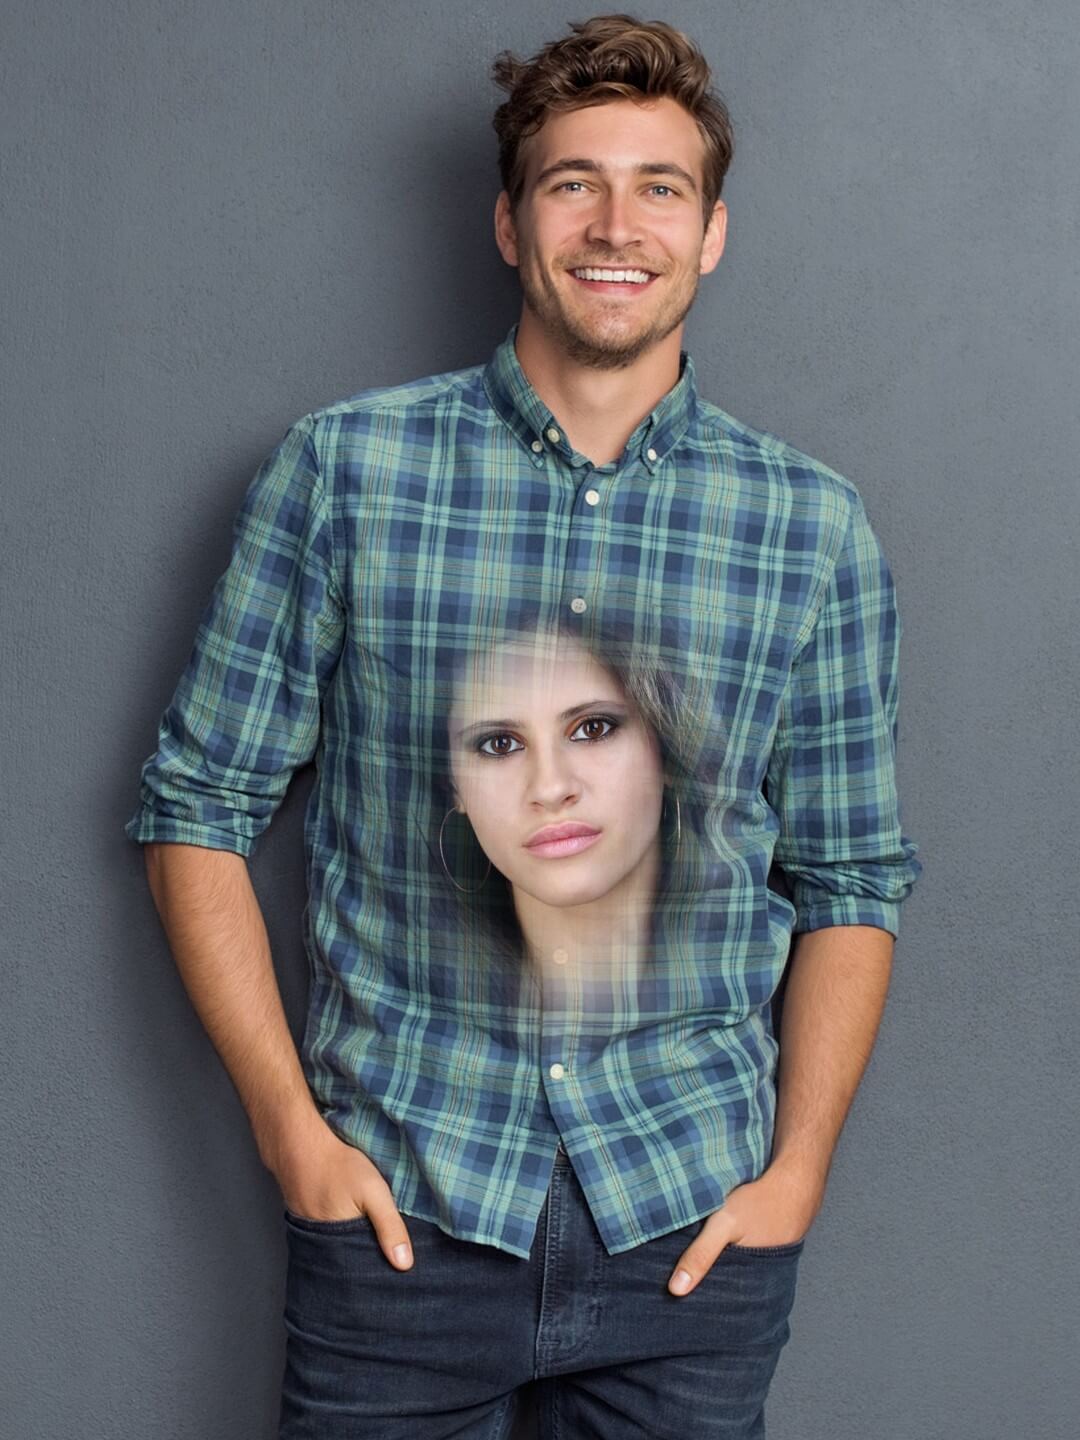
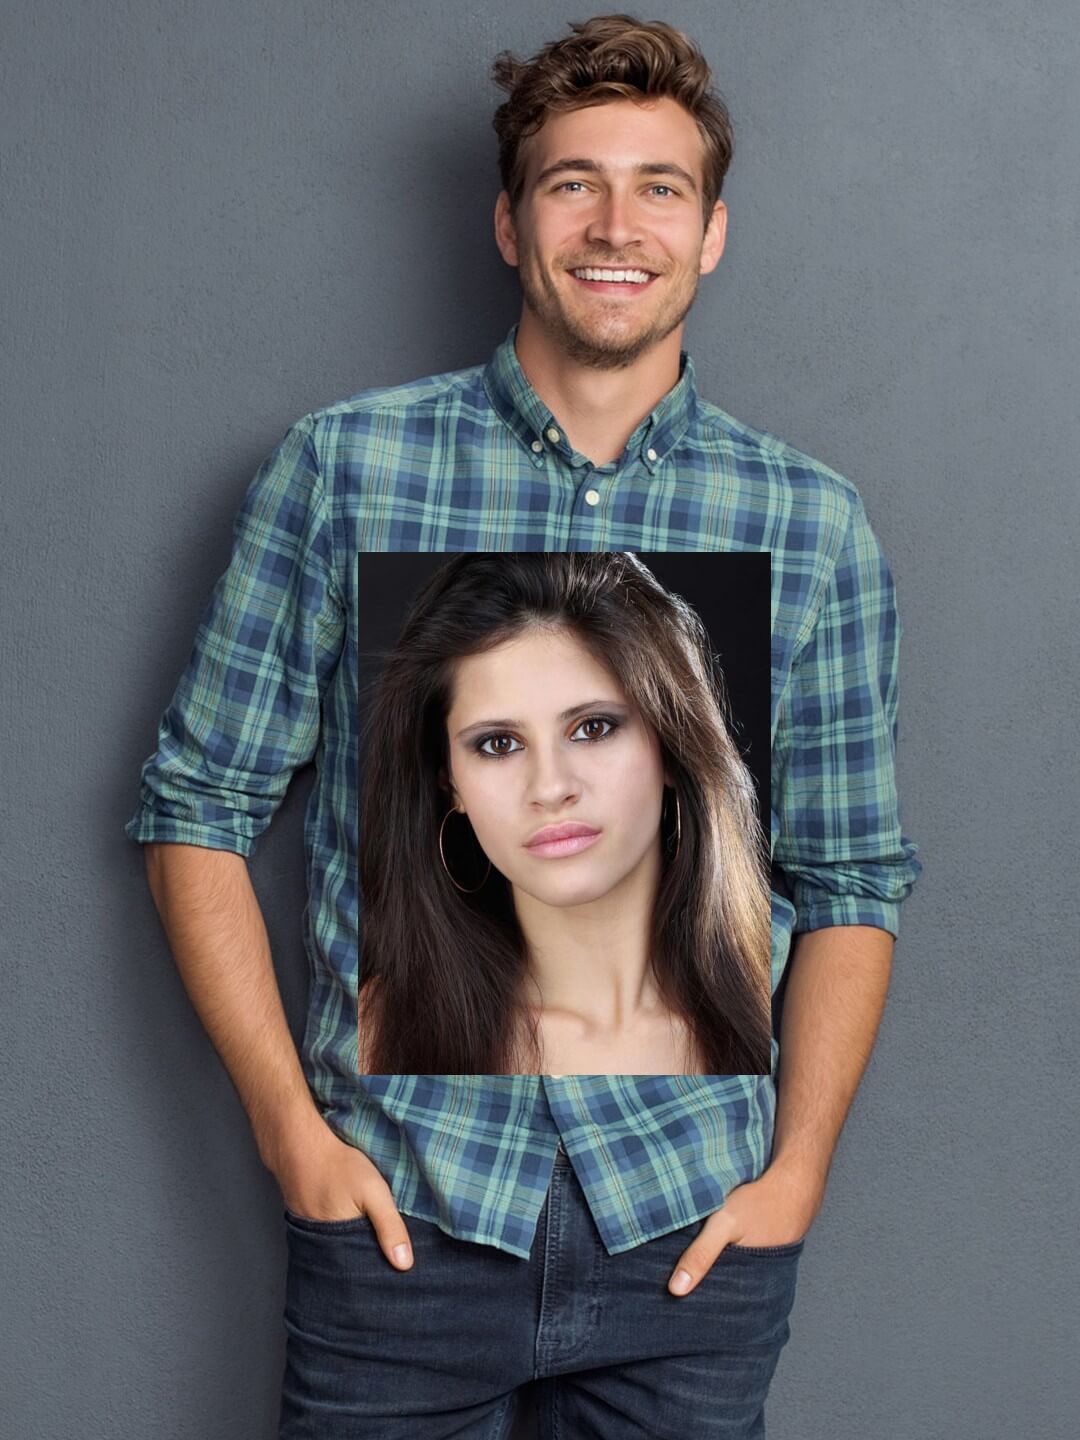
This is the effect we are going to achieve:
 Step # 1
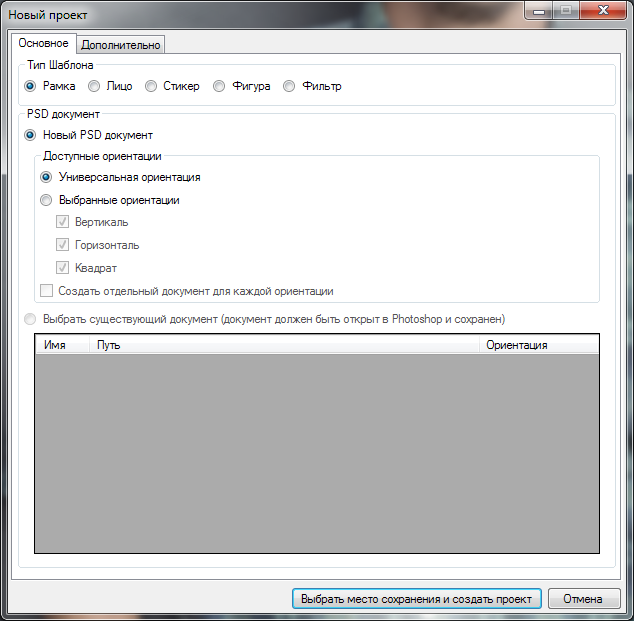
Open the Template Creator. Go to the File menu and select Create Project.
Choose the Frame template type and create a new PSD file with a universal orientation in the dialog window. Select where you want to save your project.
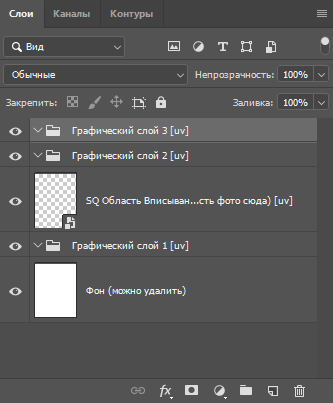
The Template Creator will generate the structure of layers necessary for the template to work correctly.
 Step # 2
Since we want to use 2 different user photos in this template, it is clear that we need 2 user photo regions. Add another frame region via the Insert menu
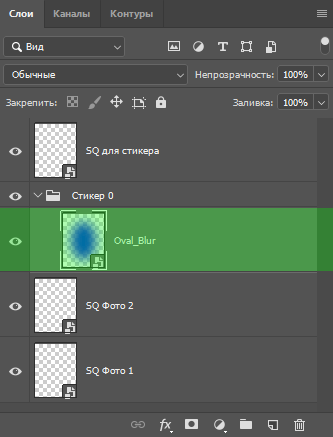
Go to Photoshop. Delete unnecessary layers and rename the frame regions as SQ Photo 1 и SQ Photo 2.

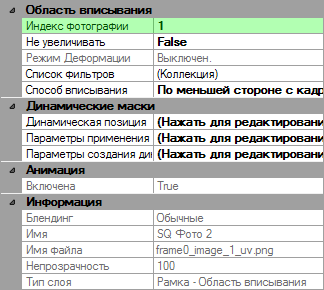
Go back to the Template Creator and reparse PSD. To process several user photos at the same time , it is necessary to change the image index in one of the user photo regions. Select the SQ Photo 2 layer and change the image index from 0 to 1 in the property grid at the bottom.
The simplest thing that comes to mind in order to achieve the desired effect is to resize one user photo region and position it in the center of the other user photo region.
Let's see what we will get in this case.
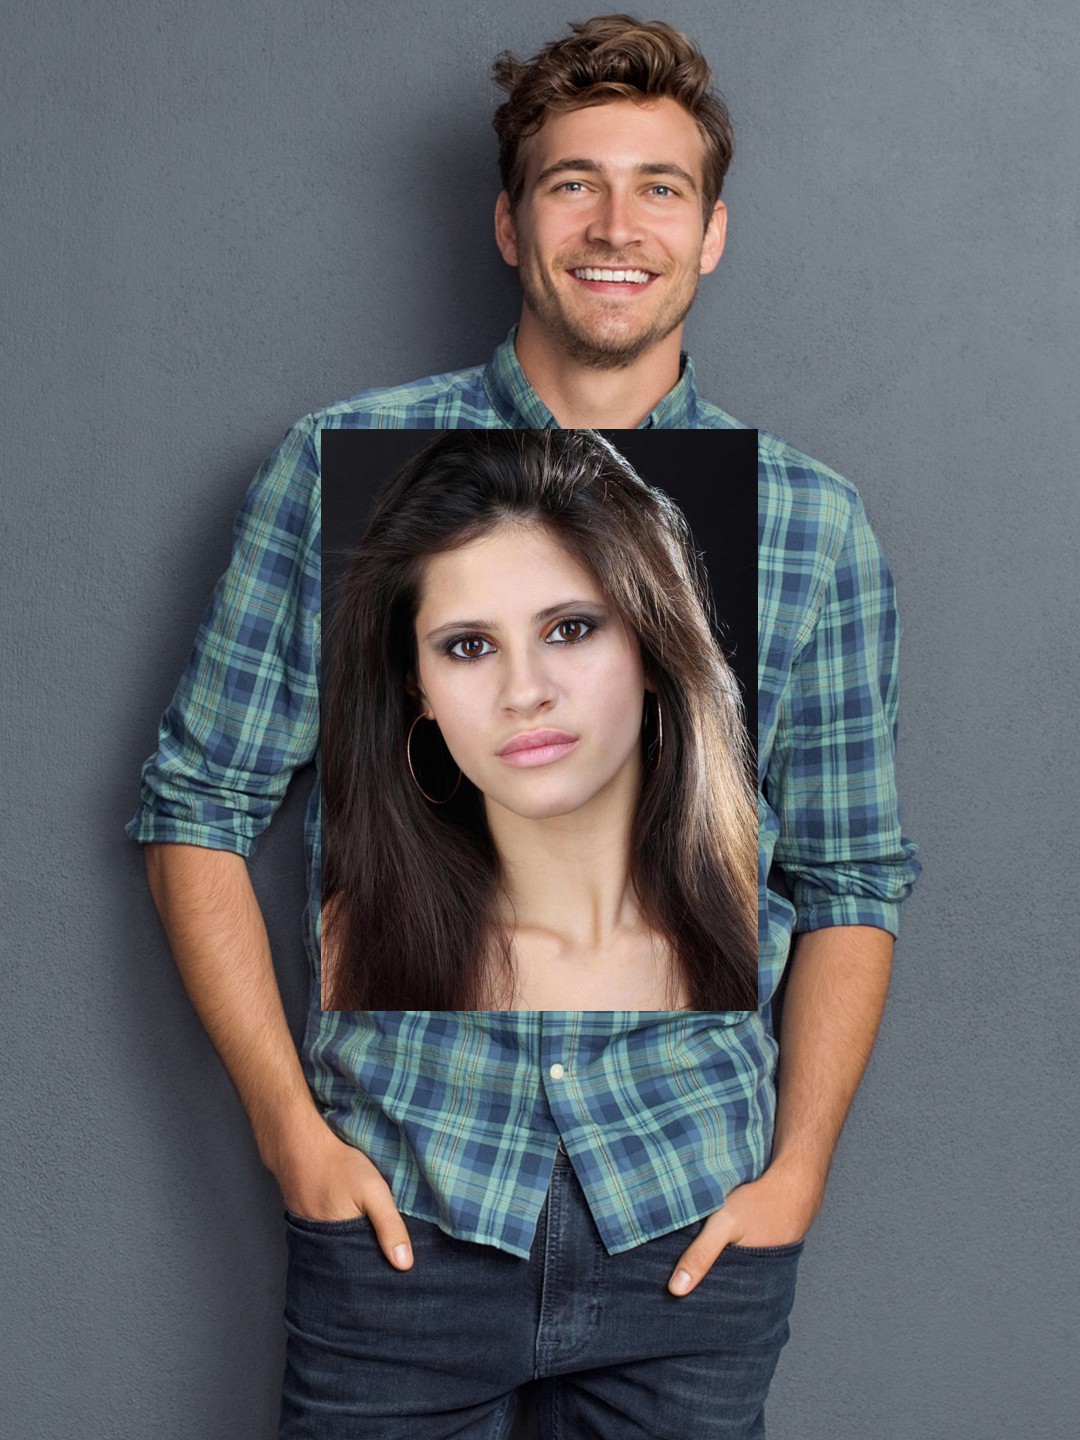
This result may look similar to what we want to get, however it is not satisfactory in many respects. Even if the figure in SQ Photo 1 is shifted or resized, the design loses its essence.
To avoid this, we need a solution that will automatically position the SQ Photo 2 layer in the desired place, regardless of the scale and position of the figure in SQ Photo 1.
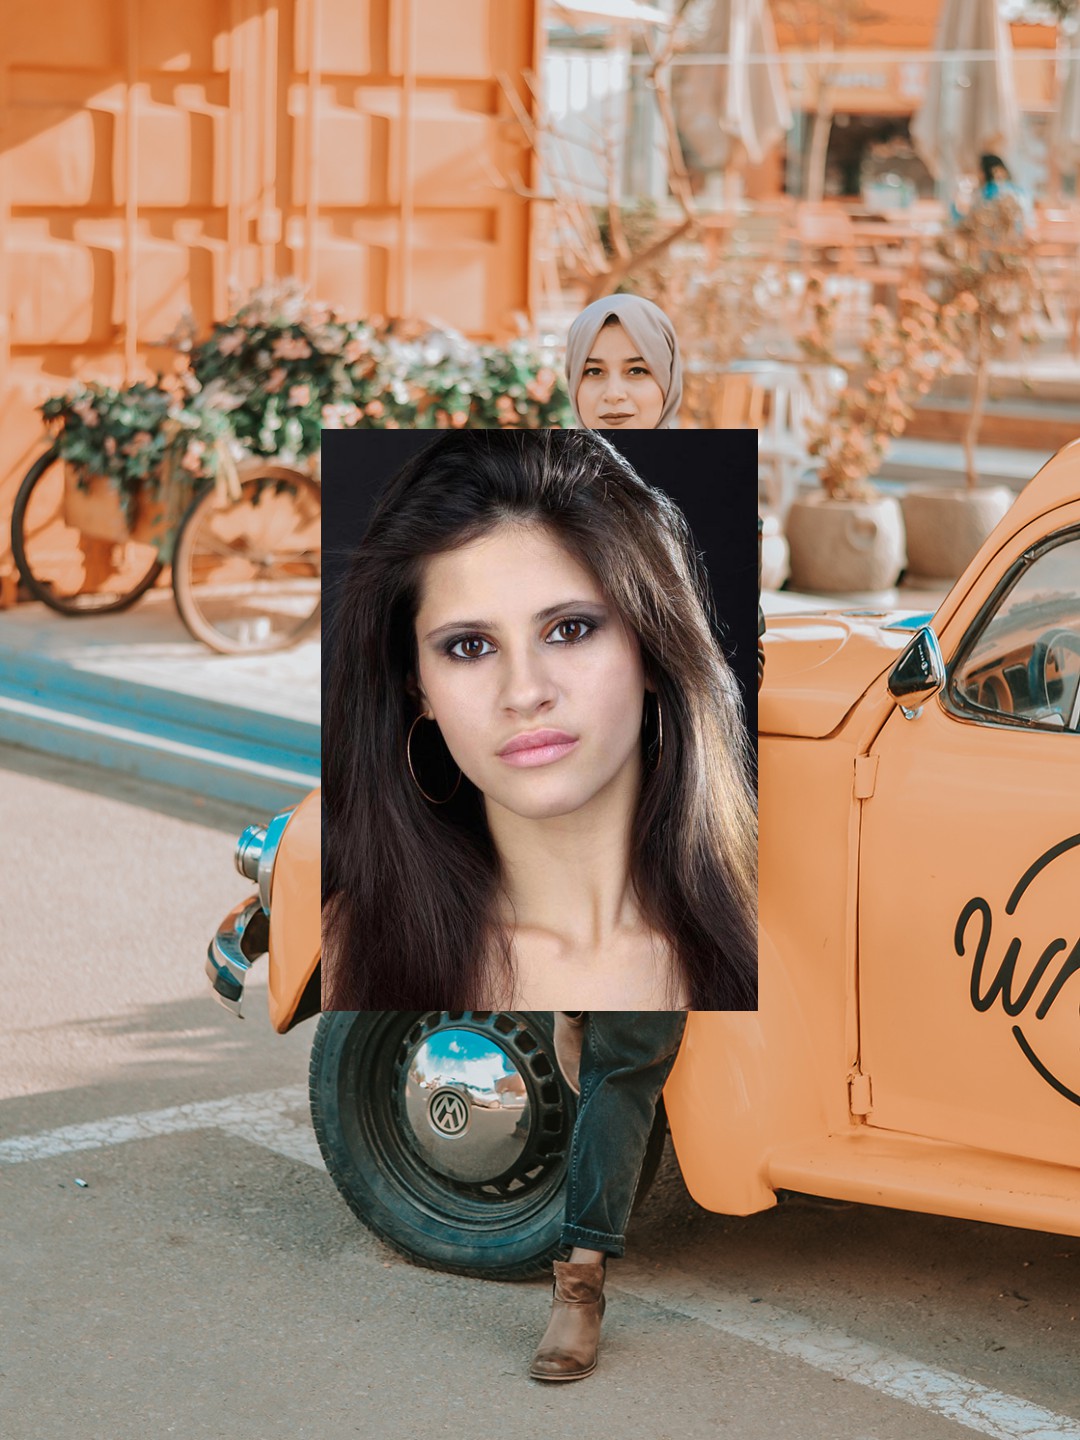
Step # 3Let's use the Dynamic position tool to position the layer in the bounding box of the dynamic mask.
Here is an example of how SQ Photo 2 is positioned relative to the figure found in SQ Photo 1:

As you remember, our task is to position SQ Photo 2 on the body of the figure found in SQ Photo 1. None of the existing standard masks can produce the desired result. The only acceptable way is to position a photo using a sticker.
Select Insert > Sticker to add a layer with a sticker. For the sticker to work, it needs the Rasterization filter in the user photo region, so we will add another user photo region called SQ for the sticker.
We could add the Rasterization filter to one of the existing user photo regions, but since the sticker in our template is an auxiliary element used for technical purposes only, we will place it in a separate user photo region and make it transparent, so that the graphics of the sticker does not interfere with the template design.
Go to Photoshop. In the Sticker 0 layer group, delete the provisional layer and add a new layer containing an oval shape. This shape will allow us to insert almost any user photo as naturally as possible. To create a smooth transition effect, make the edges of the shape blurry. The color of the shape is absolutely irrelevant.
The resulting image is available at this link.
Go to the Template Creator and reparse PSD.
Step # 4Let's move on to sticker positioning. To access the sticker position settings in the Template Creator, right-click on the Sticker 0 layer, select Add rasterization > SQ for sticker. The sticker position editor will open.
Position the sticker on the chest. Go to the menu and select Positioning by the object > Positioning by the human skeleton.
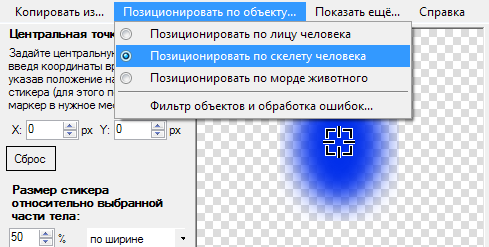
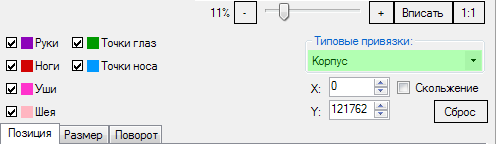
Next, you need to specify marker points. To do so, select On the corpus in the Typical bindings dropdown menu.
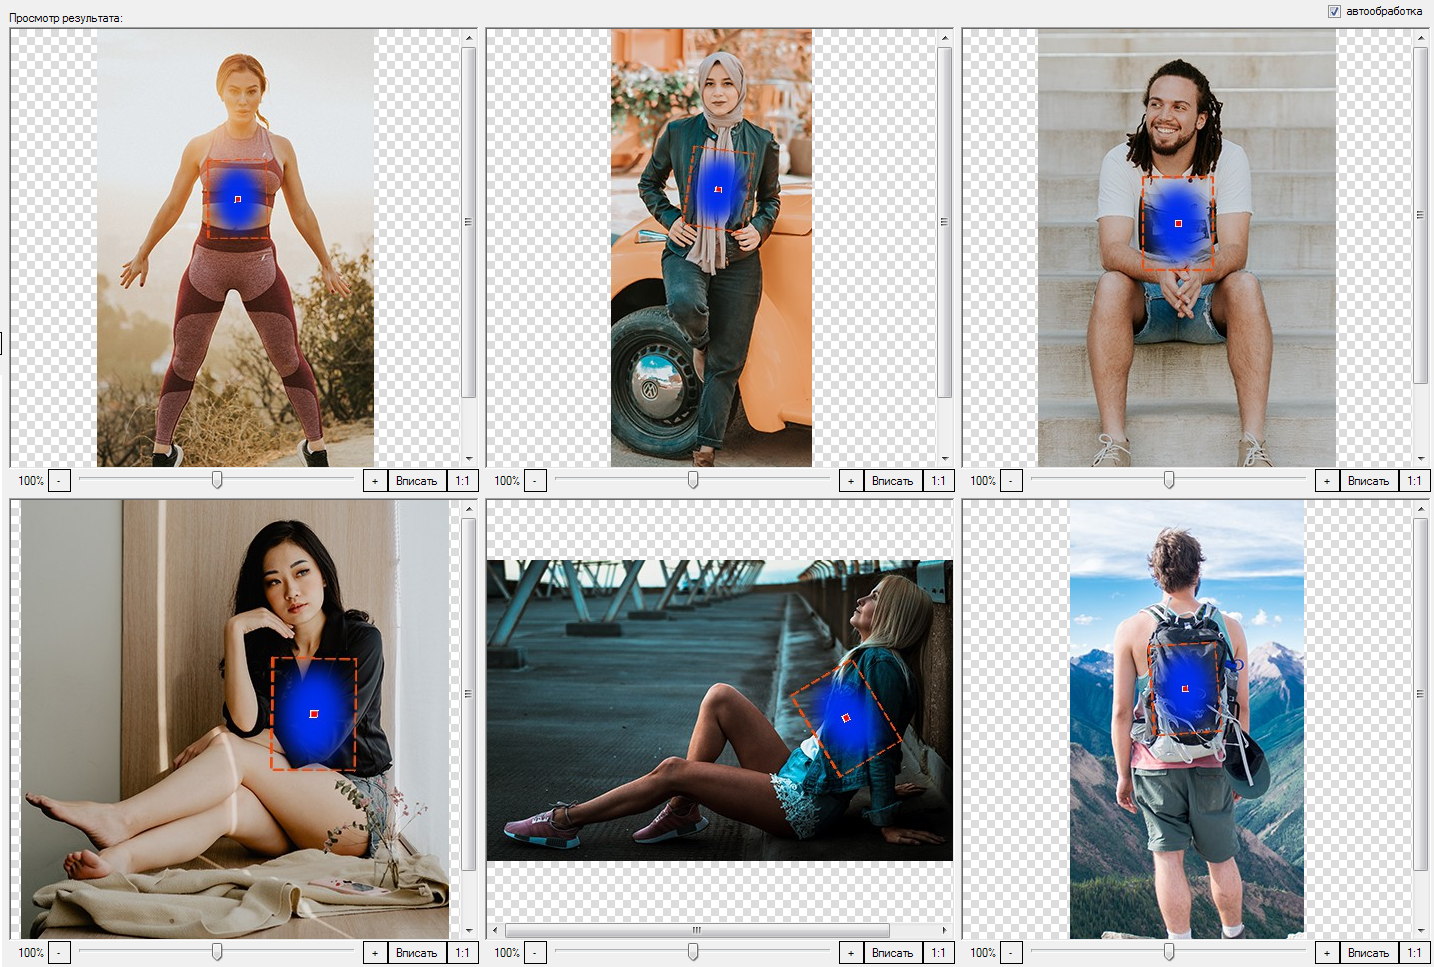
After you have configured the settings as described above, the sticker will be positioned as follows:
 Step # 5
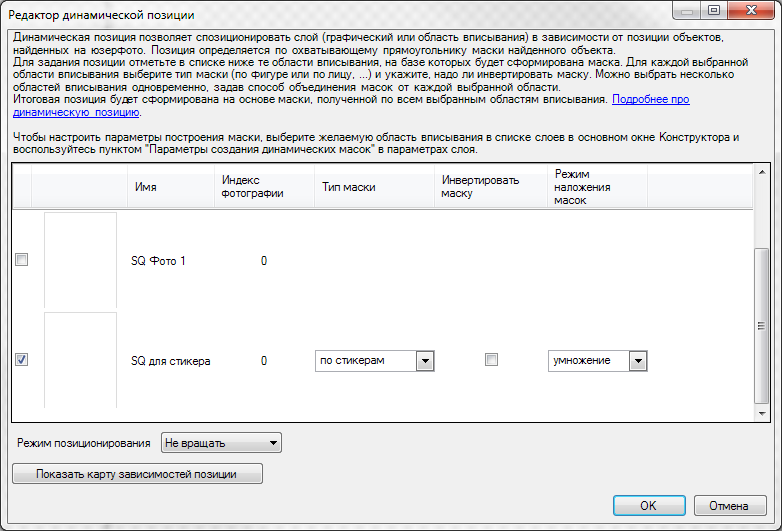
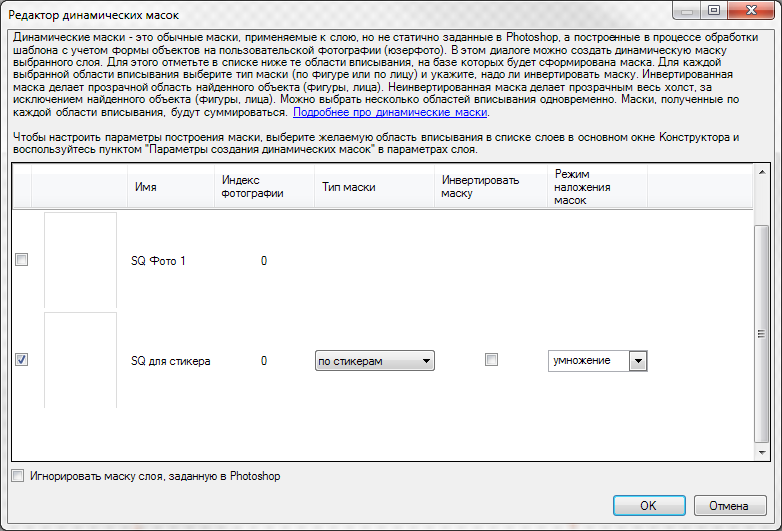
Let us now position the SQ Photo 2 layer on the figure's body. To do so, go to the Dynamic position editor and build the position based on the SQ for sticker user photo region (select the 'sticker' mask type).
Reparse PSD and process a test photo.
 Step # 6
All we have to do now is make a smooth transition from one image to the other. In Step # 4 we smoothed the edges of the sticker. At this stage, this fact plays a decisive role. Add a sticker mask built based on the SQ for sticker user photo region to the SQ Photo 2 layer.
When this mask is being built, it ignores all colors of the original sticker and takes into account only the transparency of the pixels. This fact will let us create smooth transition from one photo to the other.
As a result of all manipulations, we have finally achieved the desired effect. You can download the ready-made project here.