Checking a template
- Open your template in Photoshop.
- Use the Start menu to launch the Template Creator. Create or open the project associated with the template using the File menu.
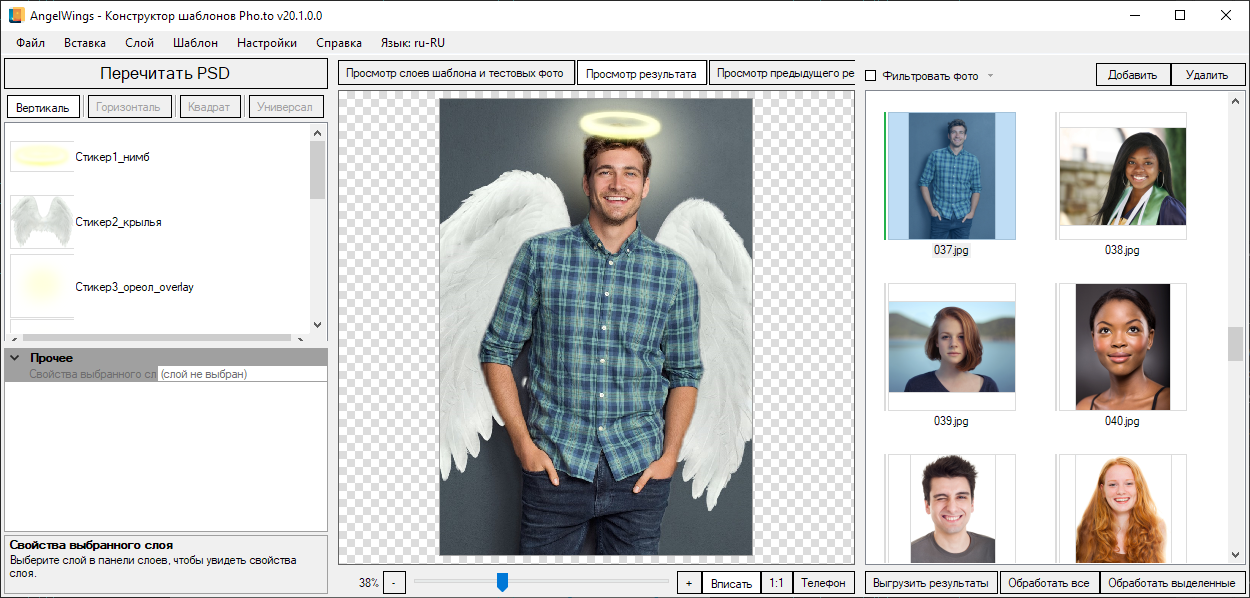
- Click the "Reparse PSD" button. Wait for the Template Creator to load all the layers: graphic layers and user photo regions.
- Next, click one of the test images in the right part of the window (or add your own test images), click the "Process Selected" button and wait for the result to appear in the central block.
- Alternatively, click the "Process All" button to process all added test photos. The processing time will be increased in this case. You can see the result of processing of individual photos by clicking on the corresponding test photo.
- The "View result" and "View template layers and test photos" buttons allows you to switch between the result and the source files.
- If the result is far from what you expected, go back to Photoshop and edit your PSD file, then check the results later.
Using the Template Creator, you can reparse only those layers that have been edited. It lets you save a lot of time in case you are working on large templates.
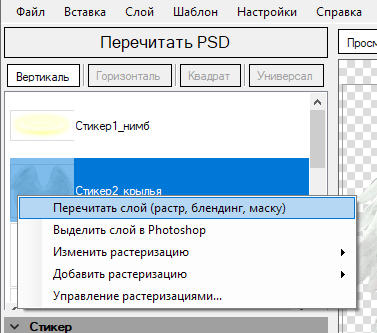
To reparse a particular layer, right-click a layer in the layers list to open the context menu and select ‘Reparse Layer (images, blending, mask)’, as shown on the picture on the left.

