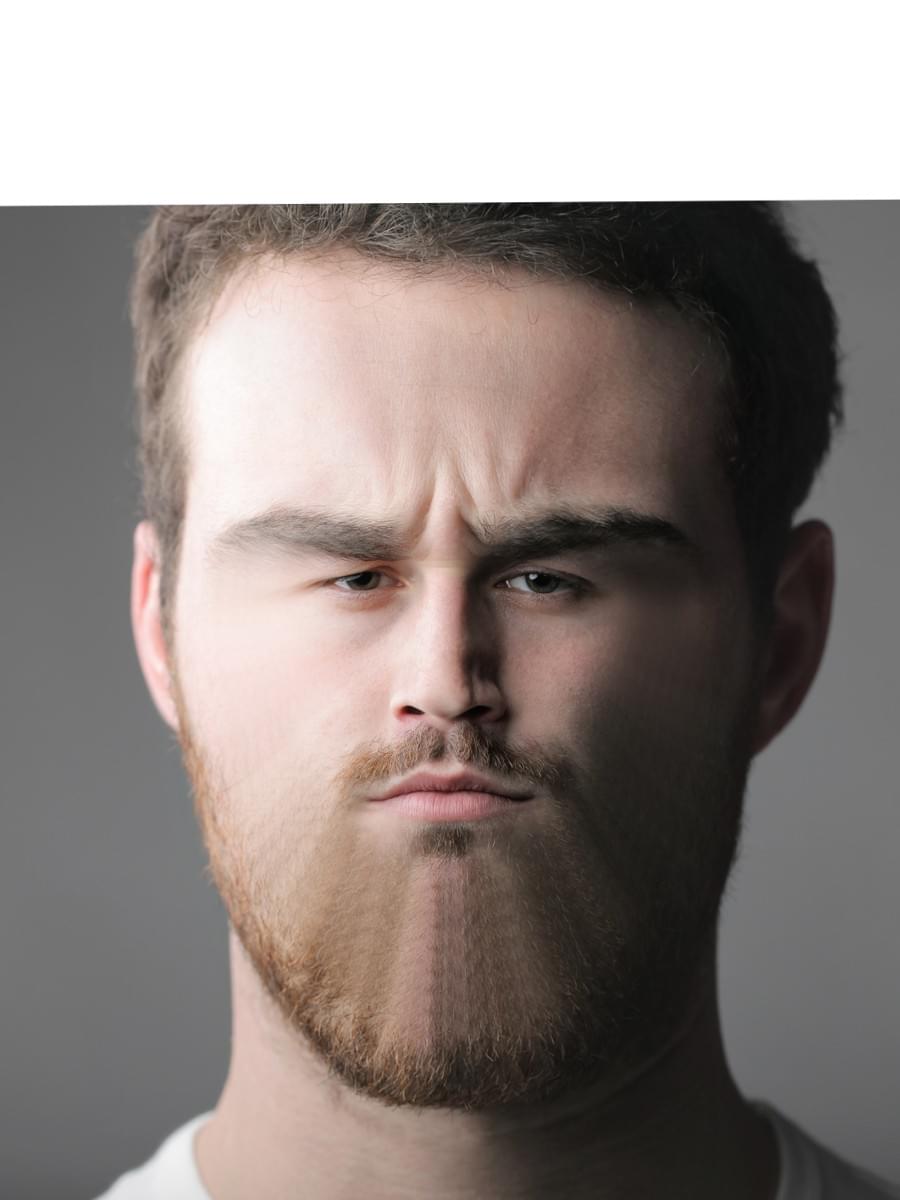
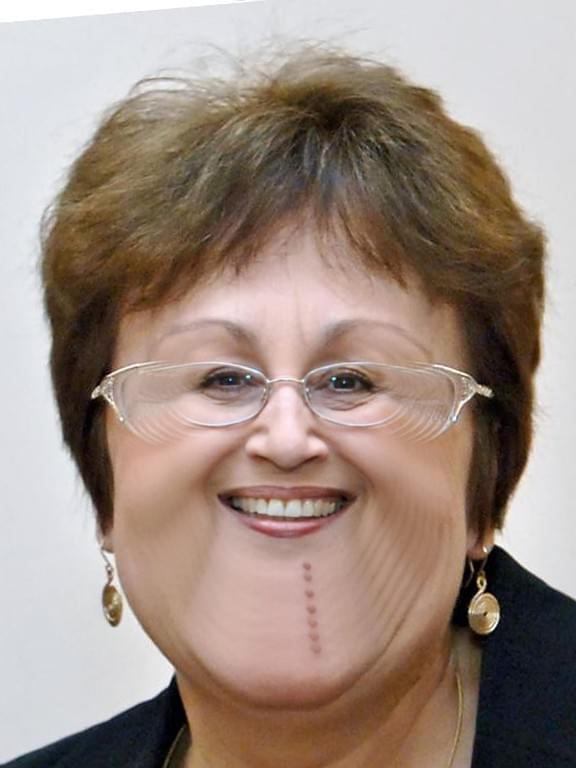
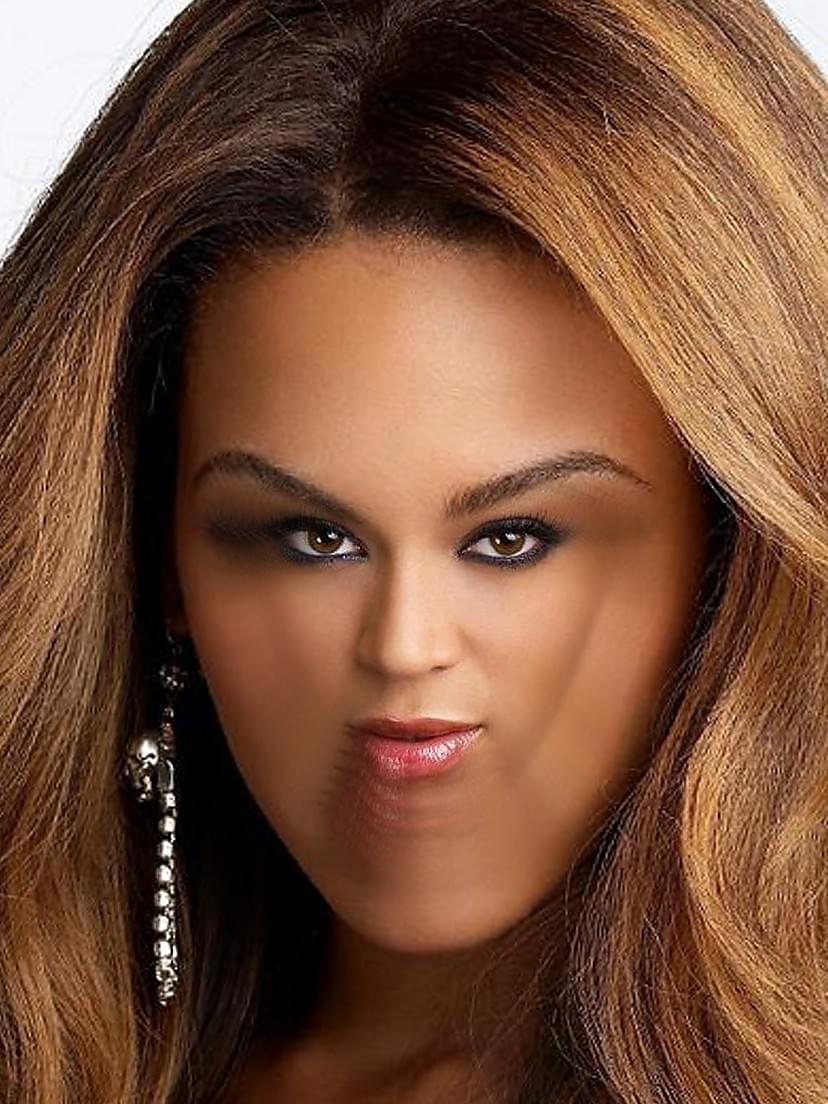
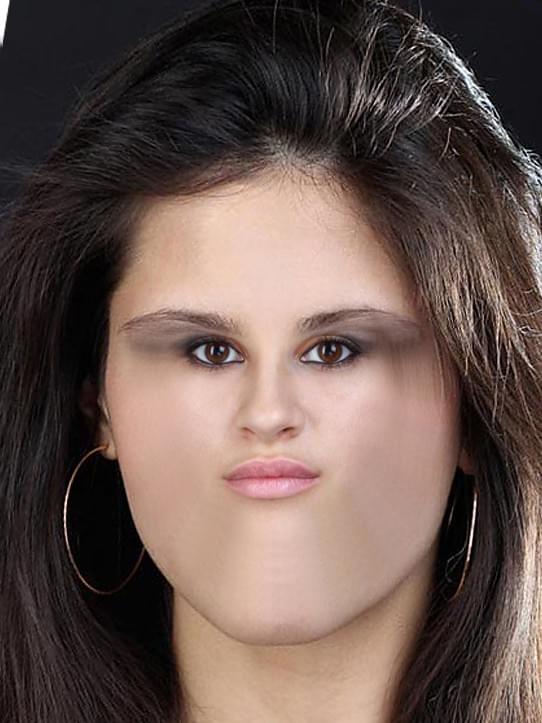
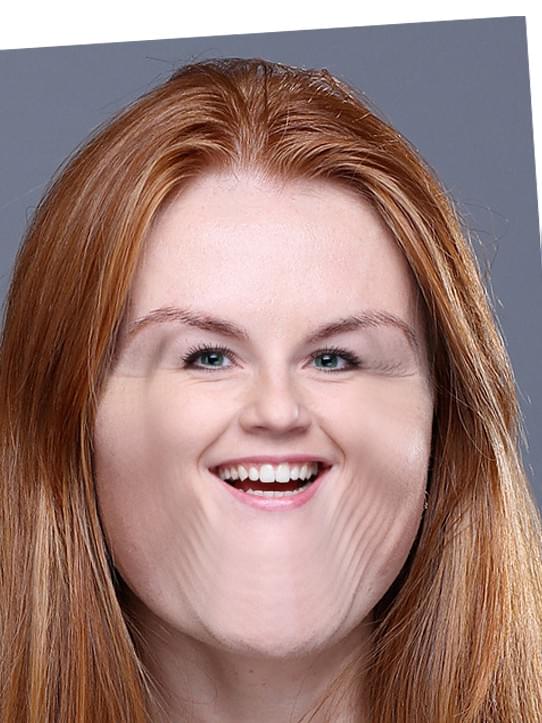
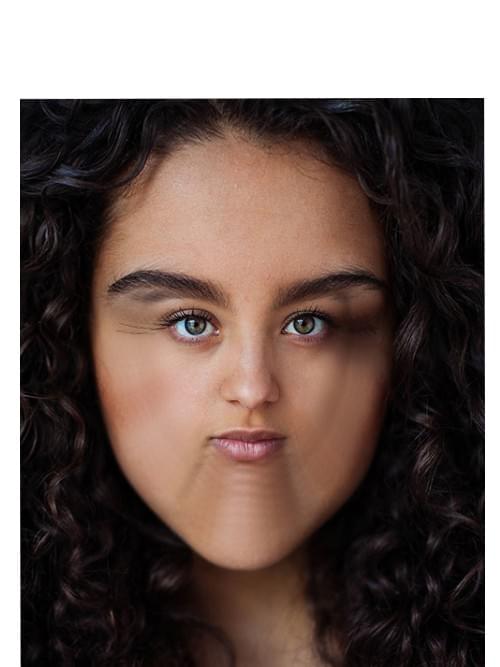
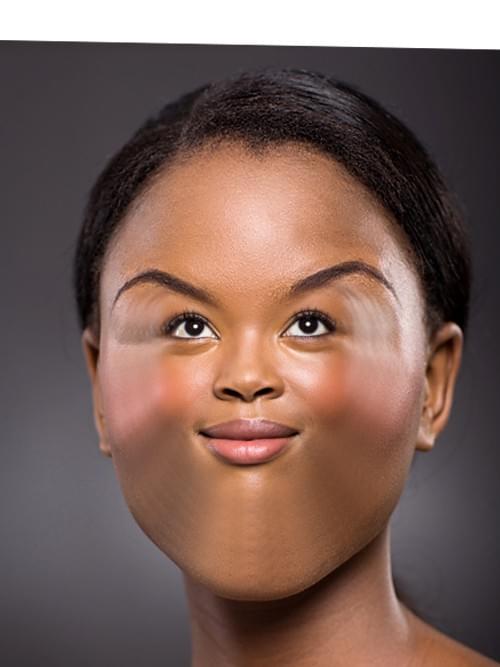
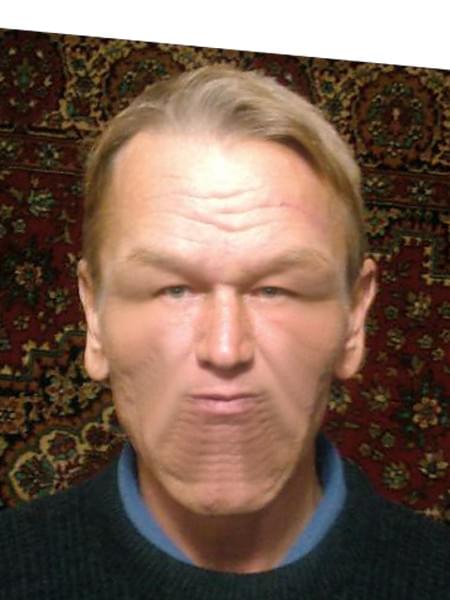
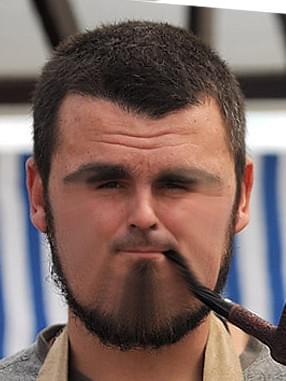
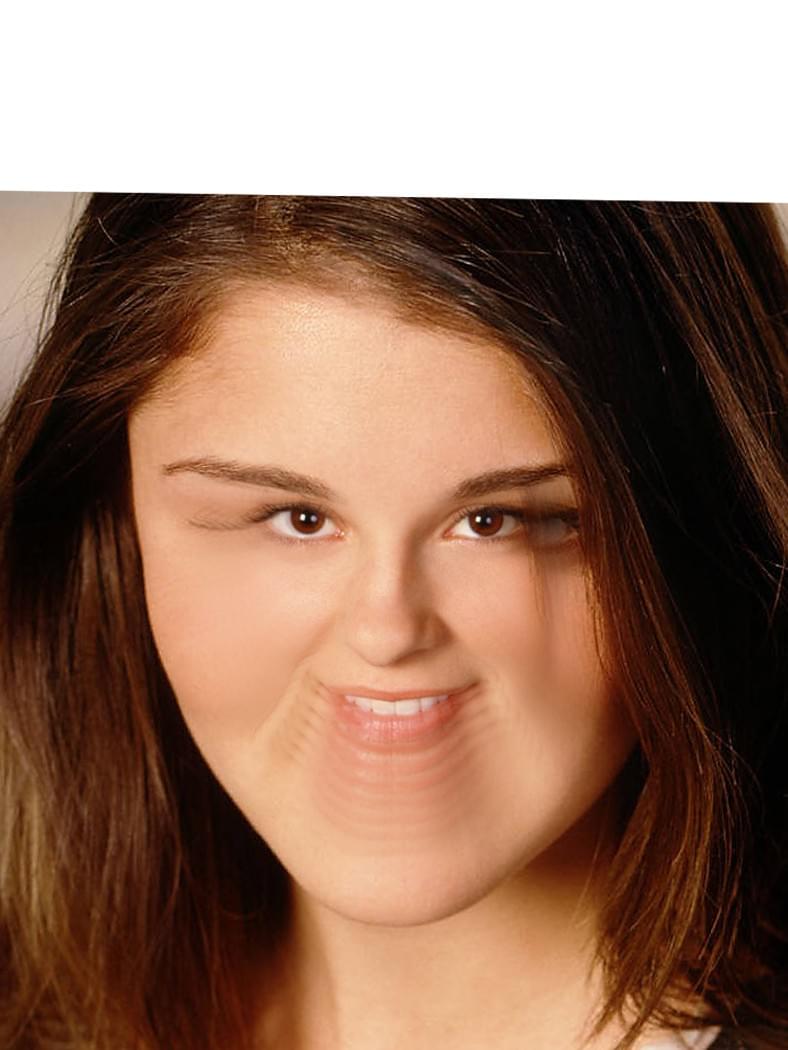
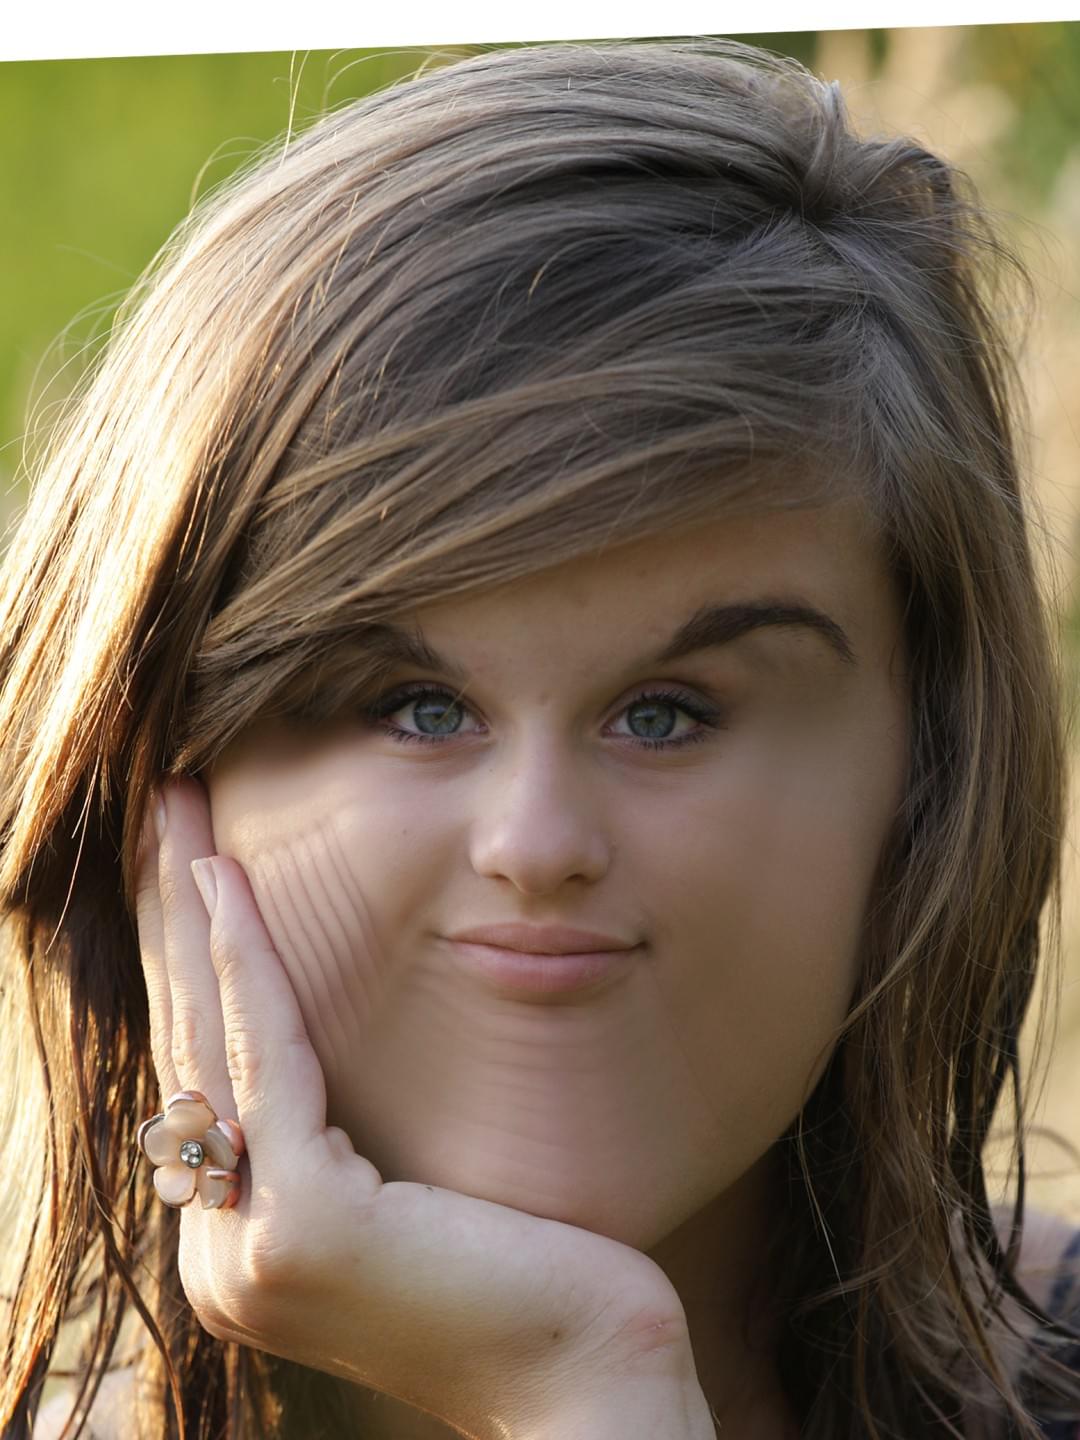
Examples of creating facial templates
Creating a basic facial template
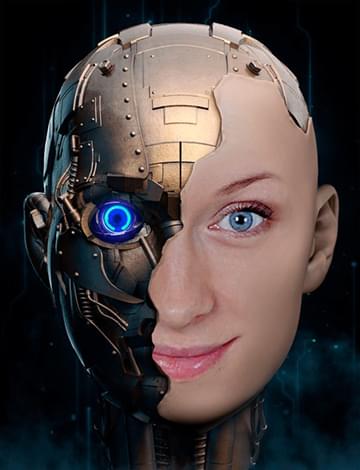
Let's create a facial template where a face from a user’s photo will be inserted into a certain area using the facial points: the centers of the eyes and the corners of the lips. You can download the artwork for this template here. The result of this lesson can be downloaded here.
Step # 1
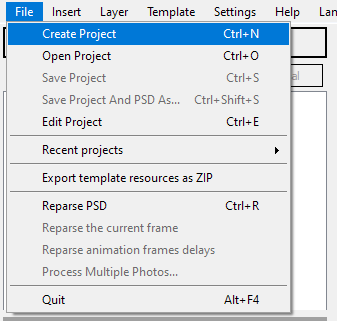
Launch the Template Creator and wait for Photoshop to open. In the Template Creator select Create Project, from the File menu.
A New Project window will open. Select the Face template type, Universal Orientation and save the project. The Template Creator will generate a PSD file with the necessary template structure.
Step # 2
Now go to Photoshop. You can see that the Template Creator has generated a PSD document with the necessary layers arrangement, so you can start working with your template

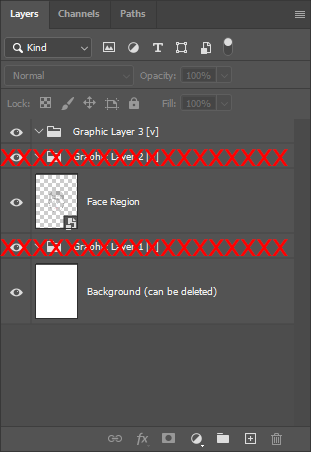
You must be familiar with the template structure: it consists of subgroups of layers, and a smart object of the user photo region. As this template has universal orientation, the subgroups of layers and the smart object are positioned on the top level of the PSD document.
In this particular case we need only 1 subgroup with a graphic layer positioned above the face region. So we can delete the other two subgroups as useless.
Step # 3
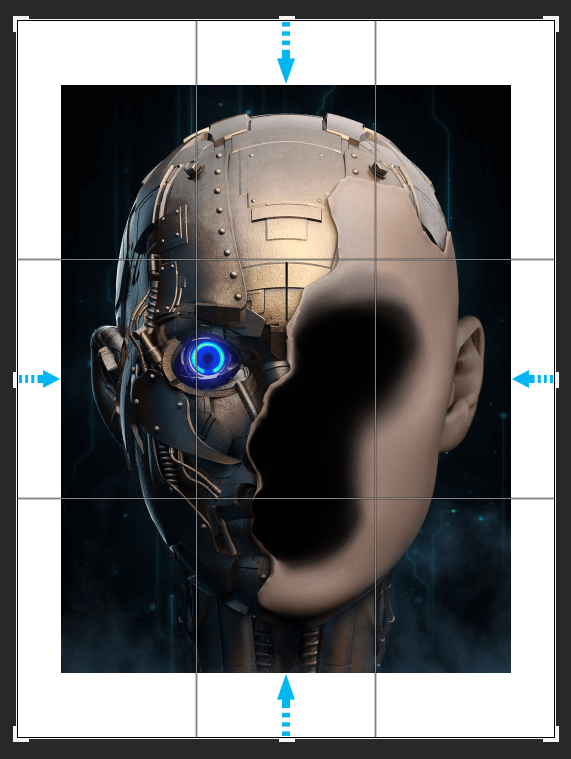
Place the image with the robot head (can be downloaded here) into the graphic layer subgroup.
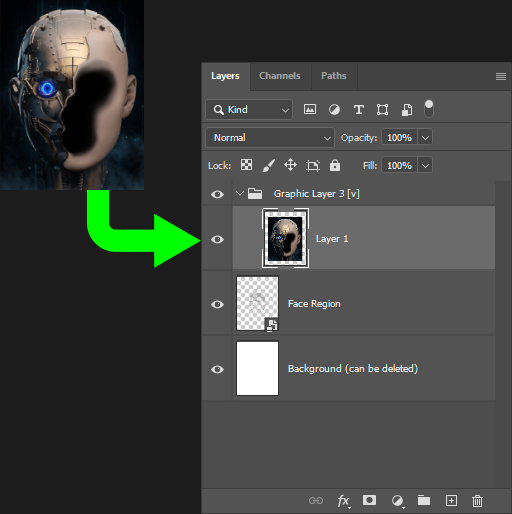
Adjust the canvas size to the size of the artwork. Use the Crop tool (Crop tool) to trim the excess canvas.
Step # 4
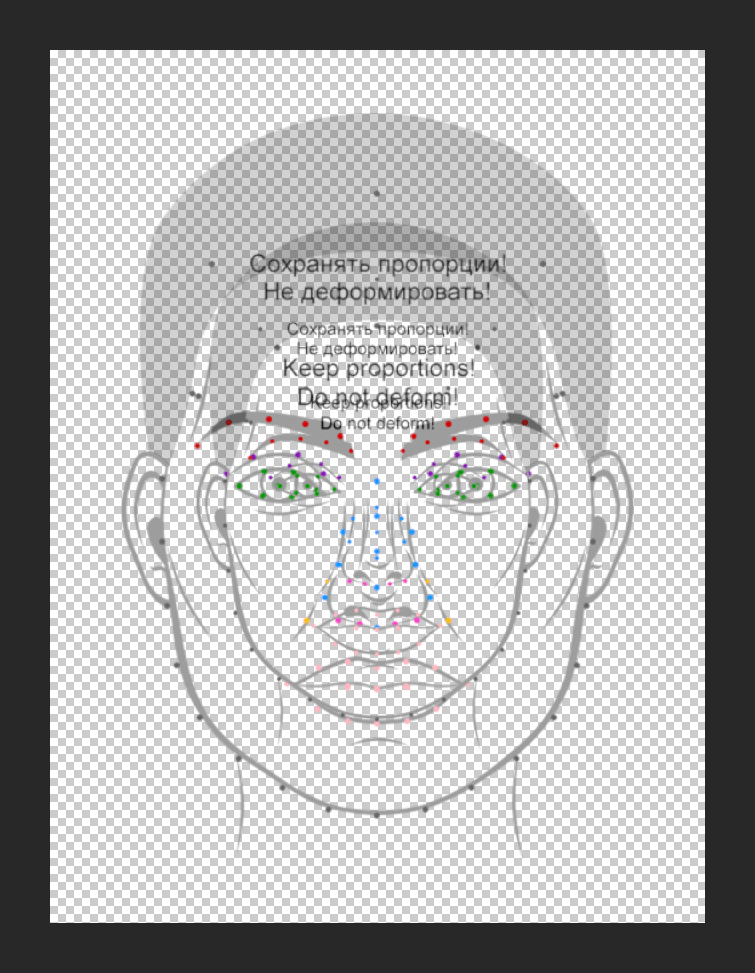
Let us now position and scale the smart object of the face region.
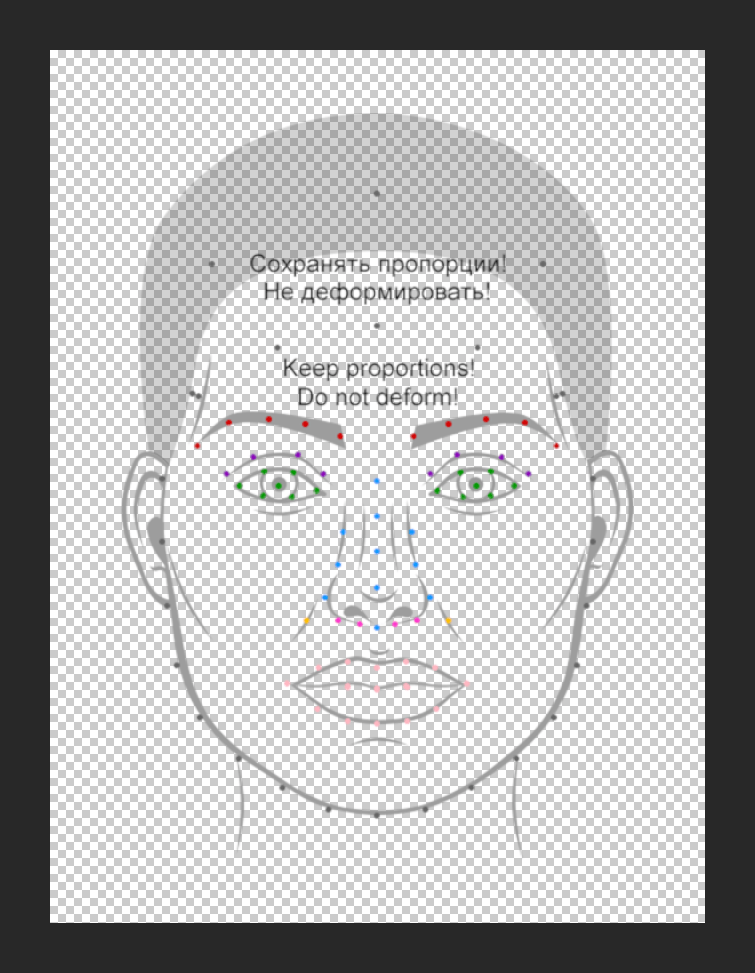
When scaling the face region with the transform tool, always keep the proportions of the smart object. To do so, click the "Maintain aspect ratio" button (see below).
Keeping the proportions of the smart object while transforming it will keep the facial points correlation safe in the smart object. | As a reminder, facial templates insert faces from user photos using the facial points of the smart object. The position of these points should conform with universally applicable face features correlation. If the correlation of the face features in the smart object is broken, user photos will not be inserted correctly.
Scale and position the smart object. After you have tested your template using different test photos, you might need to go back to this step and adjust the smart object size, position and rotation.But now, when you are satisfied with its position, head to the next step.
Step # 5
Go to the smart object of the face region. To do so, double-click on its thumbnail in the layers list.
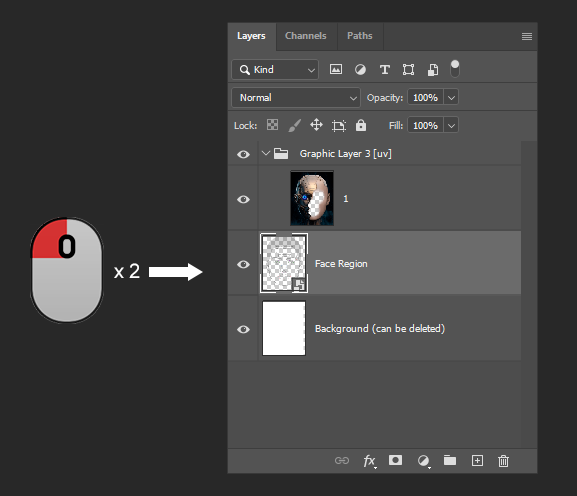
You must be familiar, with the structure of the smart object of the face region, so let’s proceed to correction color.
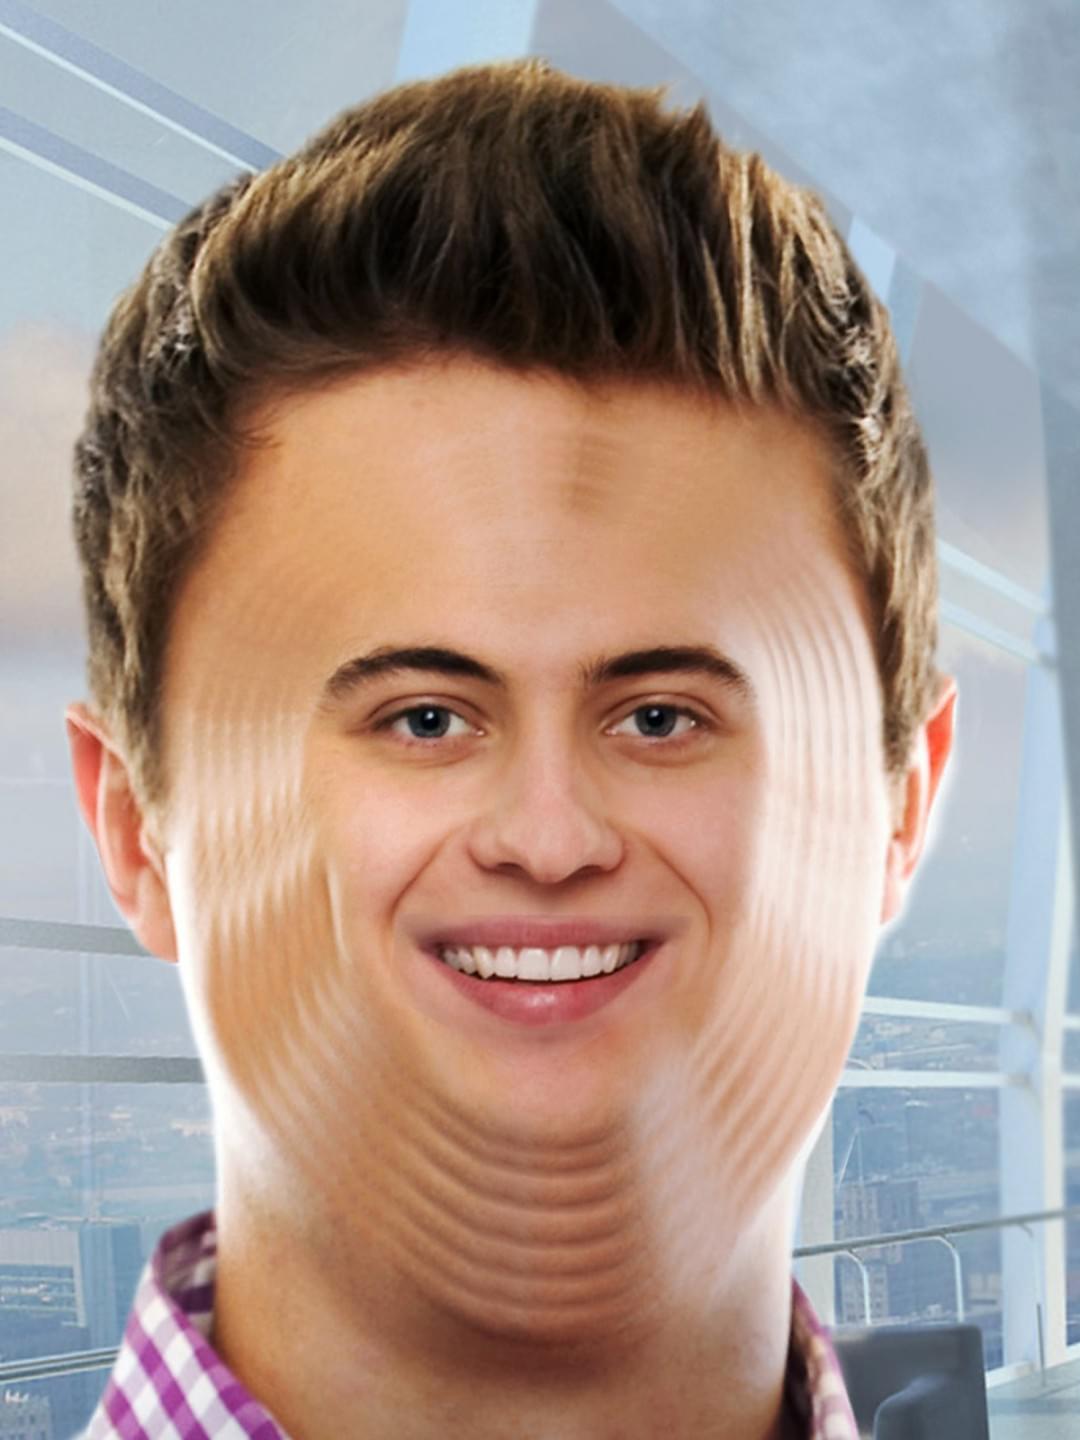
The point is that this particular template inserts faces from user photos into the head inside the template. The skin tone of the face (head) inside the template can be very different from the skin tone of faces in user photos. If we leave things as they are and process a random photo with a template, the result can look like this:

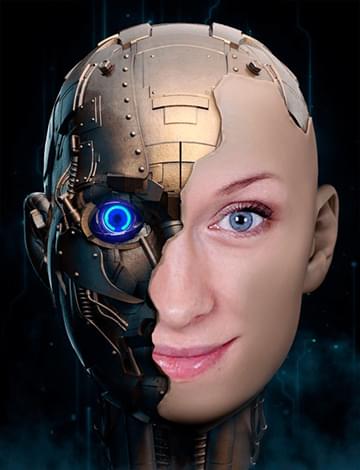
To avoid such problems, you should use correction color - it will bring face skin tone in a user photo to the shade found in the template.
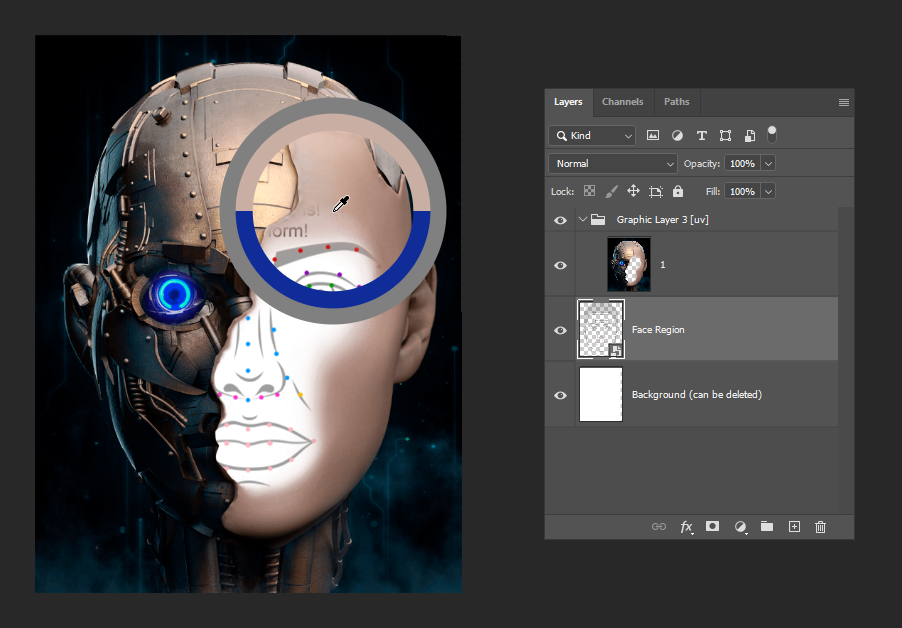
Go to the main document and use the Eyedropper Tool to pick up a color from the head a user photo will be inserted into.
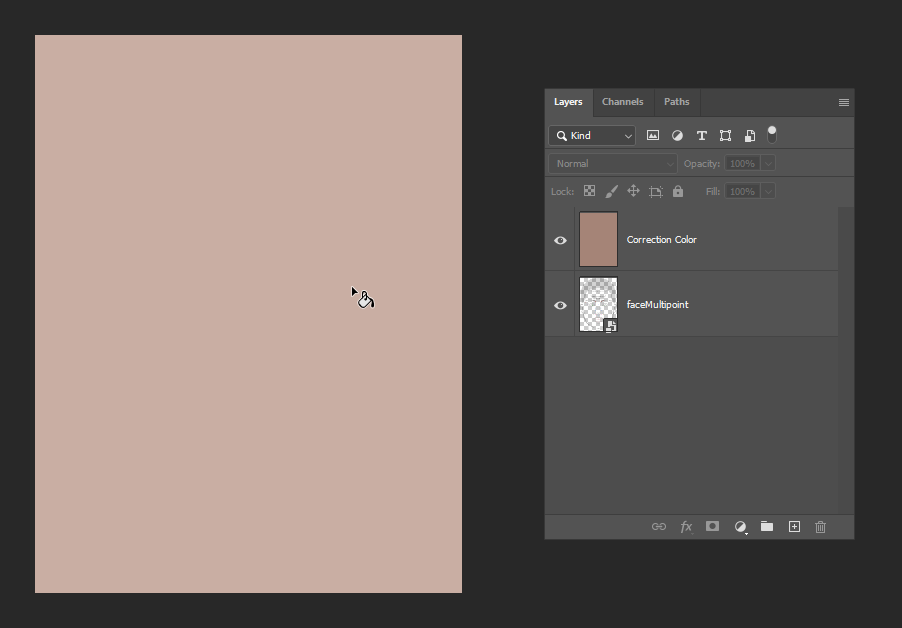
Then go back to the smart object of the face region and use the Fill tool to fill the (Correction color) layer with that color.
The correction color layer will overlap the face scheme and the sample user photo. To be able to make further edits to the template, move the layer down under all layers.
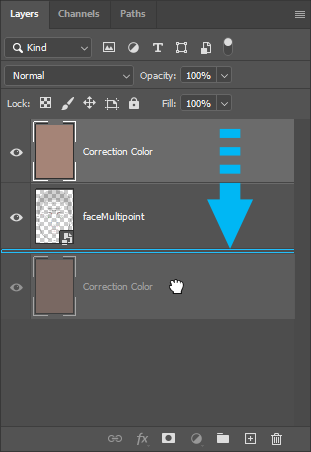
The arrangement of layers inside the smart object of the face region does not affect anything except the convenience of working with the smart object.
Save the changes you’ve made to the smart object and close it.
Step # 6
Go to the Template Creator and reparse the PSD document. As soon as the document is reparsed, go to user photo region filters.
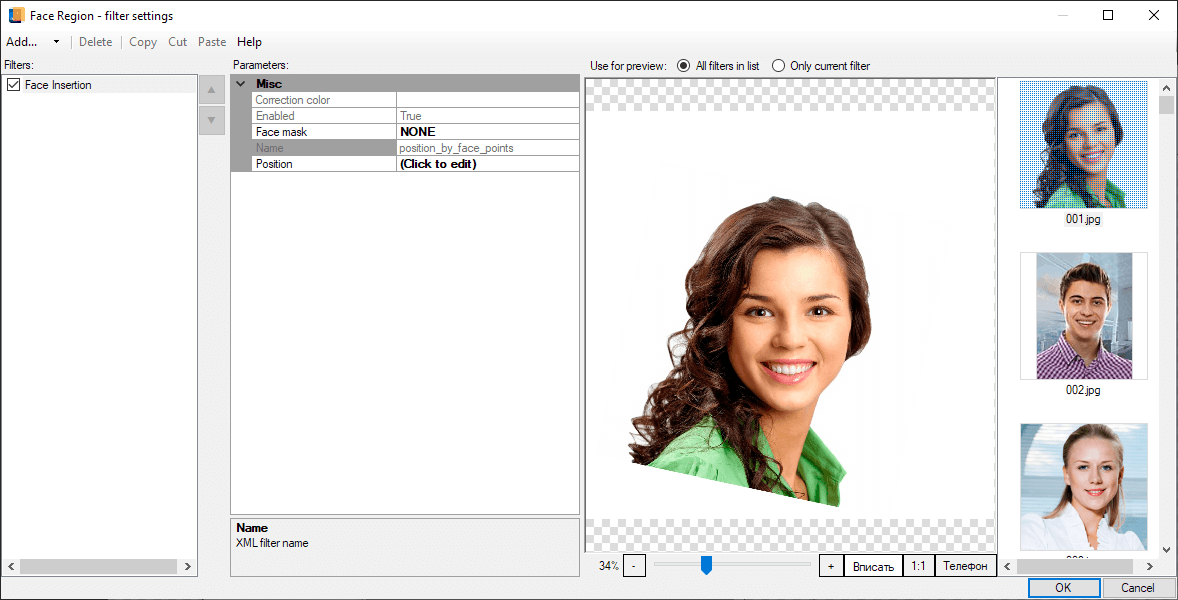
Double-click on the user photo region to see the list of filters applied to it.
As we can see, there is the Face insertion filter applied to the user photo region. This filter is added automatically to the user photo region in facial templates or if you add a face region to a template.
The value shown in the ‘Correction color’ property indicates that the Template Creator has successfully retrieved data about the correction color that we specified in the smart object.
In case you need to change the correction color, go back to the PSD document and select another color in the smart object. Then save the changes you’ve made and reparse this smart object layer.
Close the Filter settings dialog and process several test photos. The result should be similar to the example shown at the beginning of the lesson.


If the result is different from what you expected, you can always go back to any previous step and make edits. Then reparse the specific layers or the whole PSD document.
The result of this lesson (resulting template) can be downloaded here.
Creating a facial template with dynamic masks along facial contours
In this section we are going to cover the algorithm of making a creatively different facial template.
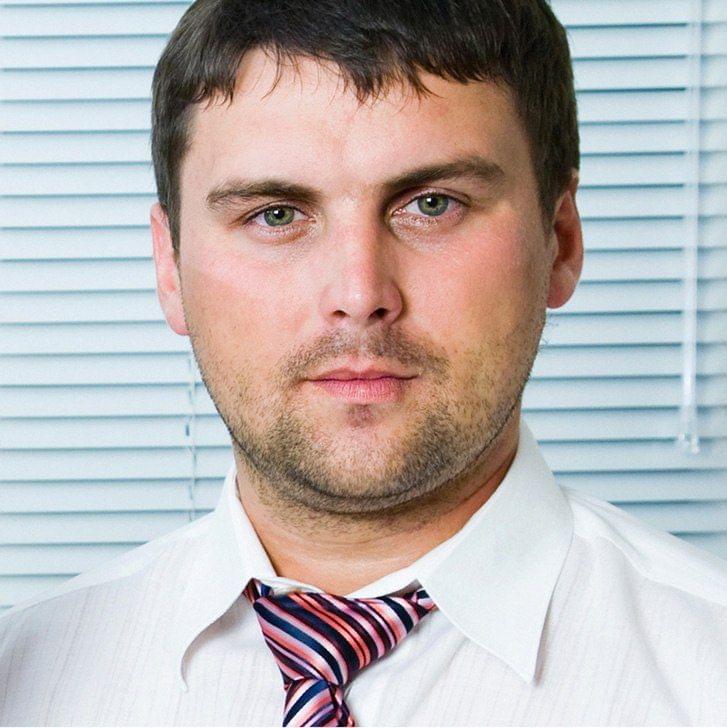
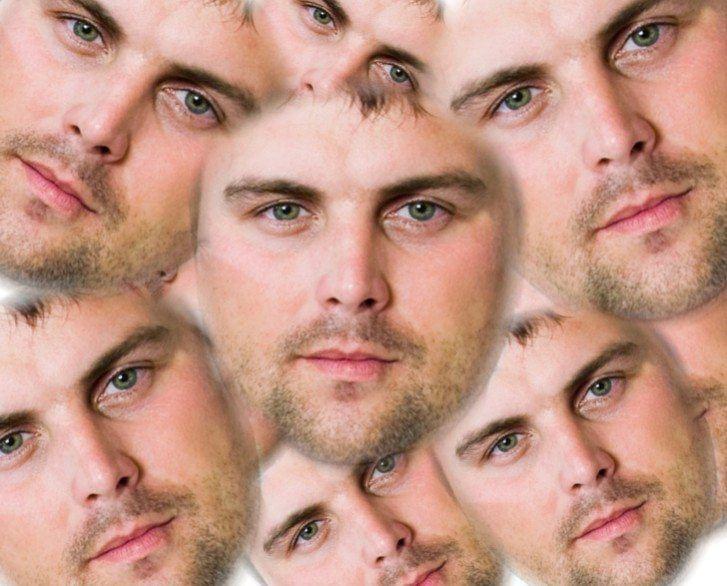
As it appears from the example given above, this template is a facial type, as only facial templates let you control precisely the size and position of the face in relation to the canvas. It is quite clear that we need a mask for each face region in this template. A mask should be used to insert only faces, not entire user photos.
You can add masks to face regions using one of the methods below:
- Mask each face region manually, using cut-and-try approach to find a universally applicable mask shape.
- Use the Template Creator to build dynamic masks along facial contours.
You can learn more about dynamic masks here.
The second method is preferable as it is way more accurate (a mask is always built automatically using specific facial contours). Besides, it lets you avoid doing routine work.
Now it is clear how to implement the creative idea of this template: it is necessary to build a template with multiple face regions, with dynamic masks applied to each of them along the facial contours. Let’s get started!
Step # 1
In the Template Creator select Create Project from the File menu.
A New Project window will open. Select the Face template type and Universal Orientation
Save the project and wait while the Template Creator generates a PSD file with the necessary template structure.
Step # 2
Now go to Photoshop. You can see that the Template Creator has generated a PSD document with the necessary layers arrangement, so you can start working with your template.
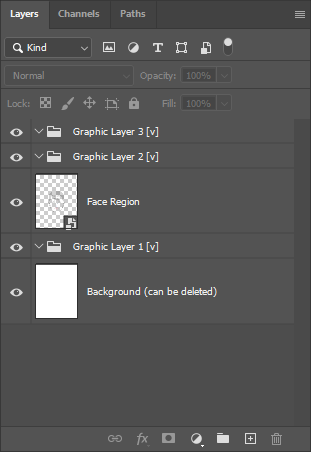
To implement our creative idea we’ll need quite a few face regions (about 10 of them). The canvas automatically created by the Template Creator will function as the white background (it is visible in some places in the resulting template).
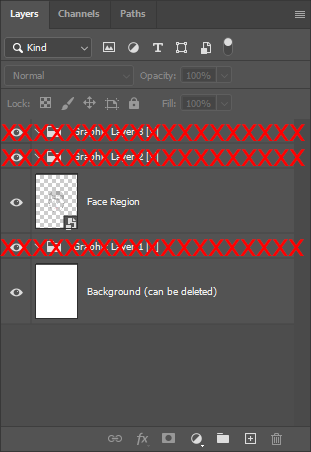
Let us now adjust the structure of the PSD document. Delete three unnecessary subgroups of graphic layers.
Step # 3
Go to the Template Creator and reparse the PSD document. Our template is semi-finished at the moment, and we can try processing a test photo.
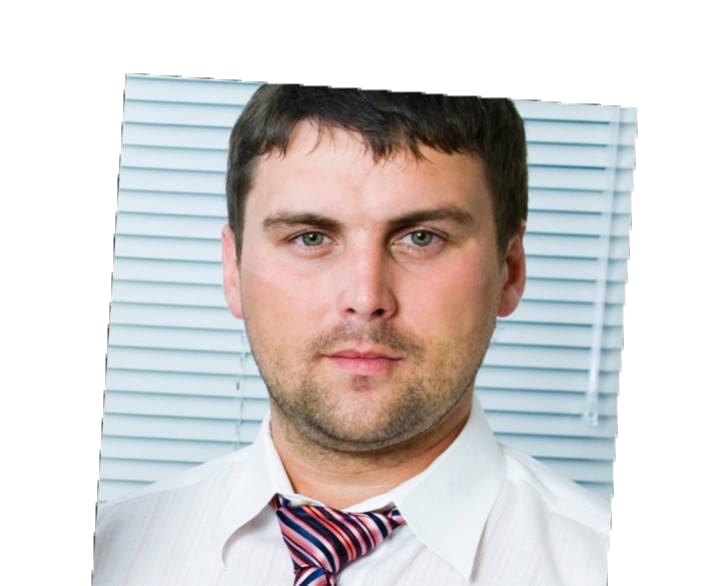
The result that we got is quite expected. The test user photo has been positioned using its facial points and it has not been cropped. But, as we said before, we need it to be masked (cropped) along its facial contours.
Step # 4
Double-click on the user photo region thumbnail to see the list of filters applied to it.
As we can see, there is the Face insertion. filter in the list of applied filters. This filter is added automatically to face regions by the Template Creator.
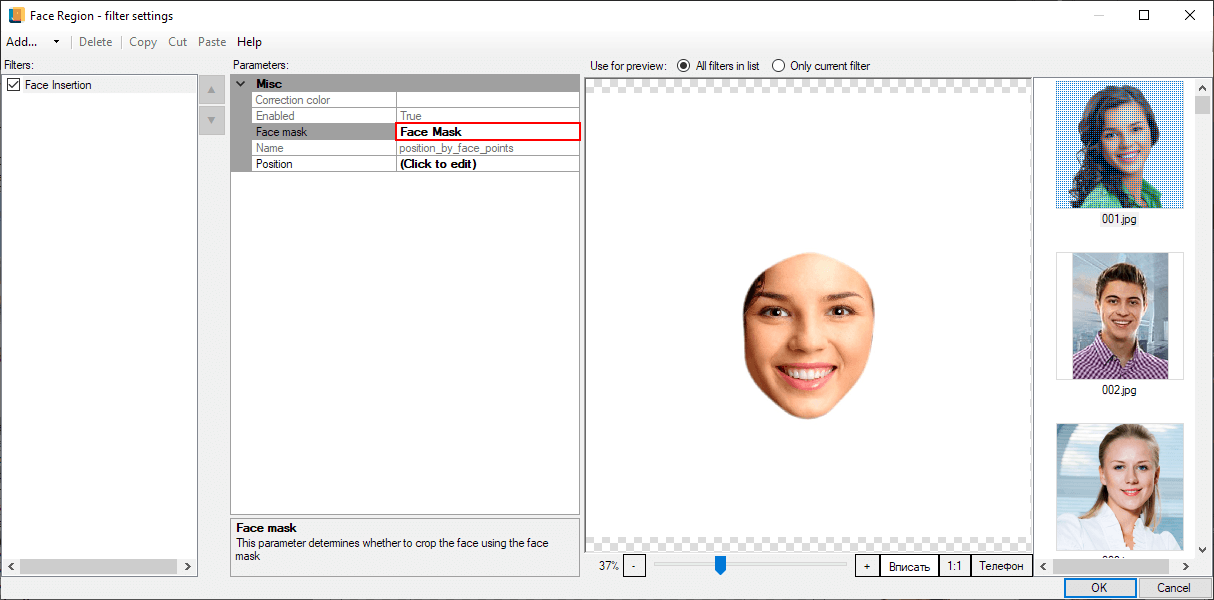
Set the ‘Face’ value in the ‘Mask’ property.
Setting this value will let us hide everything beyond facial contours from user photos. Confirm the changes and close the filter settings dialog.
Step # 5
After we've adjusted dynamic masking of the face region, we can check the result using a test photo.
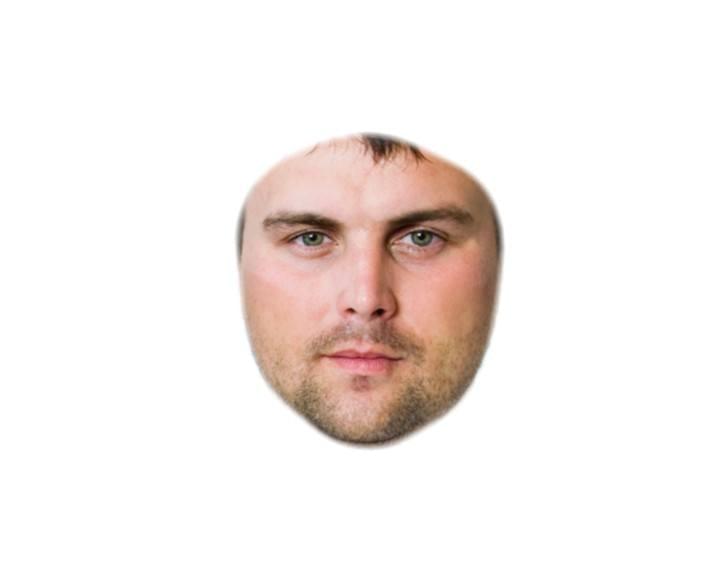
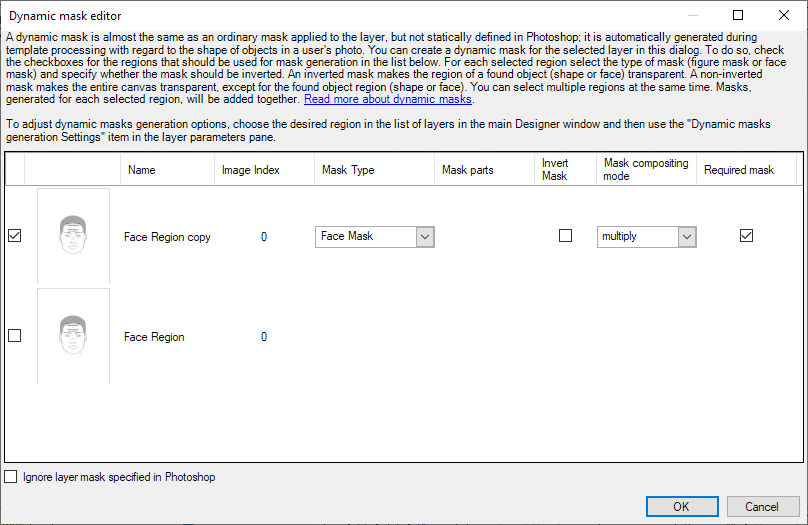
The result is not bad. However, since our template combines multiple photos, it would be great to feather the edges of facial contours and make the mask a little bit ‘closer to the face’. To do so, open the Dynamic mask generation settings dialog.
The result is not bad. However, since our template combines multiple photos, it would be great to feather the edges of facial contours and make the mask a little bit ‘closer to the face’. To do so, open the Dynamic mask generation settings dialog.
To open the dialog, right-click the face region and select the corresponding item from the context menu.
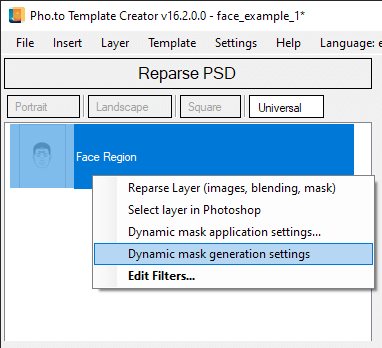
This dialog lets you configure dynamic masks settings. Values set in this dialog affect all filters regarding face eroding and figures for a given user photo region..
Select Face Mask, then set Eroding Width to 10 and Smooth Radius to 15. Eroding Width determines how close image borders should be drawn up to the figure. The meaning of the Smooth Radius parameter should be clear from its name.
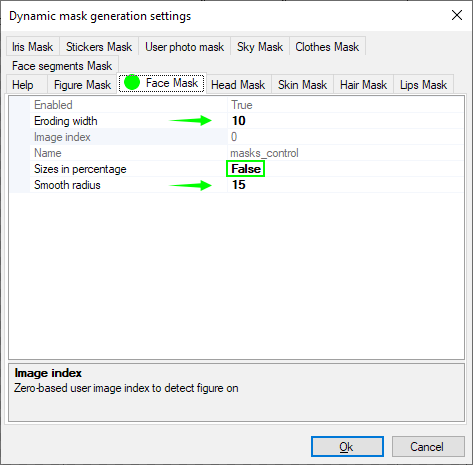
These settings let you make a dynamic mask ‘closer to the face’ as well as make its edges smoother. You can experiment with the parameters to find even more suitable values, in your view. Confirm the changes and process a test photo to check the result.
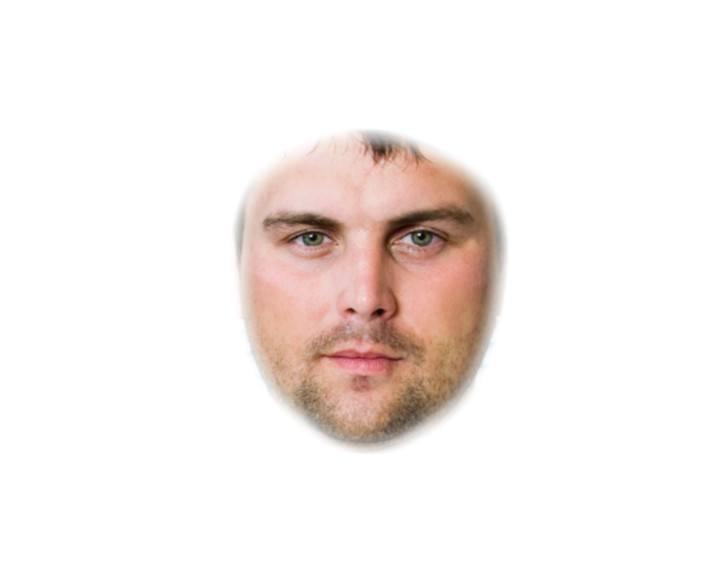
Well done! Let us now go to Photoshop and address the composition of the template.
Step # 6
As we've already said, we’ll need about 10 face regions to implement our idea. At the moment, the template contains only one face region, for which we’ve enabled a dynamic mask along its facial contours and configured its parameters. Now we need to add 9 more face regions. Of course, we could do this using the Insert menu in the Template Creator, but this method has some shortcomings.
The point is that if you add face regions using the Template Creator, you will get new regions without any added filters and configured settings. In this particular case, all 10 face regions should have the same settings regarding facial contours eroding. It is not a good idea to do quite a lot of extra work configuring the parameters for each of the face regions manually. That’s why we will create copies of the existing smart object of the face region right in our PSD document. All clones of this smart object will inherit the filters and face region settings in the Template Creator.
Right-click the smart object layer to open the context menu and choose ‘Duplicate Layer’.
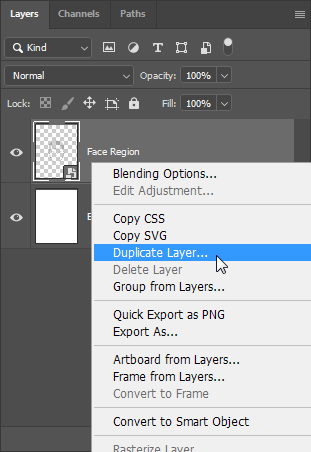
Repeat this operation until you have 10 smart objects of the face region in the PSD document.
Step # 7
As soon as you've added all face regions into your PSD document, it is necessary to position and scale them.
Please remember that when you work with the Transform Tool, it is very important to keep the proportions of the smart object. This will keep the facial points correlation safe. You can enable it by clicking the Maintain aspect ratio button once the Transform Tool is activated. Check if this option is enabled everytime you are going to transform the face region smart object.
Step # 8
Arrange the smart objects in the PSD document in a way that suits you, then reparse the PSD document in the Template Creator and process several test photos.


If the result differs greatly from what you see here, you can always go back to any previous step and make edits. Besides, you can download the ready-made sample of this template and compare it with the result you got.
Creating a facial template with custom facial marker points
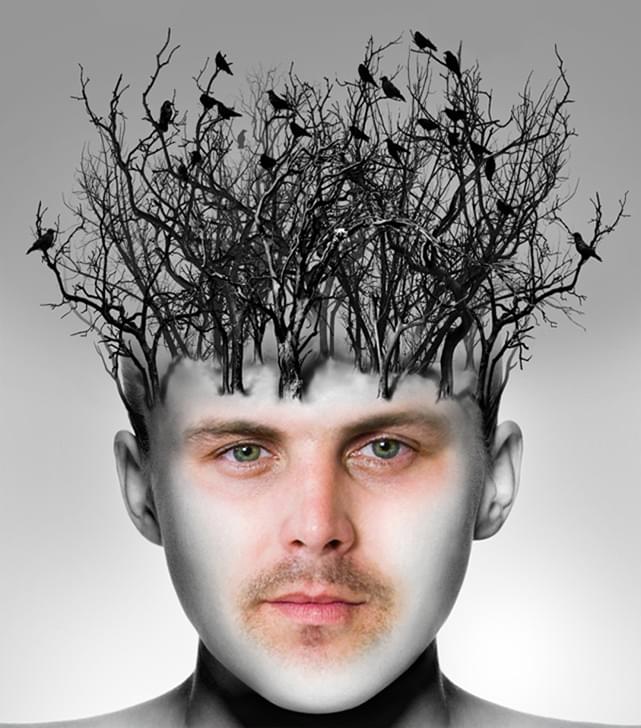
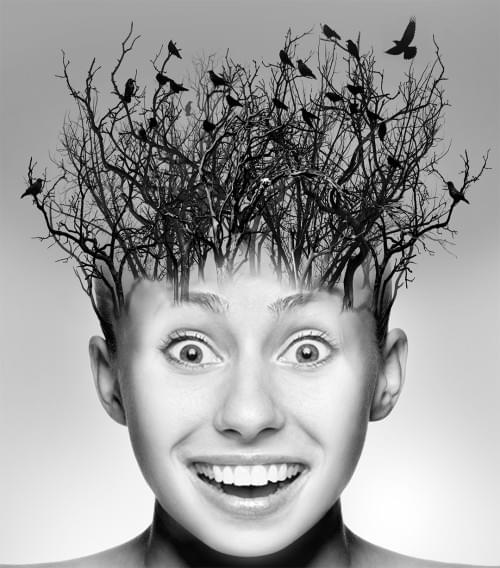
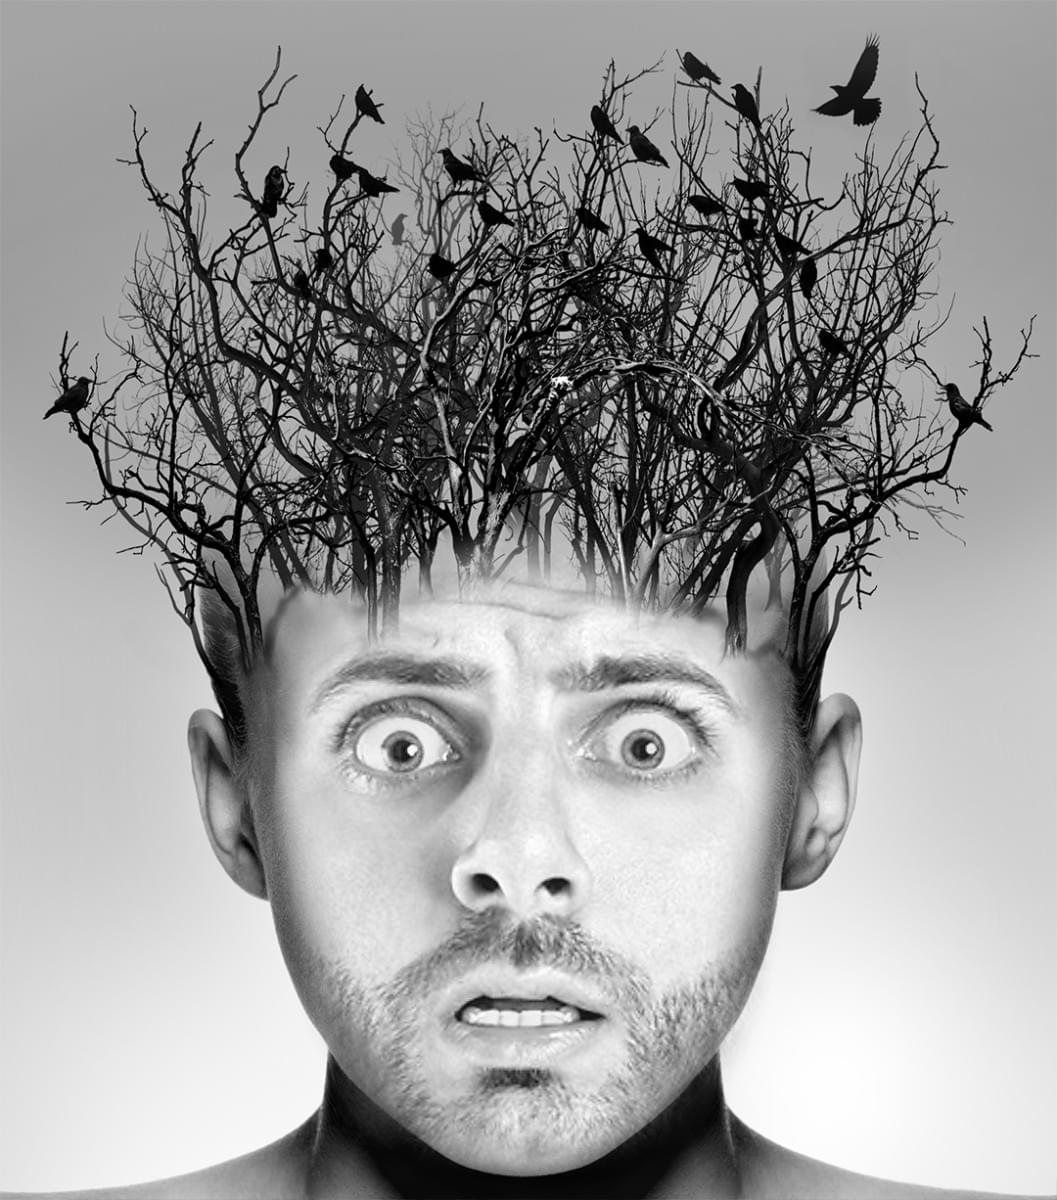
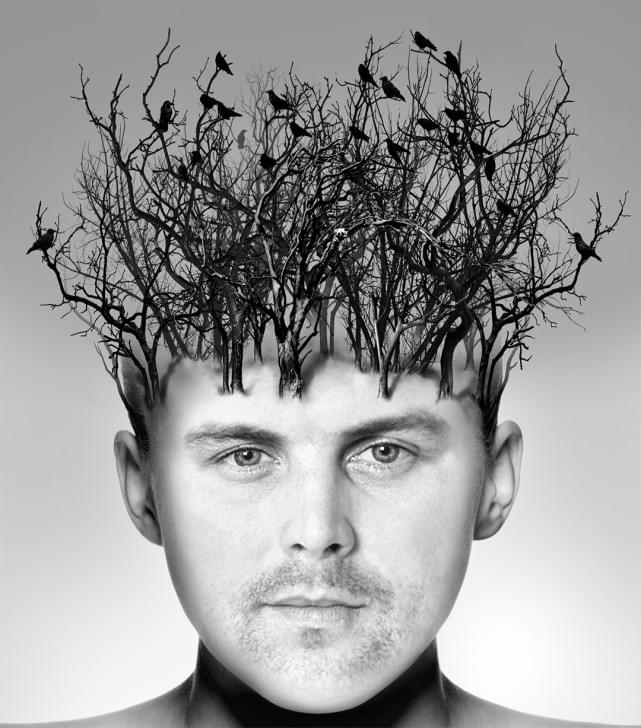
In previous lessons, we looked at examples of facial templates where standard facial points were used to position the face. Now we are going to create a template where a face from a user photo gets inserted into a specific area using manually selected facial points. Along with that, we will try to preserve the main facial features from the user photo. The artworks that you’ll need to create this template can be downloaded here and here. The resulting project is available at this link.

Step # 1
Create a new project with the "Face" template type. You can refer to this section for more details about how to create a template. After you have created the project, go to Photoshop and edit the layers. Place this image into the Graphic Layer 1 group above the Face Region smart object. You can delete other layers, as you won’t need them.
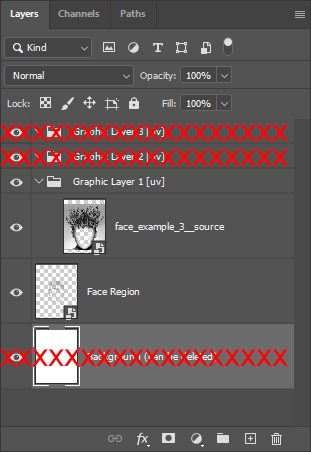
Step # 2
In order for the image to completely cover the canvas of the template, we need to resize the canvas vertically. The easiest way to do this is to use the Crop Tool in Photoshop.
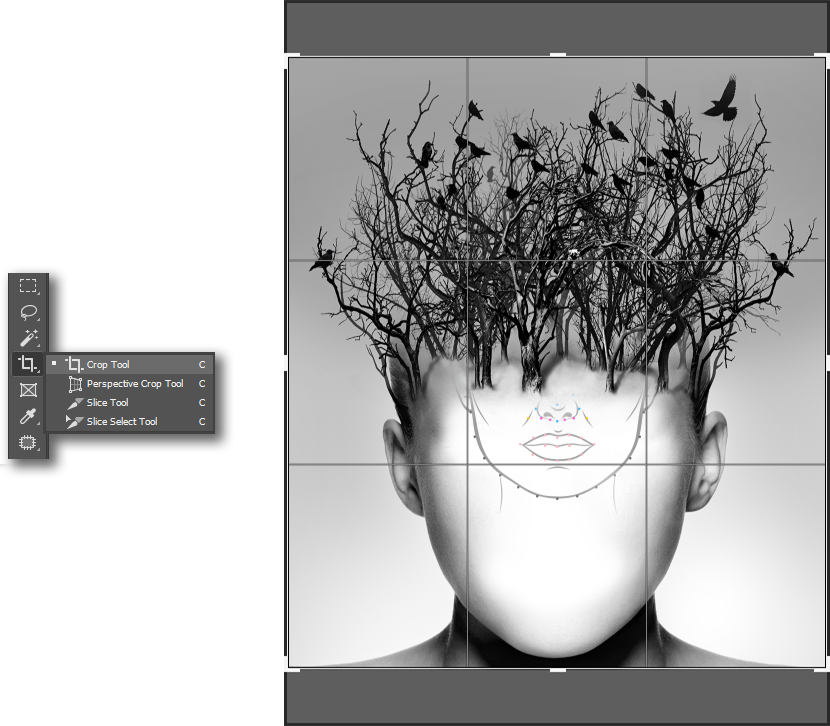
Use the Free transform mode (Ctrl + T) to position the Face Region so that it fits nicely within the artwork. To position the face region conveniently, you can temporarily reduce the layer opacity, or place the face region smart object above the graphic layer in the layers panel.
Before transforming the Face Region, smart object, be sure to check the "Maintain aspect ratio" box.
Go back to the Template Creator and reparse PSD.
Step # 3
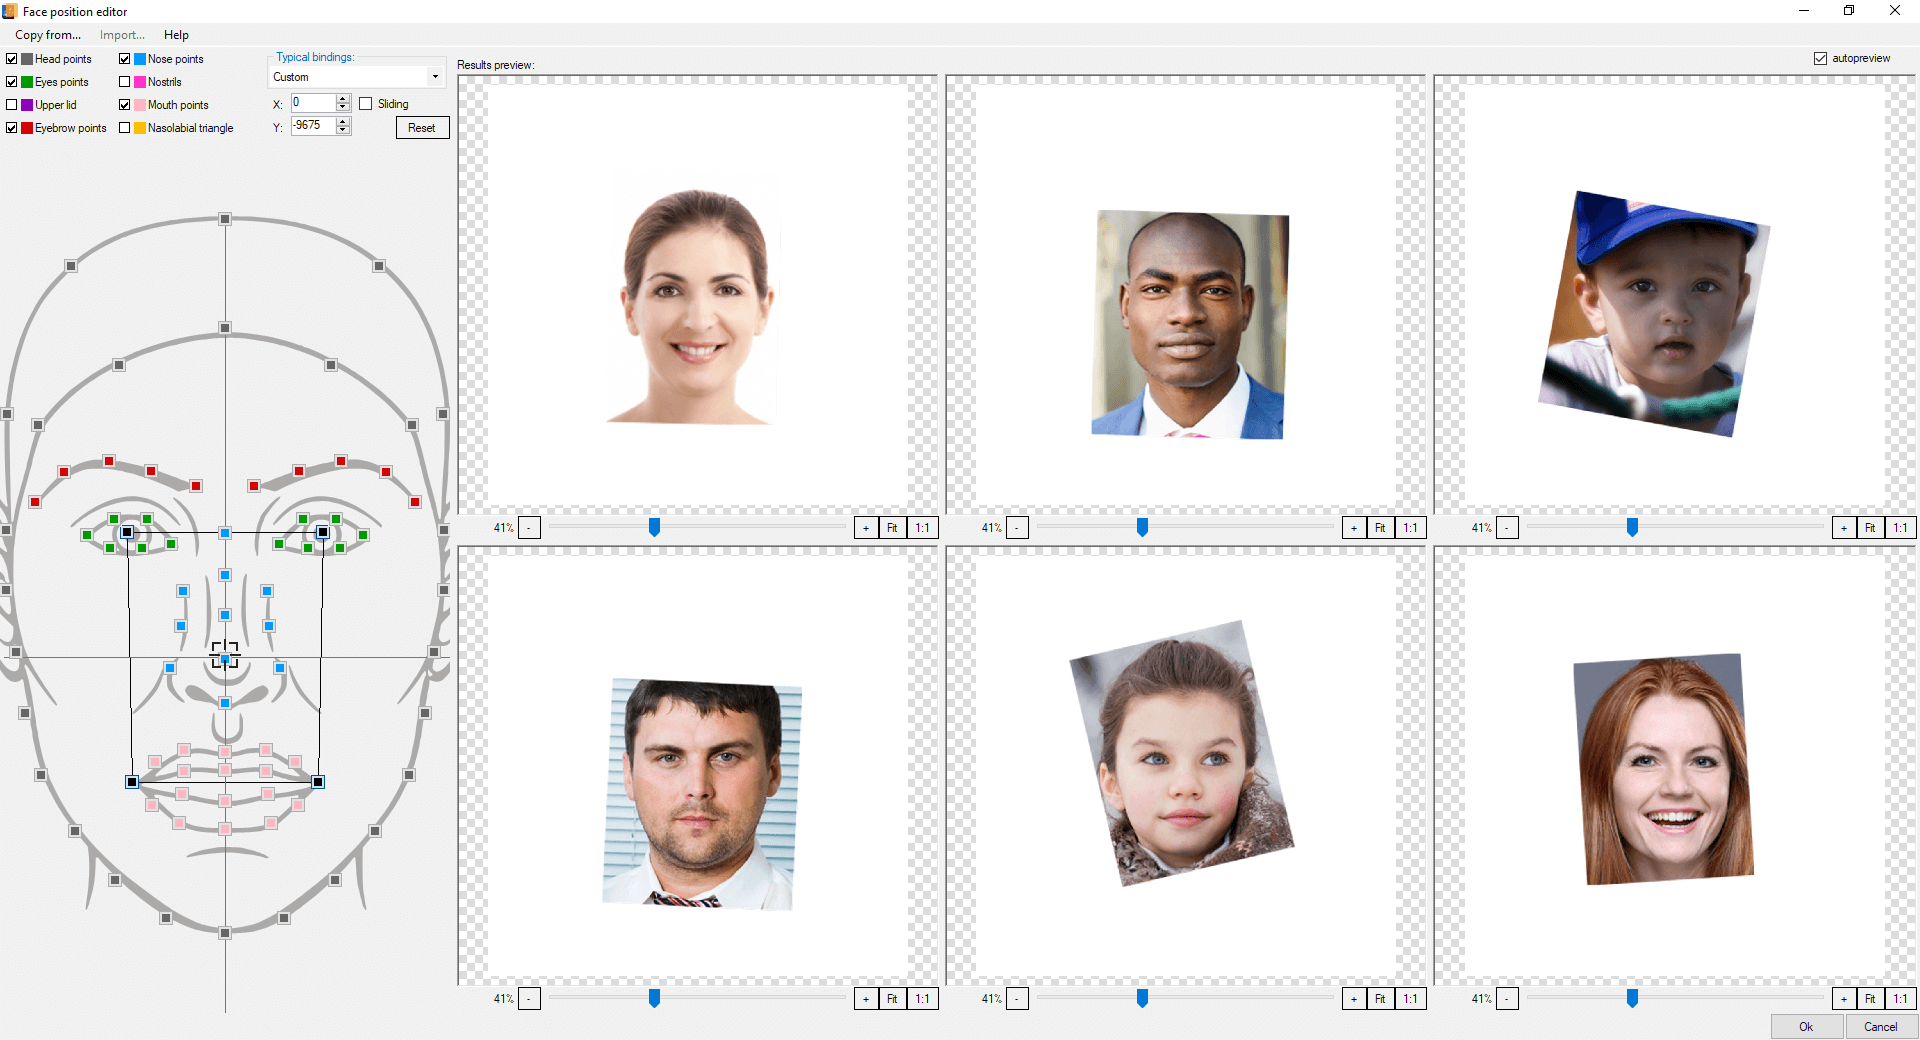
Let's move on to dynamic positioning of the face in the template. We’ll process several photos and check the results:
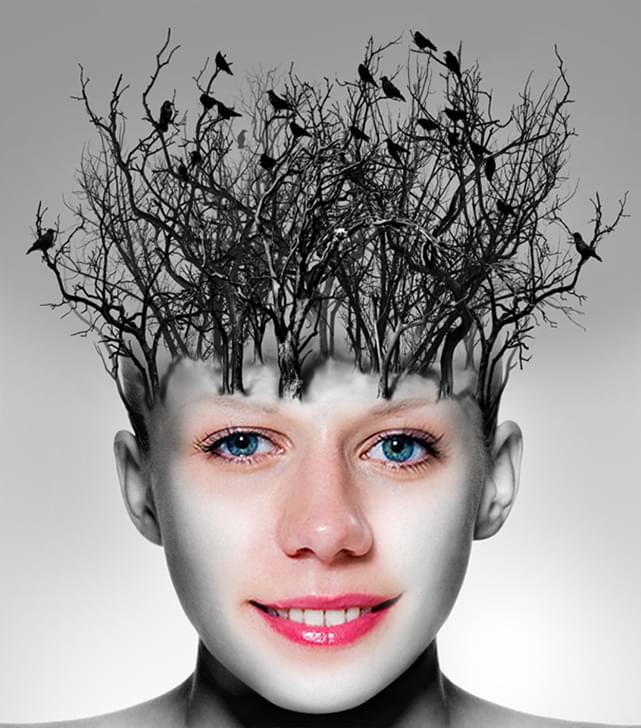
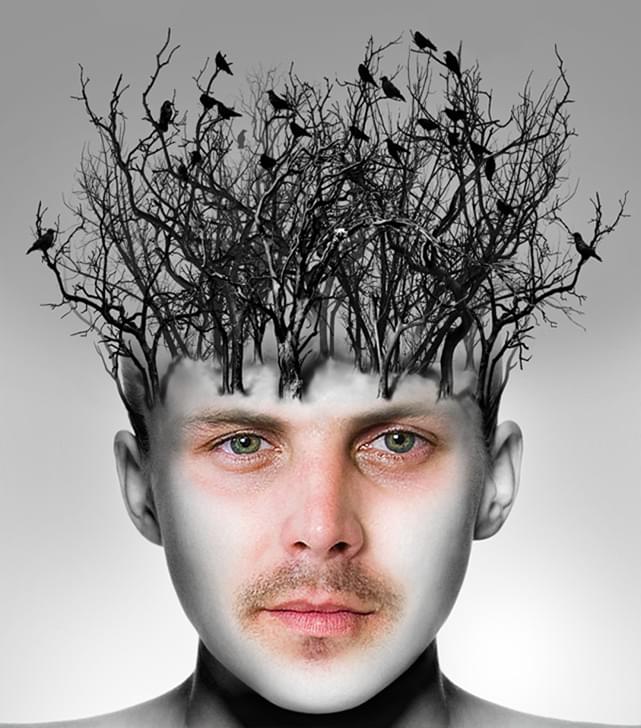


As you can see, the faces do not always fit well into the template, and some of the face features look unnaturally large. This happens due to the fact that the photo has been positioned using standard facial points:
Due to anthropological diversity of human faces, facial marker points used to position a user photo are of different size and are positioned differently in different faces. This, of course, affects the final result of processing. That is why it makes sense to determine the facial marker points manually - this will let us position user photos in the template with more accuracy.
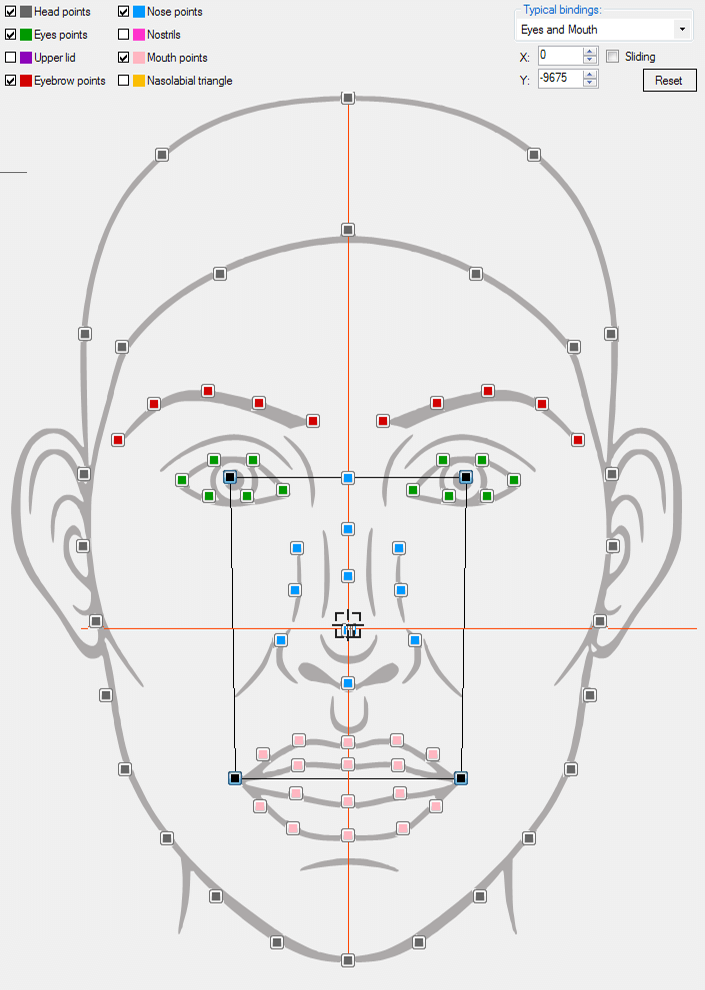
Open the face position editor. To do so, double-click the “Face region” to open the filter settings dialog, select the Face insertion filter and click Position (Click to edit).
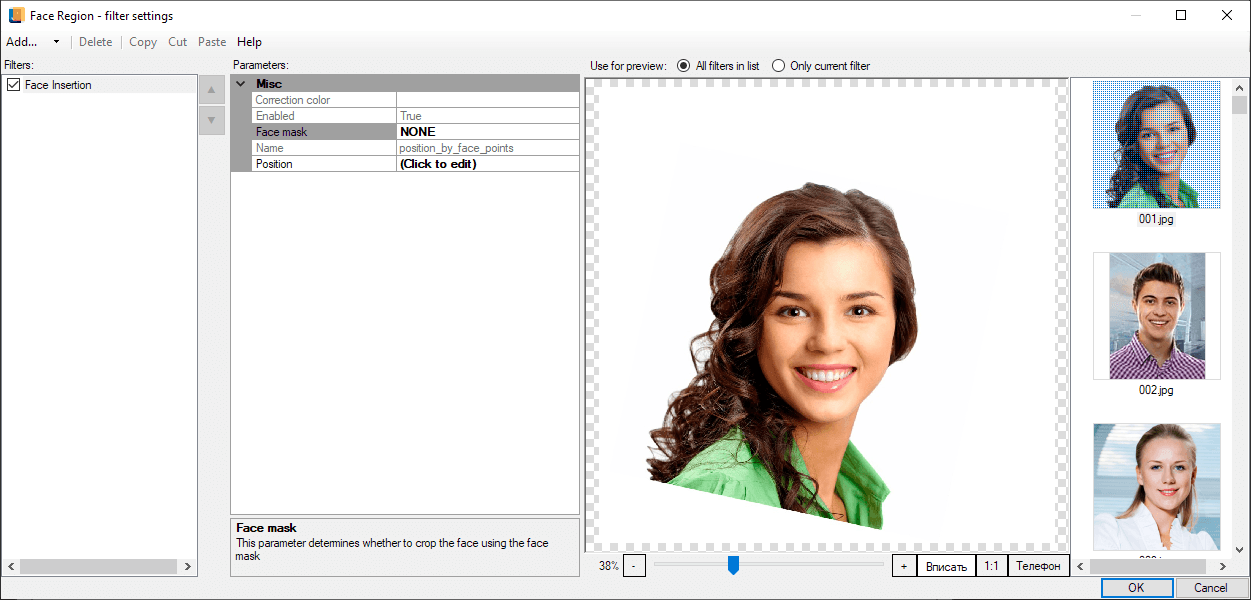
The face position editor is almost identical to the sticker position editor. The only difference is that it does not contain options for determining the sticker center and its size.
In order to select marker points correctly, we need to understand what facial features, available in the template image, can be used to position a face from a user photo.
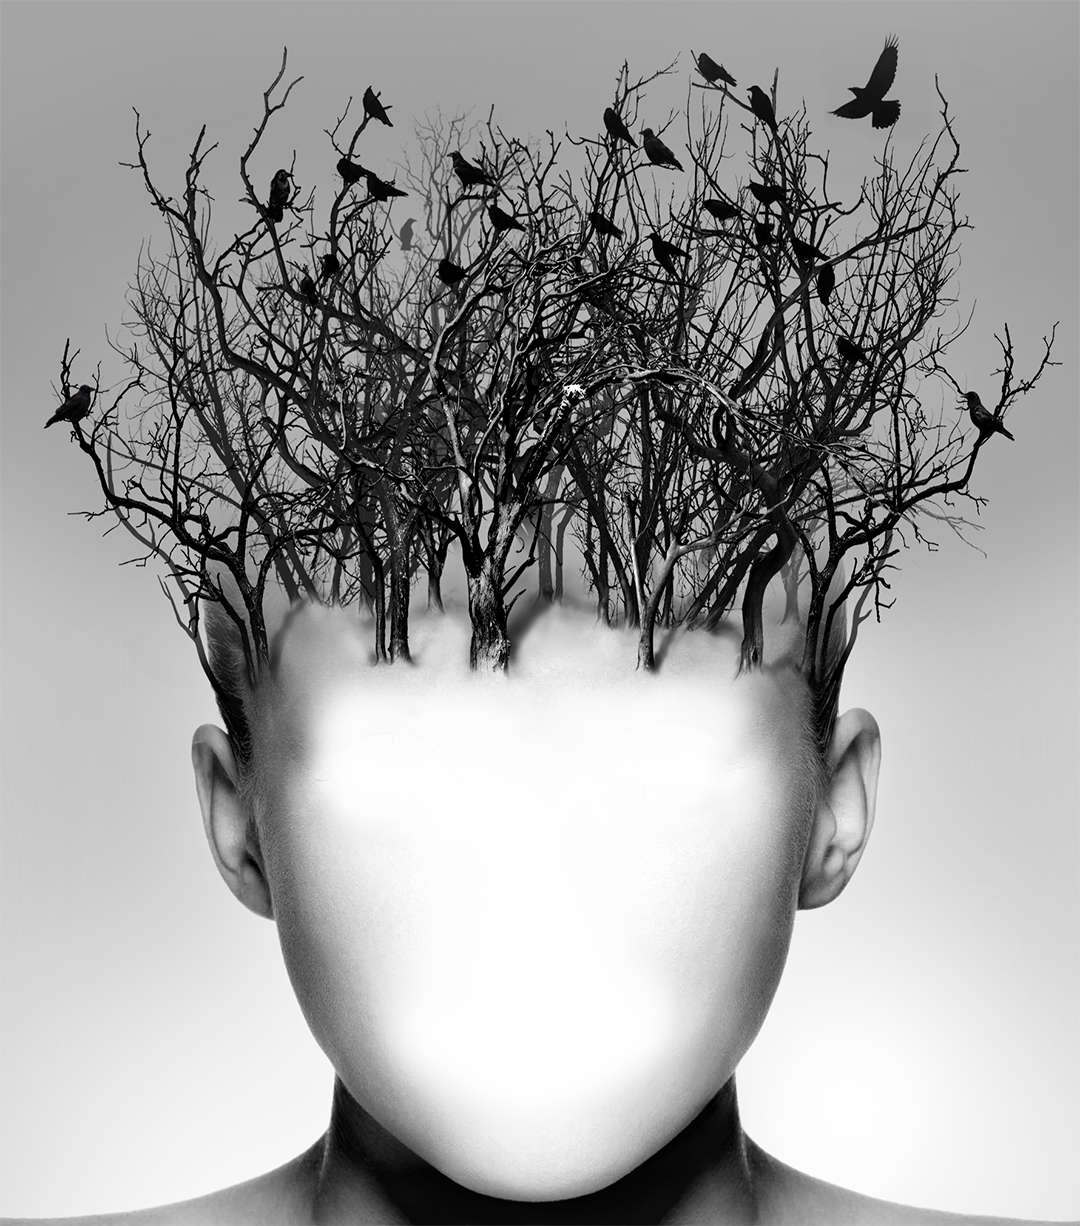
As for the current template, it is quite clear that the only available face features are the ears and the face contours. Besides, we need to insert the whole face into the template, and not some particular face features. That is why the most convenient thing to do is to position a user photo using points placed along the face contours. To do so, select 4 central head points and 2 more additional points on each side of the previously selected ones for more accurate positioning.
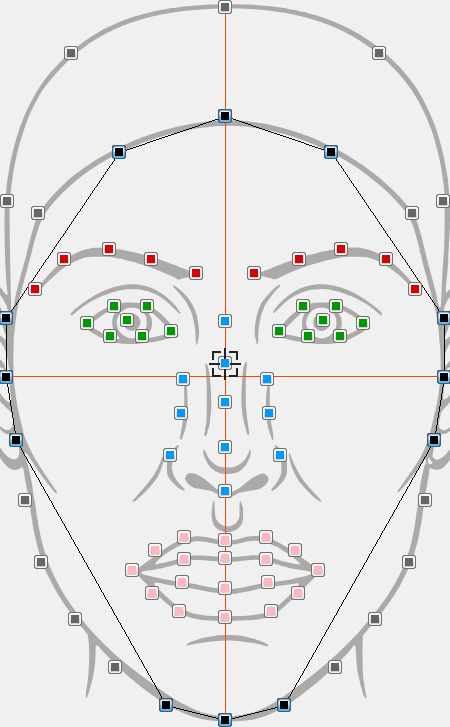
To select the marker points more conveniently, we recommend that you turn on the visibility of the graphic layer via the Import menu.
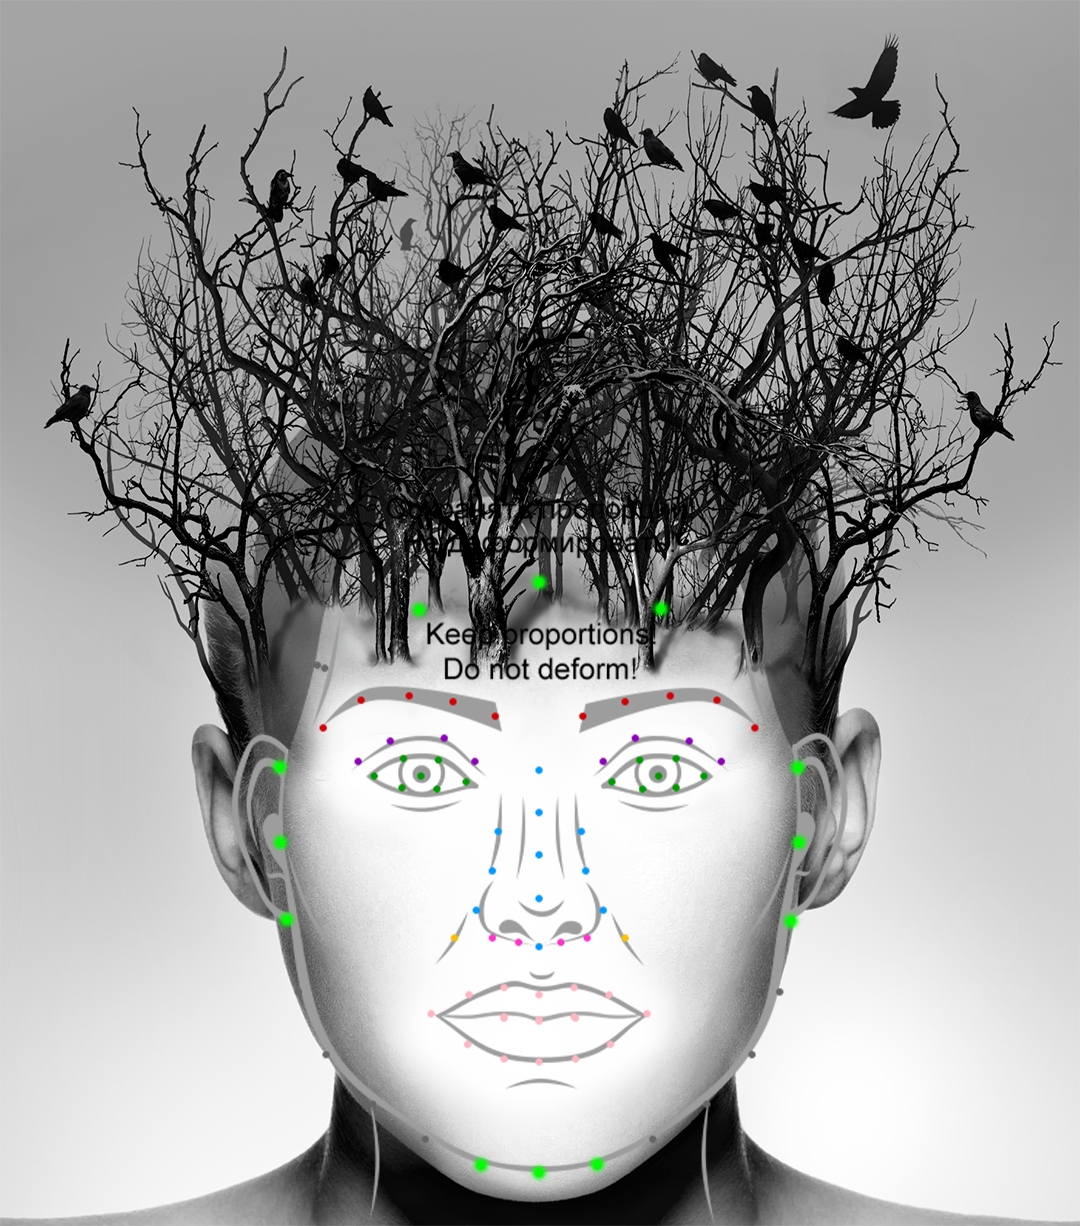
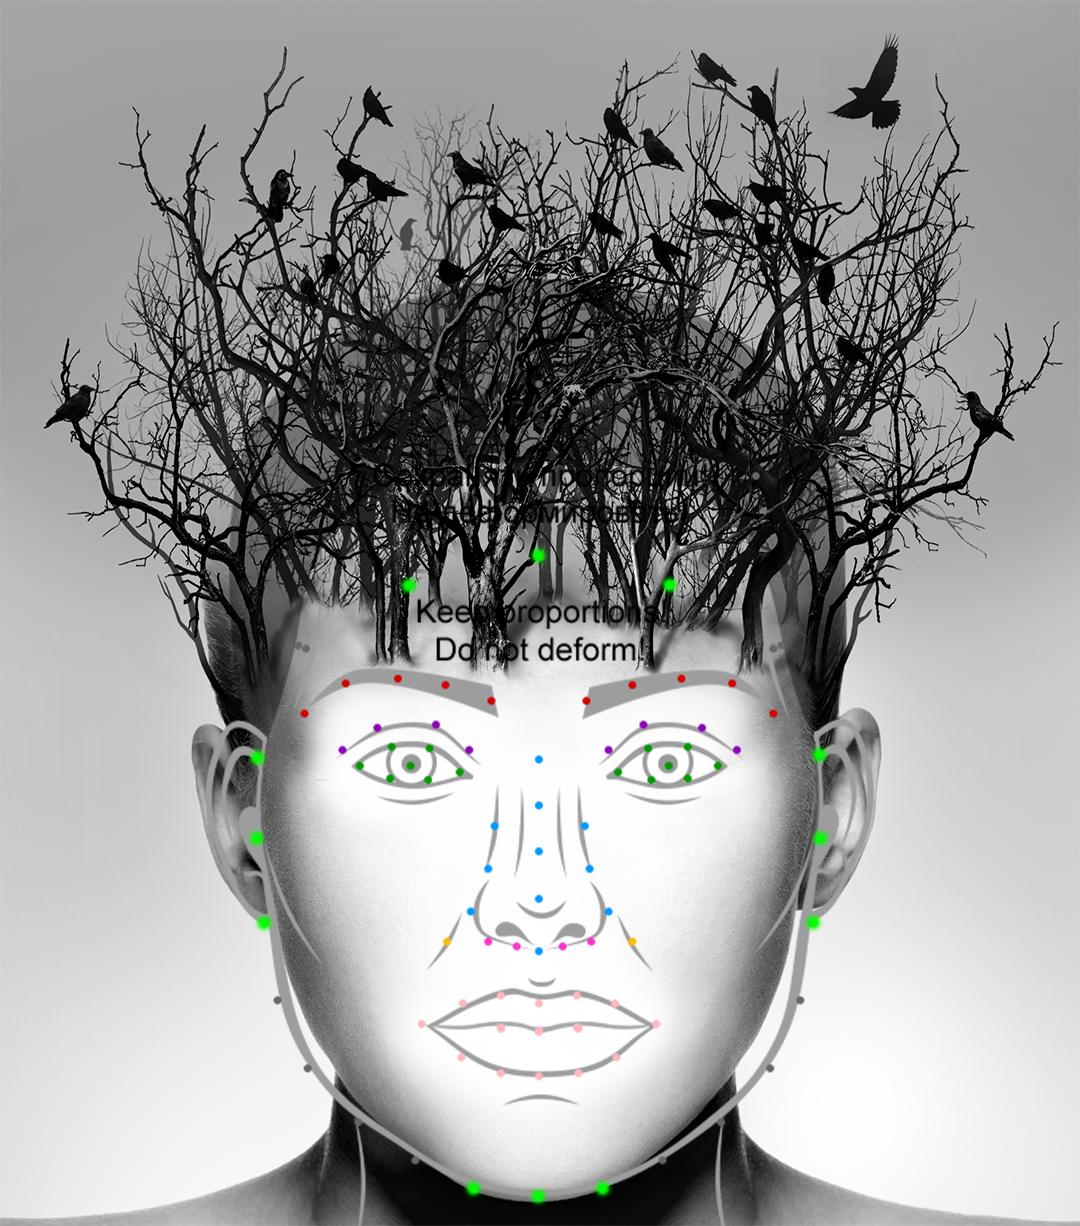
It should be understood that individually selected marker points will be bound to the current position of the user photo region in Photoshop. This can lead to incorrect positioning of a user photo. For more accurate positioning, you need to adjust the position of the user photo region according to the selected marker points, and reparse the layer after that.
As you can see, in the "After" image the location of the selected marker points coincides with their actual location in the face on the graphic layer.
Finally, we have significantly improved the result:
Step # 4
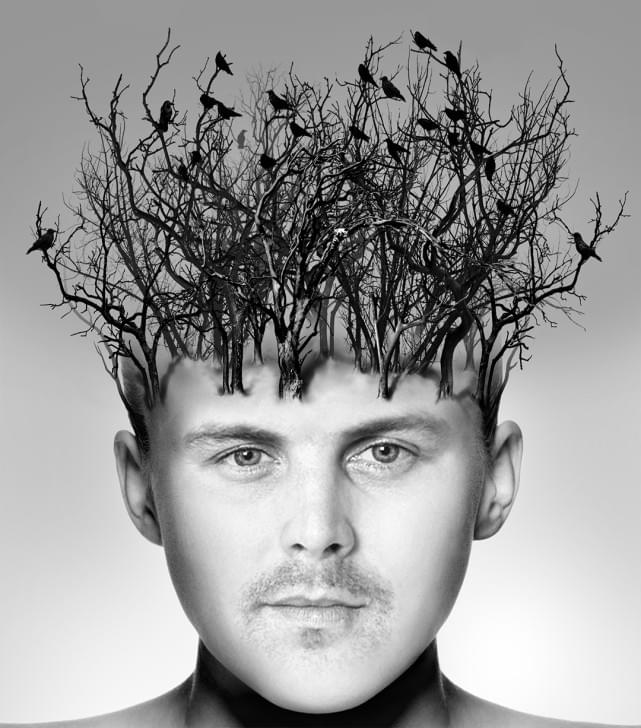
To make a face from a user photo blend well with the black and white color scheme of the template, add the Desaturation filter to the user photo region. Besides, since the skin tone of a face in a user photo may differ from that found in the template, we also need to add a correction color to the smart object of the user photo region in Photoshop, choosing the most suitable color tone found in the template artwork. We used the #d6d6d6 color for this template.
You can read more about adding correction color here.
Step # 5
As we have said before, we also aim at preserving the main facial features from the user photo. To do so, we’ll apply an inverted dynamic mask based on the face to Graphic layer 1.
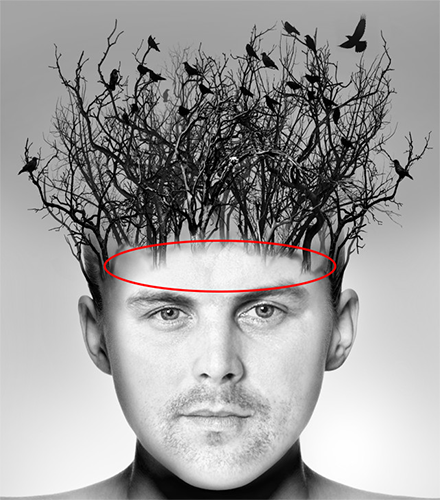
As you can see, the mask has cut off some graphics in the forehead. Besides, the borders of the mask (transition between the graphics and the user photo) are too sharp.
First of all, let’s smooth the borders. Go to the Dynamic mask generation settings dialog and change the Smooth radius value to 3 (Parameter Sizes in percentage: True).
Changing the smooth radius helped us achieve a fairly soft transition at the mask borders. However, this resulted in new artifacts looking like semi-transparent reflections along the facial contours. To get rid of them, we need to change the eroding width value. Values between 6 and 7 usually give the best results. In this case, we’ll use a value of 6,5.
n some cases, traces of the original user photo reflections may appear at the mask borders in the processed photo, or some hair covering part of the face may become visible. To smooth out these artifacts, we recommend applying another face mask to the user photo region, but a non-inverted one this time. Since it will have the same settings that we’ve specified earlier, but in the mirror image this time, this will help us hide most of these artifacts.
| Before | After |
|---|---|
| Hair near the left eye | |
| Hair near the right eye | |
| Some reflection of the original layer of a user photo near the beard | |
Step # 6
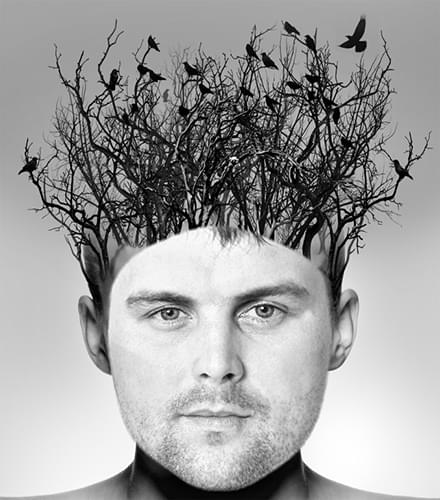
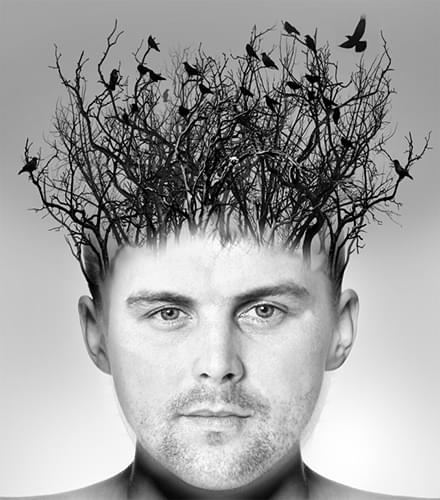
After we have changed the values of eroding width and smooth radius, a semi-transparent area became visible in the forehead in the graphic layer. It partially hid the tree trunks and made the picture look worse.
To fix the problem, we need to copy Graphic layer 1 to a new group of layers called
Top and then edit it in such a way as to leave only its upper half and remove the background near the head
as much as possible, leaving only the tree trunks with a
If we place this layer above all other layers, it will hide all the artifacts caused by our previous actions.
As you may have noticed while working with the template, some user photos have different lighting problems. You can try fixing the problem yourself using filters.
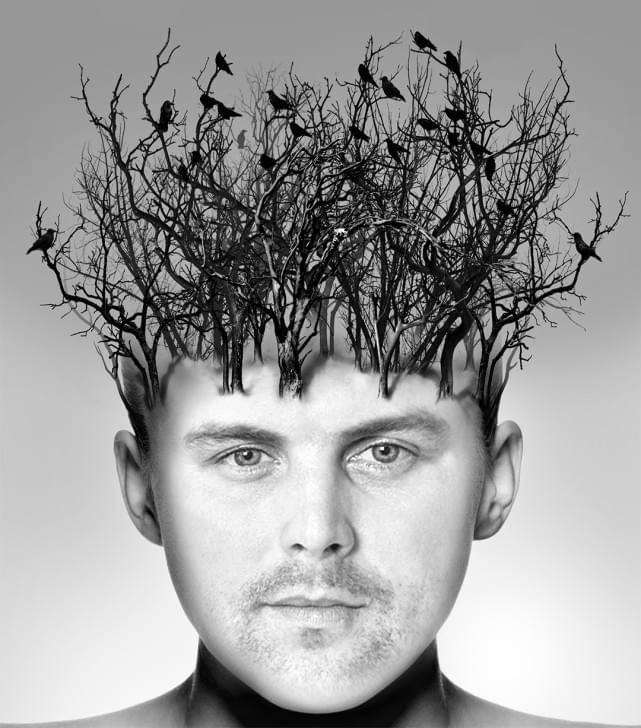
On the left – before applying the filter; on the right – after applying the filter
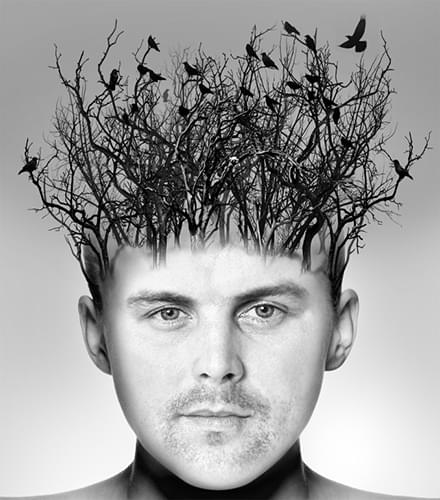
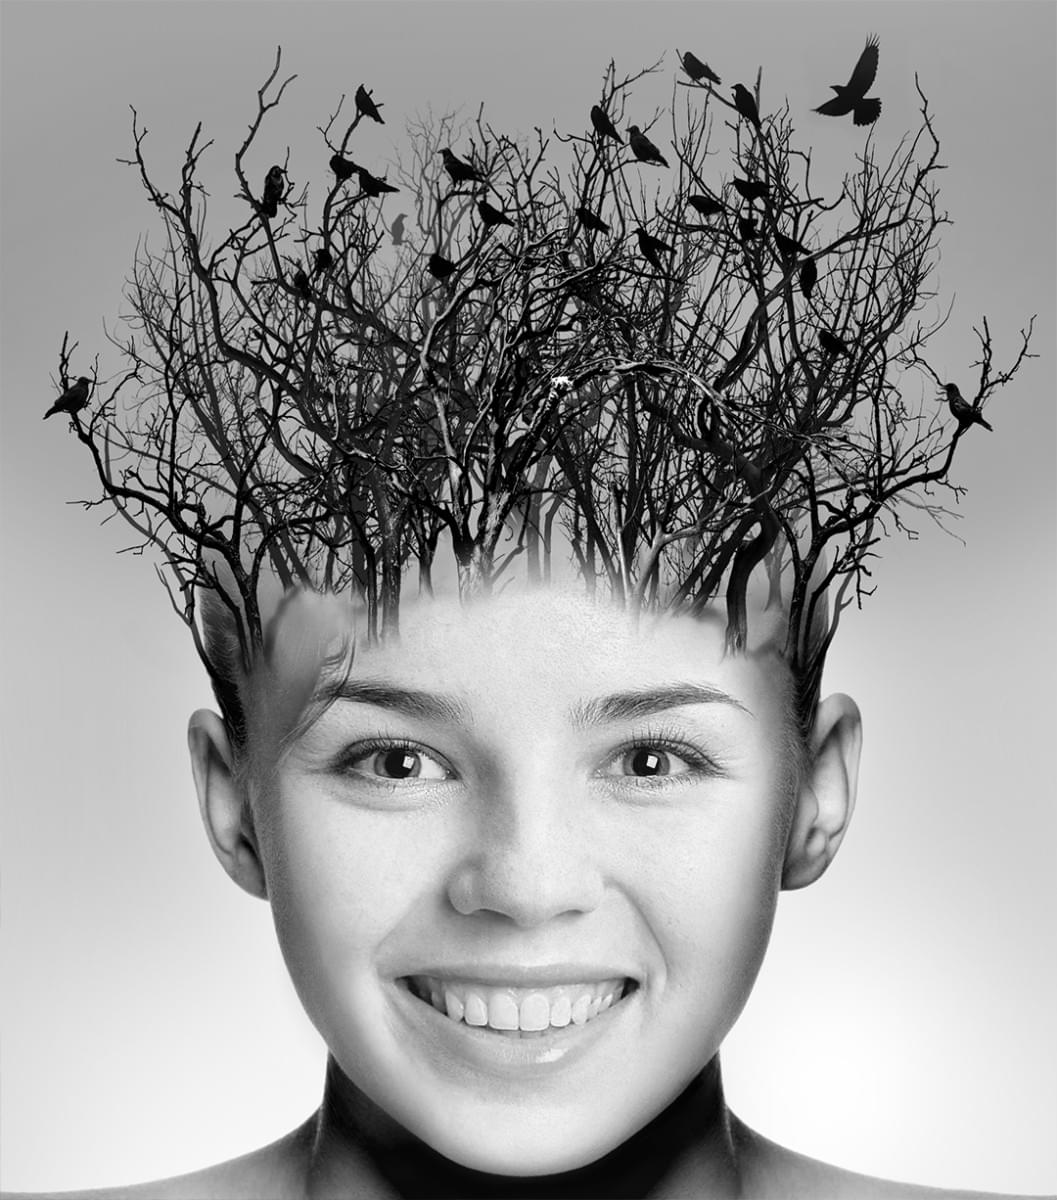
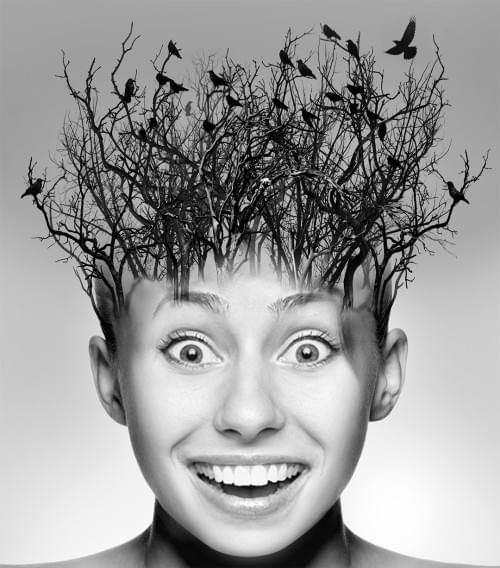
Process a few test images with the template. The result must be similar to what is shown below:


The resulting project is available at this link.
Crating a facial template with small face
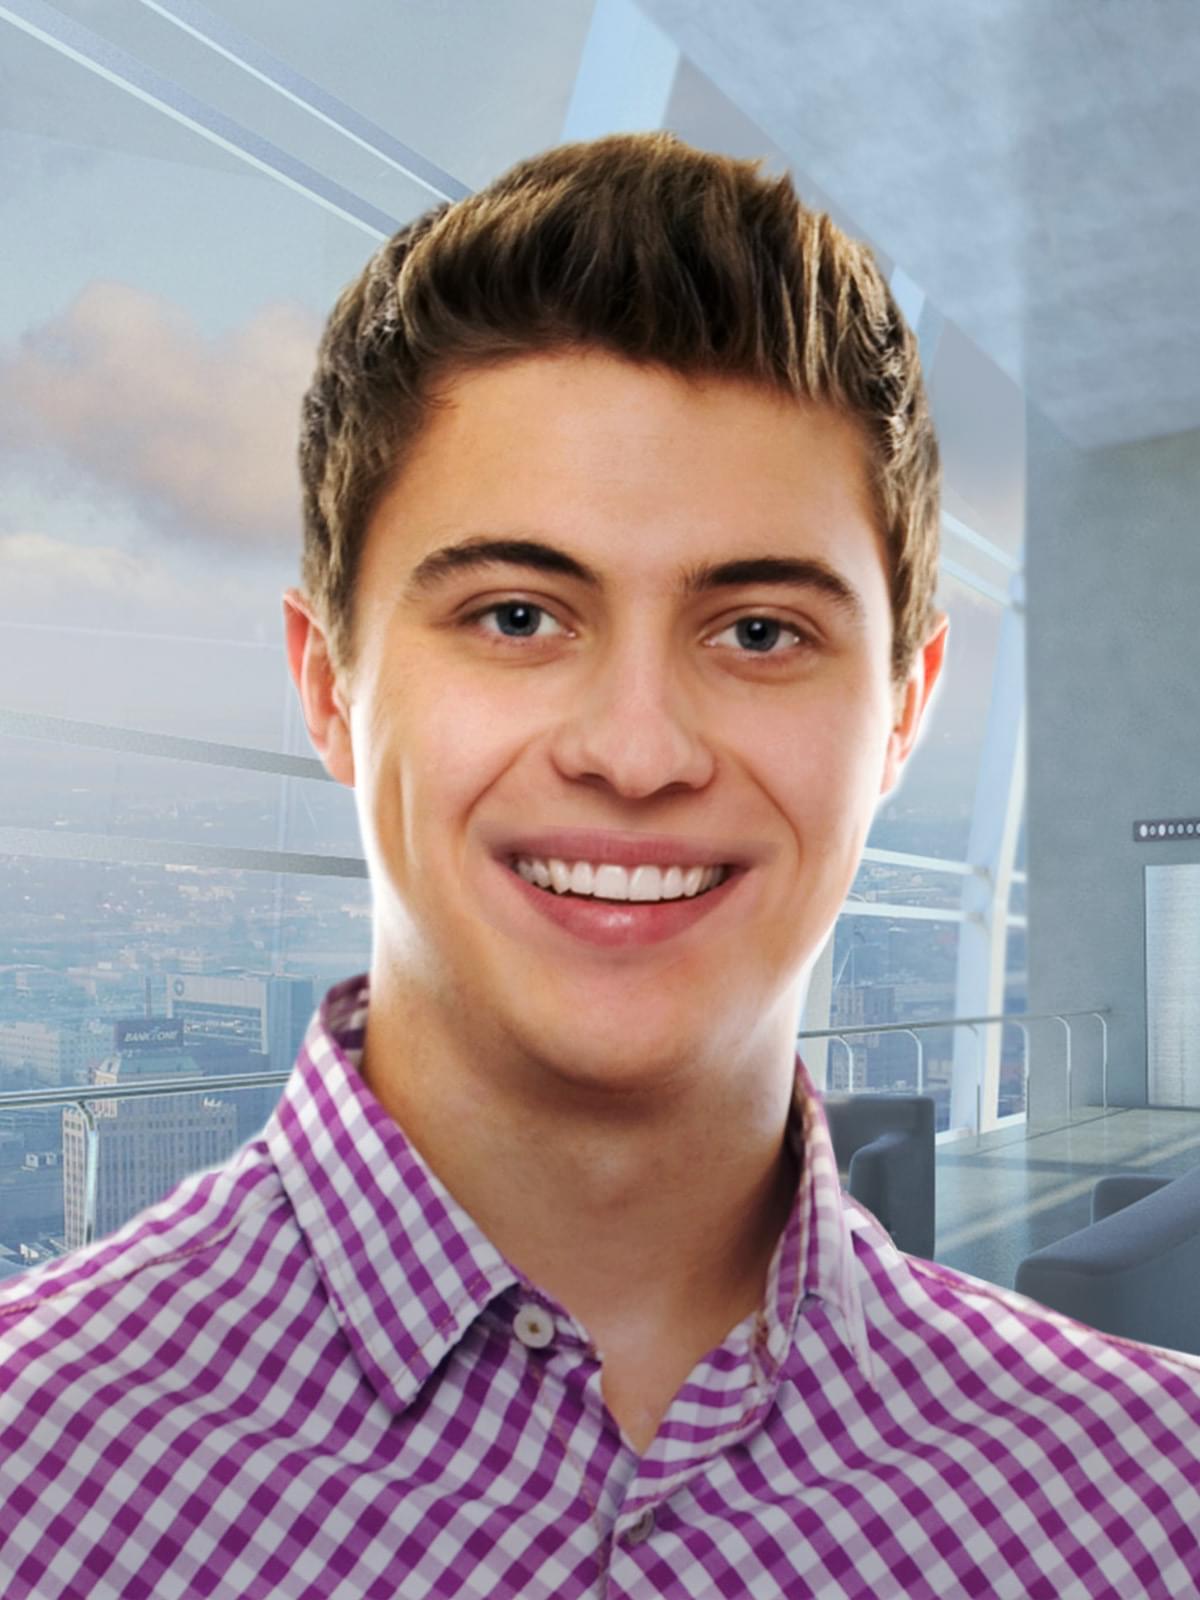
In this case we will review the process of creating a template where the face from a user photo will be inserted on a smaller scale. Also while doing it we'll try to keep most of the face features and make it as smooth as possible
The resulting template you can download here.

Step # 1
Create a new project with the Face. template type. In Photoshop delete all excessive layers, leaving only the Face Region smart object.
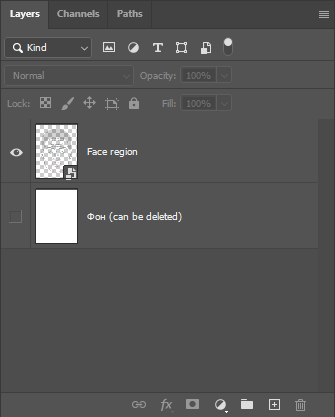
Step # 2
Increase the size of the Face region, so the face covers the large part of the canvas.
Step # 3
Add another Face region over the existing one and reduce it to the size that you'd like to see as a final face.
In order to display only the face, in Template Creator apply to the Face Region copy a dynamic face mask based on the same user photo region.
Step # 4
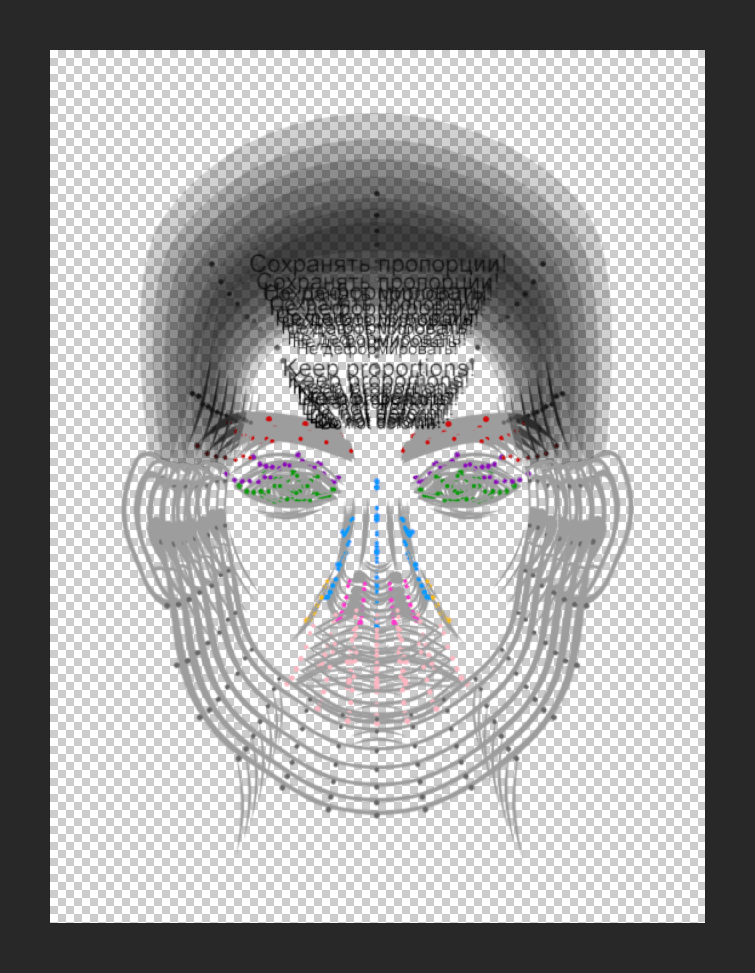
The head to face transition is very obvious.
In order to smooth the transition, add more copies of user photo region between the two existing. Every new copy of the face region should vary slightly in size from the previous, creating some kind of gradient. In this case we have added five additional face regions.
Make sure that all face regions have their own face mask. If you have copied the Face Region copy layer to add intermediary layers, the face mask should be added automatically. But even in this case it might be a good idea to check if there is the said mask on every layer, and add it if there's not.
Rename Face regions to avoid unnecessary complications. Feel free to do it at your own discretion.
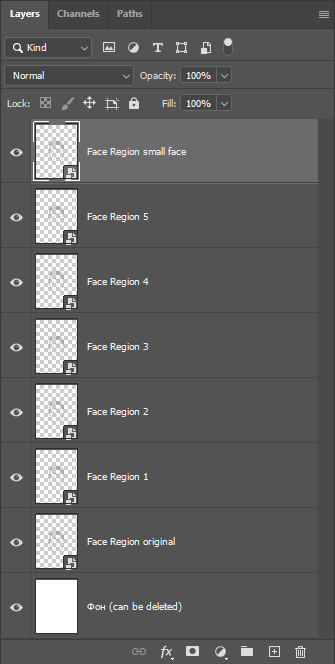
Reparce PSD and process a photo to see the result.
The result turned out to be better, but the edges of face regions are still visible. Change values of Eroding width and Smooth radius for all face regions except the Face Region original to make the transitions even smoother.
We used the following values (sizes in percentage):
- Eroding width: 5,8
- Smooth radius: 2,4
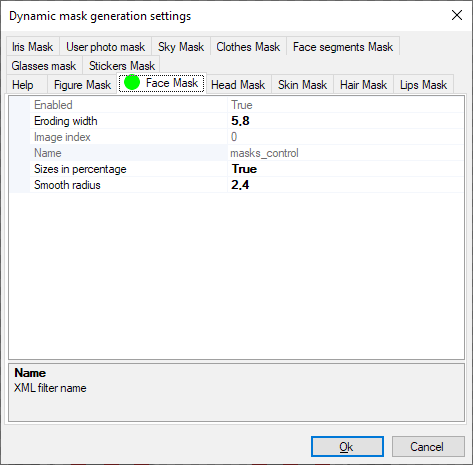
Step # 5
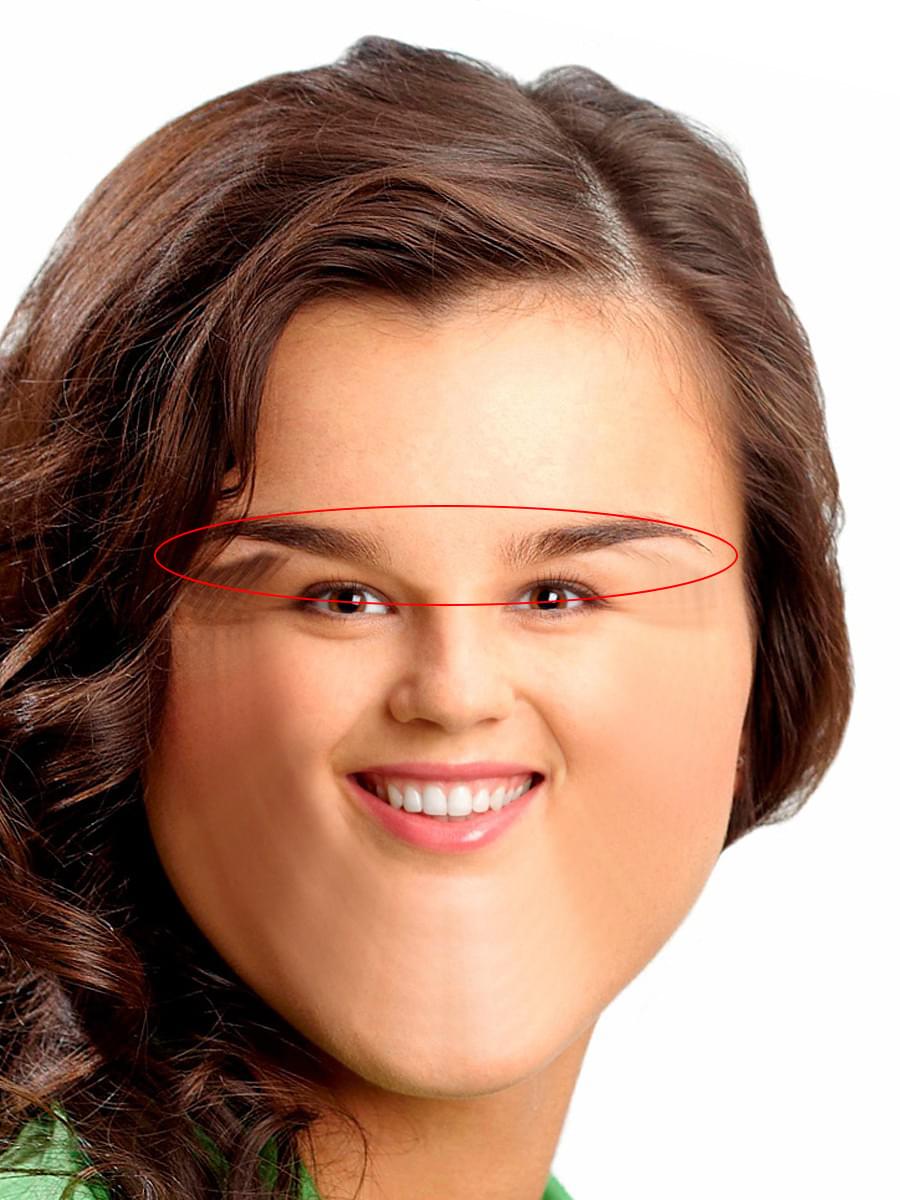
This resulting image shows that locating face regions in cascade has its side effects: in many photos there are trails of brows and pieces of hair on the edges of the mask.
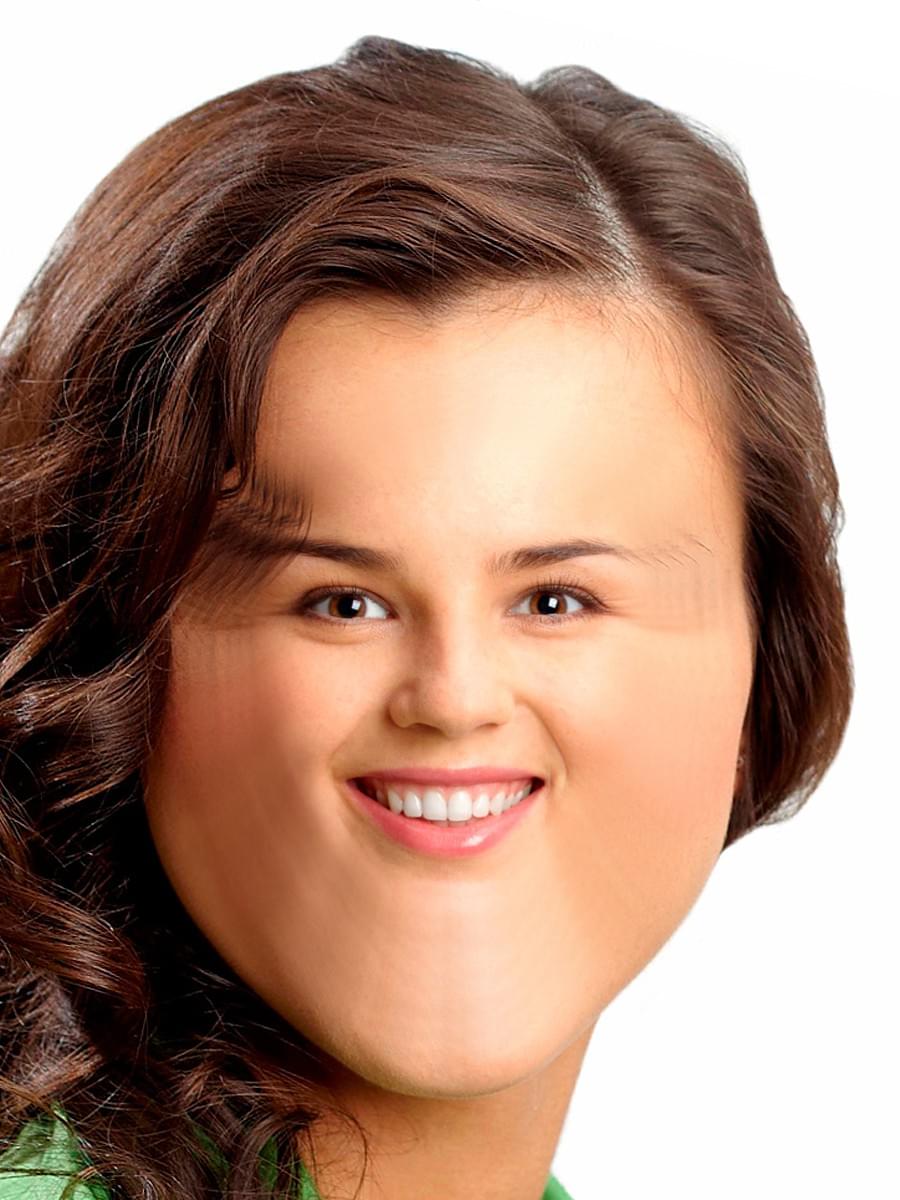

In order to get rid of these issues and also give the template some funny side, add a new layer from which you can take original size brows. At the same time, it will help to eliminate some other undesirable effects.
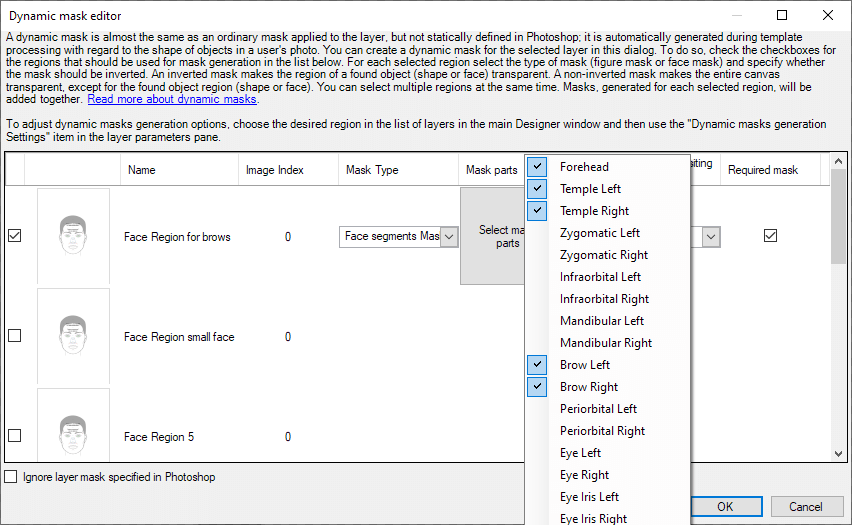
To do that, in Photoshop copy the Face Region original layer and place it on top of all other layers. Rename it to "Face Region for brows". In template creator reparce PSD and add to this layer a Face segments mask based on the same face region. In mask settings select necessary face segments: brow left and right. In addition, select forehead and temple left and right. This will partially help to get rid of previously mentioned side effects.
After all actions we have the follownig result:


If you want, you can leave the whole original facial contour. To do so, additionaly select chin, zygomatic left and right, mandibular left and right.
Step # 6
Adding face segments mask shows positive effects and helped to clear off most of the artifacts. However, in some photos you can clearly distinguish the edges where mask applies. To smooth them, open Dynamic mask generation settings and pick up the most appropriate value of Eroding width and Smooth radius.
In this case we have only changed Smooth radius to 1,4 (in percentage).

Step # 7
As you can see, in some photos can appear pieces of hair located on intermediary face regions.

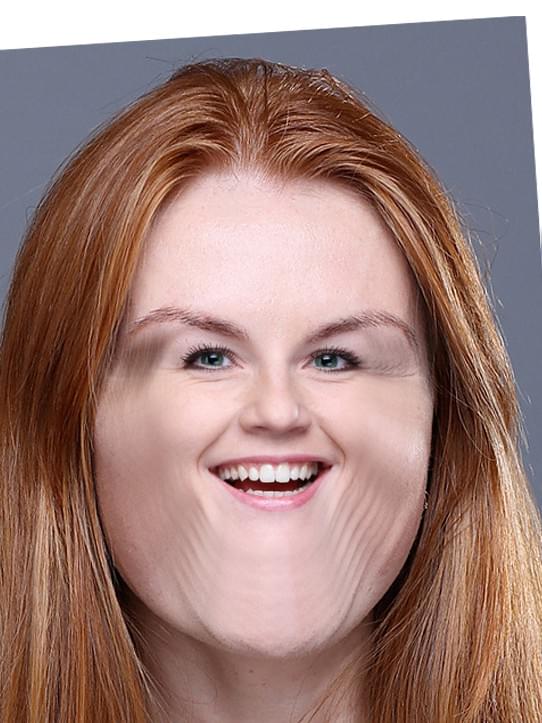
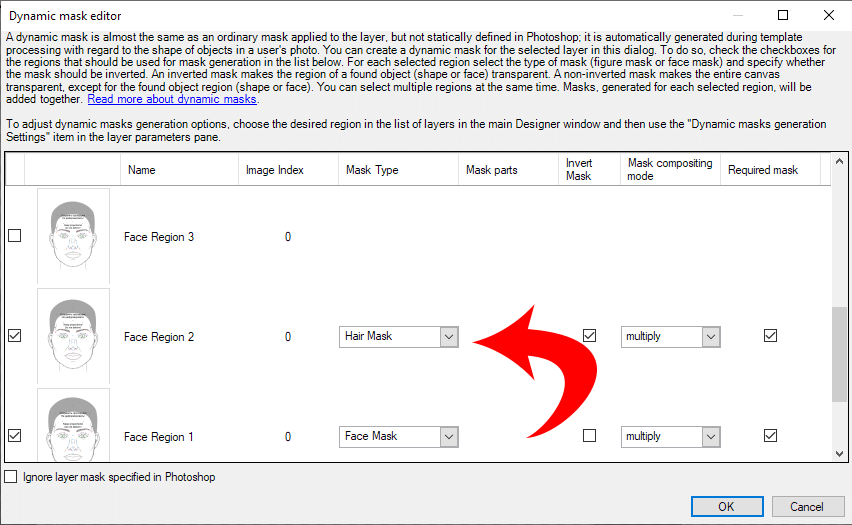
To clear this effect you'll need to use an inverted dynamic hair mask. It needs to be applied to every face region that we added to create the cascade effect. The mask must be built based on the layer that is located on top of the source layer. That is, when you apply the mask to the Face region 1, you should build it based on the Face region 2 and so on.
As the result we have the following picture:
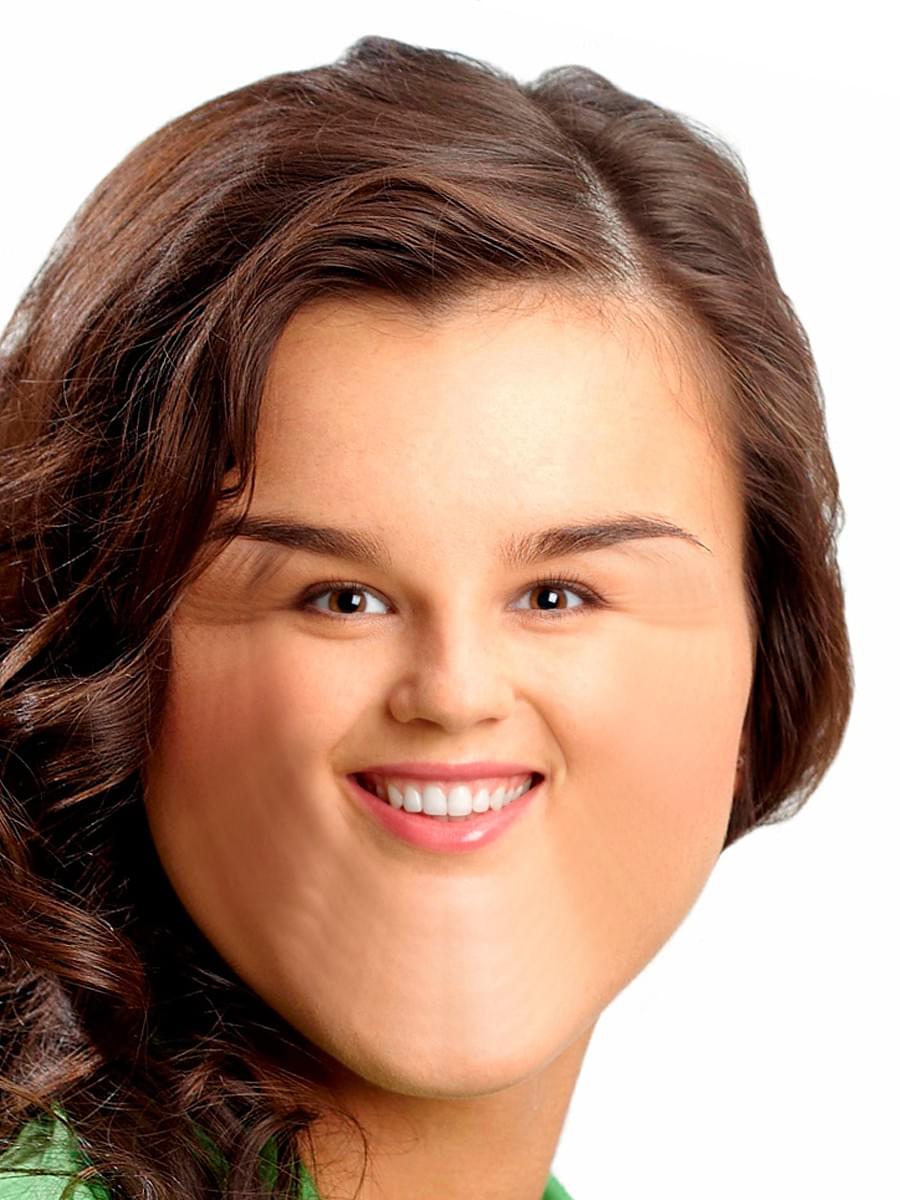

As you can see, dynamic face mask gave some positive effect to the final result.
Since there's nothing we can use to cover hair on the top layer with small face, you can try to get rid of it on your own by changing values of Eroding width and Smooth radius for face mask on the layer with small face.
This template has also some shortcomings which are very hard to get rid of, and sometimes it is even impossible. They will be the most notable whet a user photo features:
- expression lines and wrinkles;
- hair, located very close to the face;
- facial hair;
- objects and hands near the face;
- pale skin/uneven skin tone;
- moles, pigment spots;
- other problems.

