Template Orientations
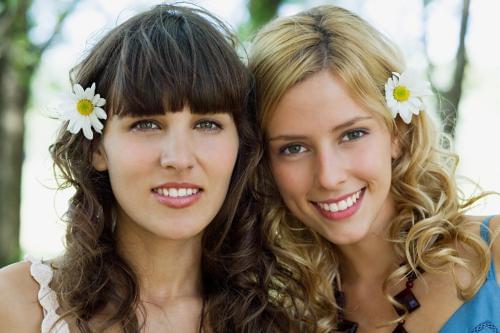
A user photo orientation is actually defined by its aspect ratio. In terms of the Template Creator, there are 3 types of user photos:
| Square photos - all sides are of the same length. | Landscape photos - horizontally oriented images (with a longer horizontal side). | Portrait photos - vertically oriented images (with a longer vertical side). |
|---|---|---|
 |
 |
 |
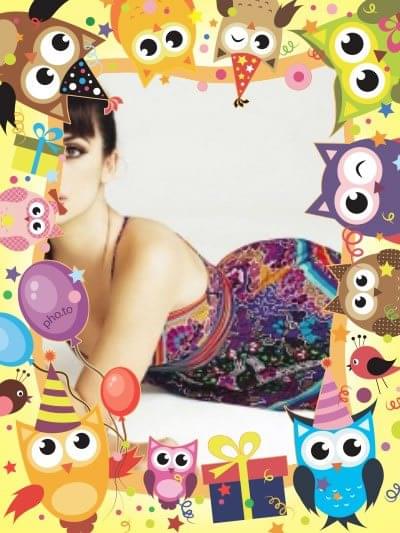
When designing your templates you have to bear in mind that user photos can have different orientations. E.g., if a template is designed to insert only vertically oriented photos, the result may be unsatisfactory in case a photo with a different orientation is processed with this template.
| Portrait (vertically oriented) photo: result of processing | Landscape (horizontally oriented) photo: result of processing |
|---|---|
 |
 |
When designing your templates you have to bear in mind that user photos can have different orientations. E.g., if a template is designed to insert only vertically oriented photos, the result may be unsatisfactory in case a photo with a different orientation is processed with this template.
In some cases it is necessary to create several template versions for all three possible orientations user photos may have. This means that each template version will have different graphic layers, user photo regions, etc, that will suit each particular user photo orientation. The Template Creator allows you to do it easily and conveniently.
There are different ways to organize template orientations in PSD files.
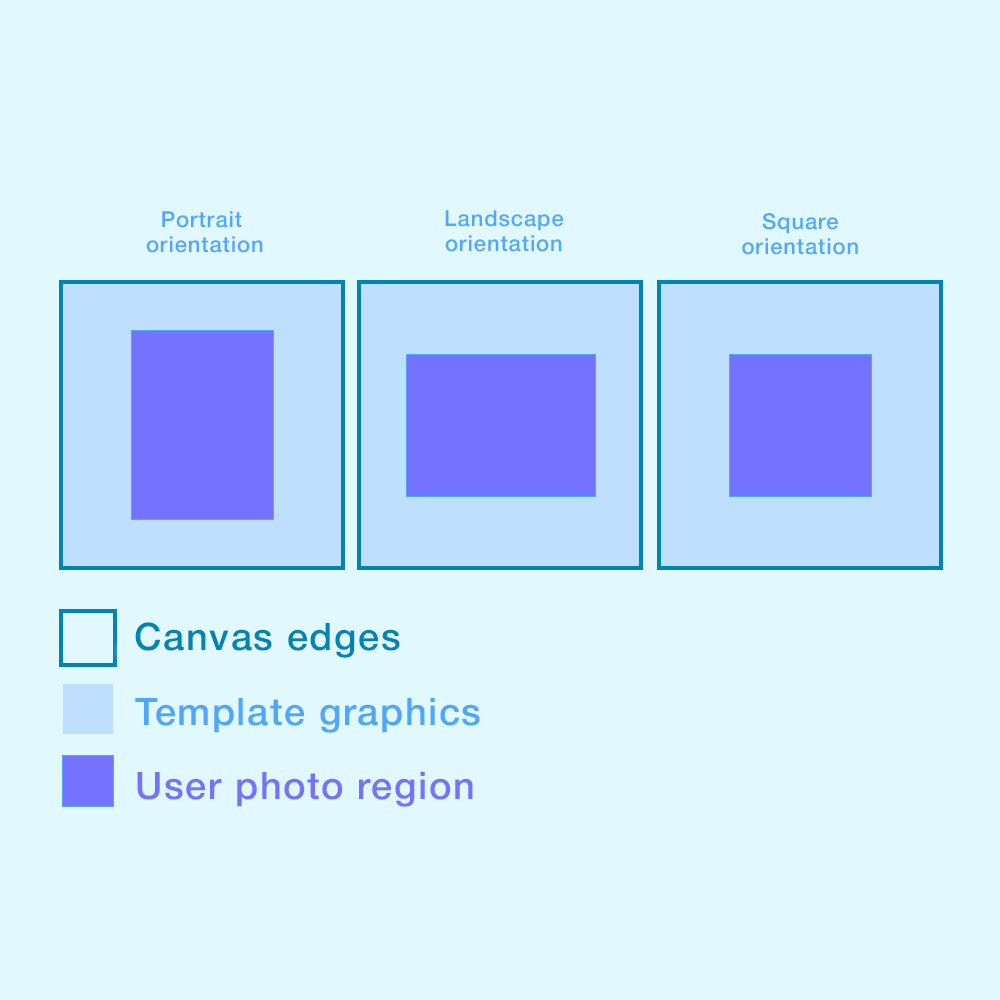
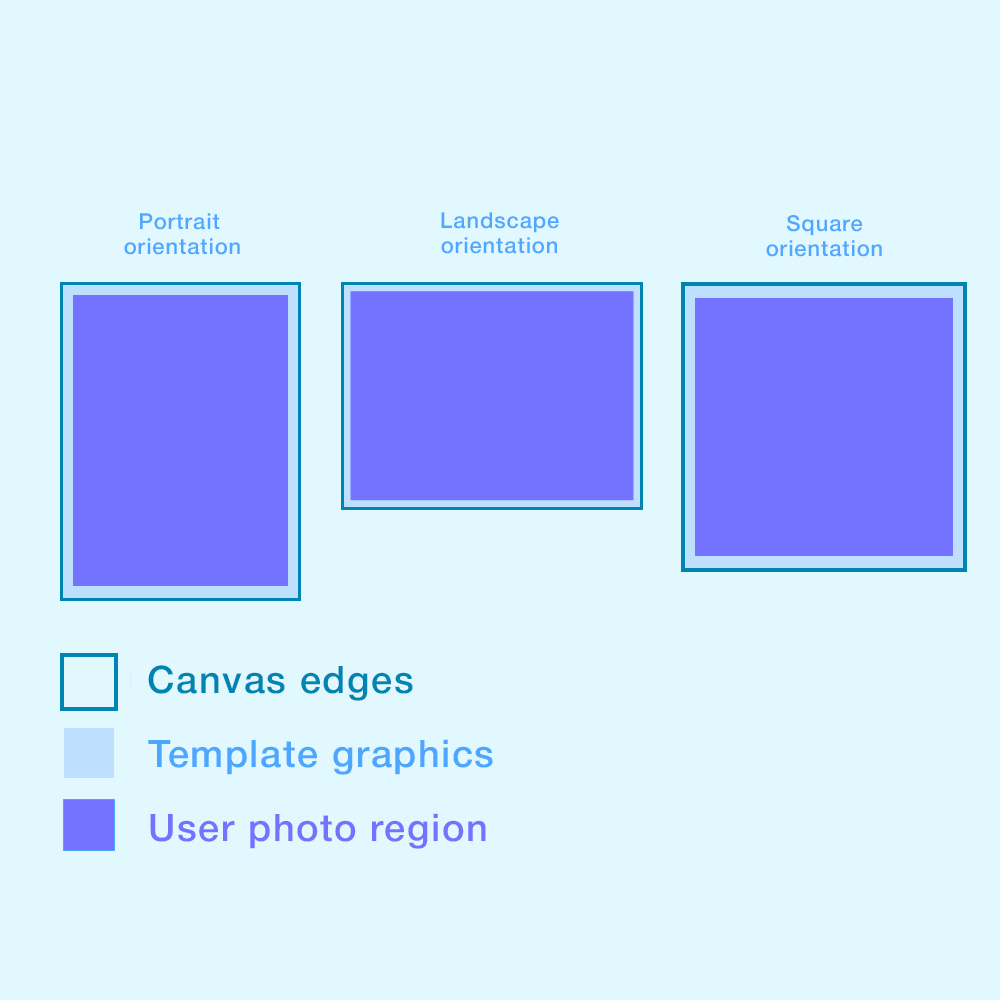
The contents of all template orientations can be stored in one PSD document; or, vice versa, each template orientation can be stored in a separate PSD document. The reason why you may need to store template orientations in different PSD documents is because in some templates you have to use different canvas sizes for each of the orientations (see the scheme below).
| Canvas sizes are the same | Different canvas sizes |
|---|---|
 |
 |
You can specify template orientations when creating a project. Moreover, you can add or remove orientations at any moment while working with the template. Click here for more information.
There is another thing that is closely related to template orientations - photo insertion modes. They also affect how a user photo is displayed in a template due to cropping and other parameters. Learn more about insertion modes here.
Different orientations support
Sometimes template orientations have different canvas proportions. For example, you may need to create a 1000 x 2000 px canvas for the Portrait orientation and a 2000 x 1000 px canvas for the Landscape orientation. You cannot do this inside one PSD document.
However, you can store each orientation in a separate PSD document, where you can set a suitable canvas size for a particular orientation. See the video tutorial on how to create a template with different orientations stored in different PSD documents.
You can also download a template including several PSD documents with different orientations to see its structure.
Duplicating template orientations
The Template Creator allows you to add additional orientations into your template by copying existing orientations. E.g. if your template includes only one orientation at the moment, you can use it later as a prototype for other orientations of this template.
Splitting orientations into separate PSD documents
If a template has several orientations inside one PSD document, sometimes it is necessary to split them into separate PSD documents. The Template Creator lets you do that easily.
- Select Template > Split into Separate Documents in the Template Creator menu.
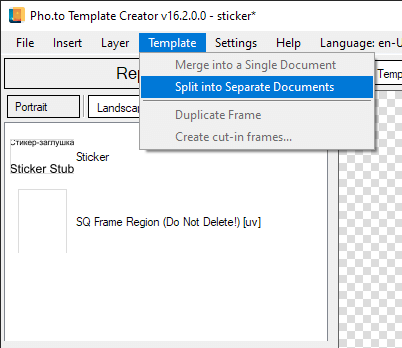
- The Split Orientations window will appear. In this window you can change the paths for your orientations, but in most cases it is not necessary.
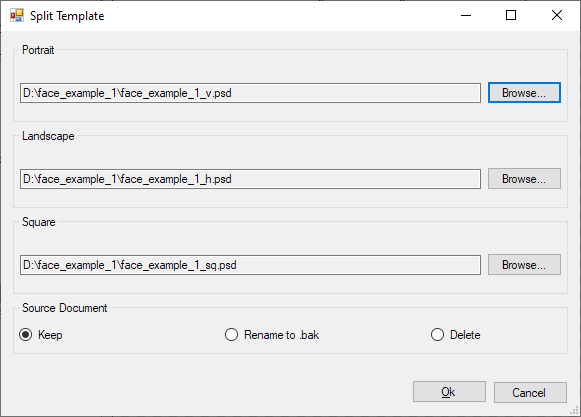
Click the OK button, and the Template Creator will split the original PSD document into several separate PSD documents with different orientations (click OK in pop-up windows in Photoshop while it creates new documents). The original PSD document can be removed manually.
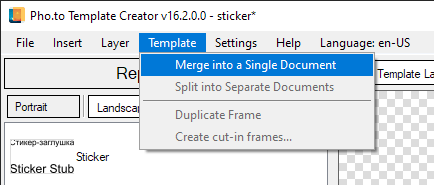
Merging PSD documents with different orientations into a single PSD document
Sometimes, when you work with a template supporting different orientations, you may create a separate PSD document for each of them. If later it becomes clear that you find it more convenient to keep all orientations inside one PSD document, you can use the Template Creator to combine your PSD documents with different orientations into a single PSD document. To do so, select Template menu > Merge into a Single Document.
The “Merge documents” dialog allows you to specify the canvas size for a new PSD document as well as tell the Template Creator what to do with the original PSD documents.
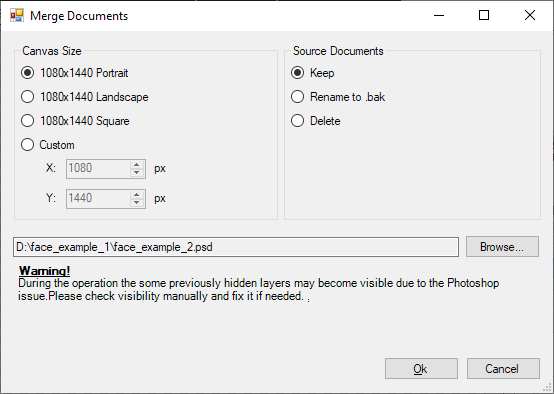
In case you are going to merge PSD documents with different canvas sizes, the Template Creator will warn you about that.
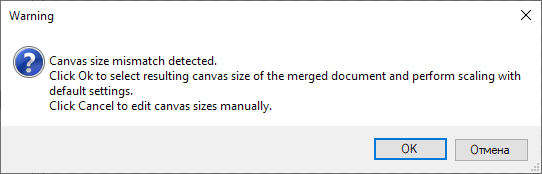
When you click OK in this warning box, the Merge documents dialog will open, where you will need to specify the reference canvas size for a new document. If you click Cancel in the warning box, the merging process will be discontinued to let you adjust the canvas sizes manually.