Template Creator interface
Template Creator interface
This is the Template Creator main window:
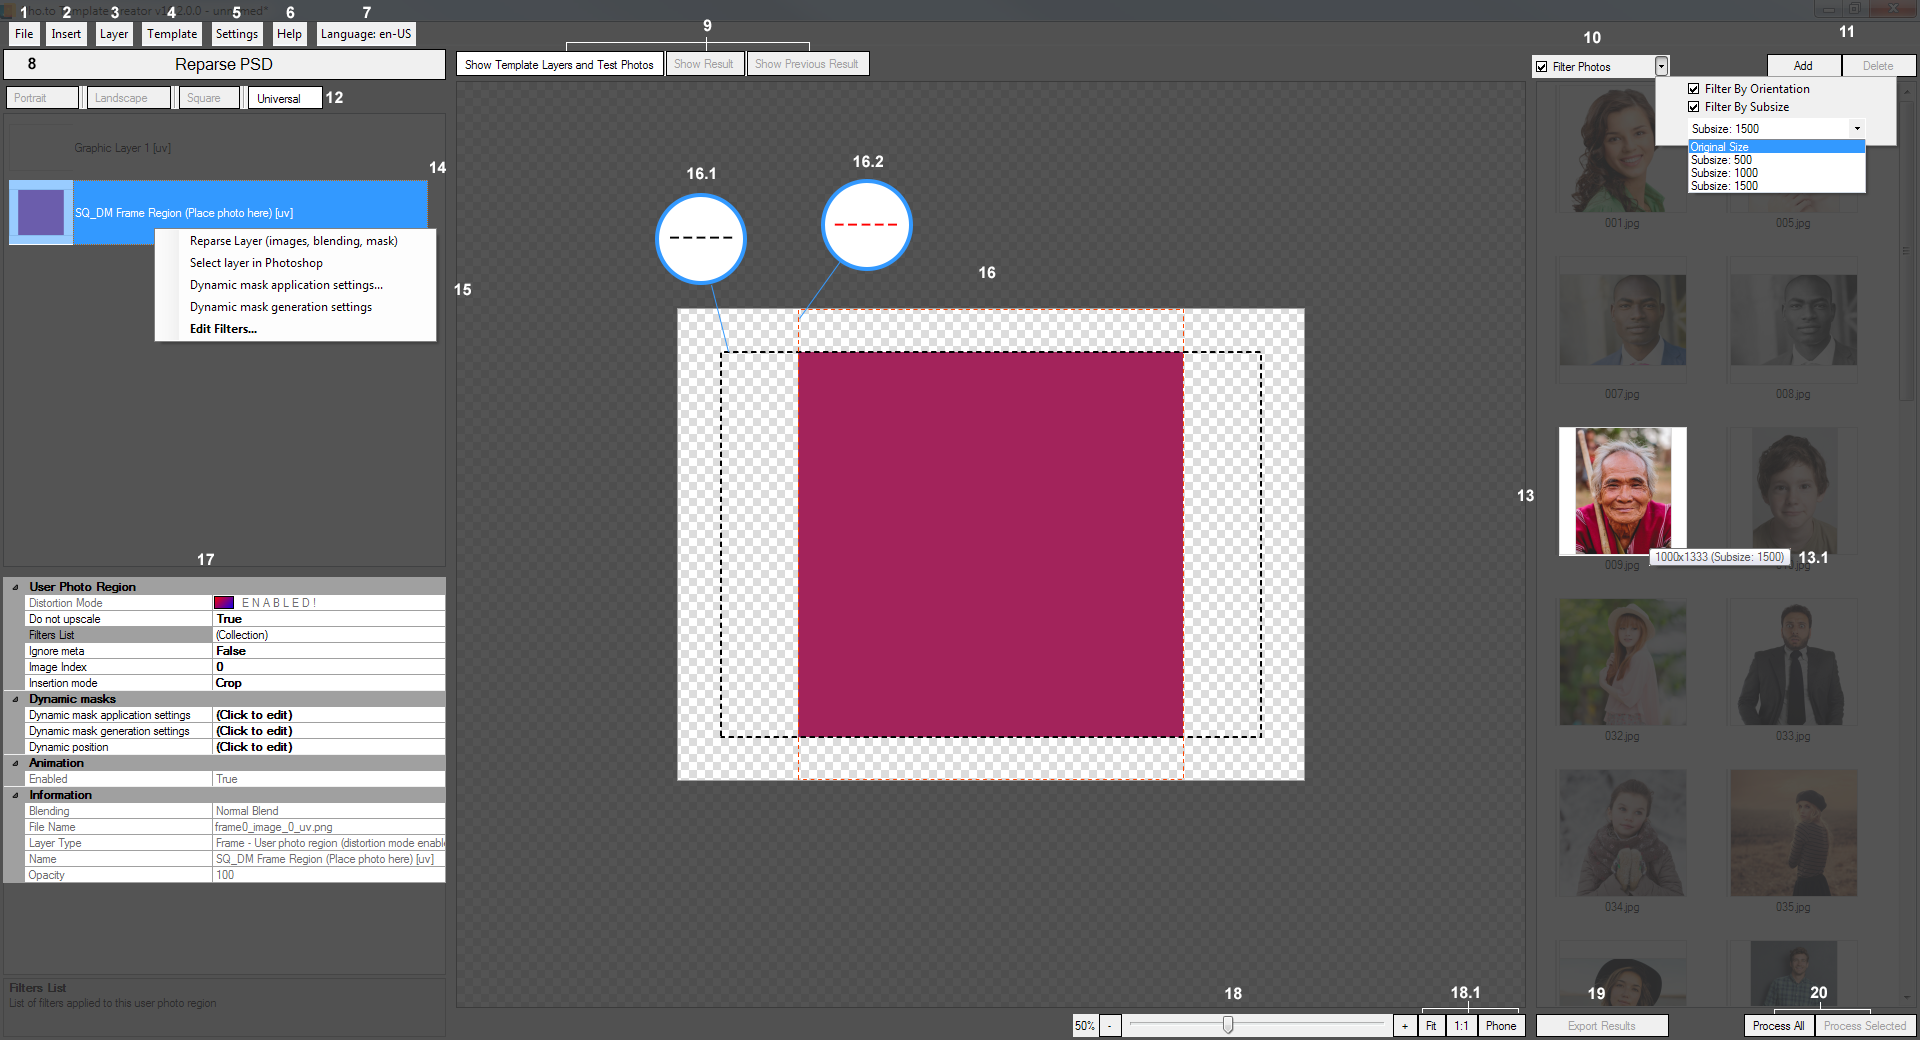
User interface elements of the Template Creator:
- The menu allows you to perform main operations with the template project.
- The menu allows you to insert layers, stickers, template orientations, etc.
- The menu allows you to reparse a layer, enable or disable Distortion Mode, work with filters, dynamic masks,dynamic position, change user photo region type while preserving all the settings.
- The menu lets you split template orientations/merge them into a single Photoshop document (PSD).It also enables you to work with frames when the animation mode is on.
- The menu allows you to enable/disable the local processing mode, as well as edit settings.
- The menu lets you open online help on the website dedicated to the Template Creator, download an additional set of test photos and see information about your version of the Template Creator
- The menu lets you toggle the interface language (English / Russian).
- A click on the button reparses the PSD related to the current project.
- The buttons let you switch between the modes that display template layers, the result of the last processing operation and the result of the previous operation to compare the results.
You can also switch between the results of processing by pressing the Ctrl button while clicking on a processed image.
- The checkbox lets you filter test images by their orientation and/or subsize. To specify how exactly you want to filter photos, open the drop-down menu by clicking the small arrow on the right.
- The buttons let you edit the list of available test photos.
- The buttons allow you to display the layers contained in a selected template orientation.
- Test photo
- A hint showing the actual size of a photo as well as the sub-size that will be used when the photo is processed (if the template uses sub-size).
- A template layer (in this particular case, it is a frame region).
- Layer context menu. This menu can look different depending on a layer type.
- The preview picture of a selected layer / test photo/ result of processing.
- The black dotted frame indicates the border of a template canvas.
- The red dotted frame indicates the border of the user photo region.
- The list of parameters of a selected layer.
- Preview image zoom scale.
- Zoom buttons: — fit a preview picture to the window by its longer side, — display a preview picture in its actual size (100%), — scale a preview picture down to a mobile phone screen size.
- — export results of processing by the current template into a specified folder.
- — buttons used to process all or only selected test photos.
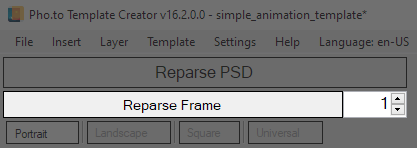
When the animation mode is on, several important control elements are added into the user interface. First of all, you will find the Reparse Frame button on the main screen, as well as the field where you specify its number.
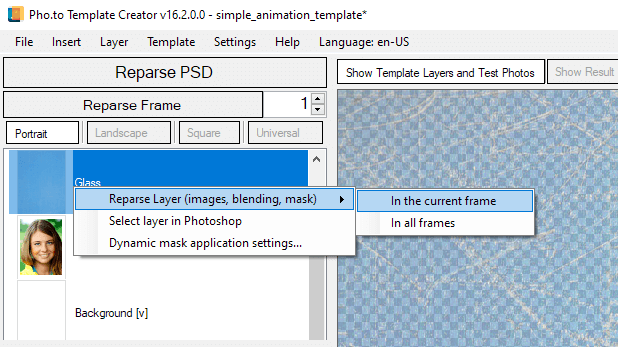
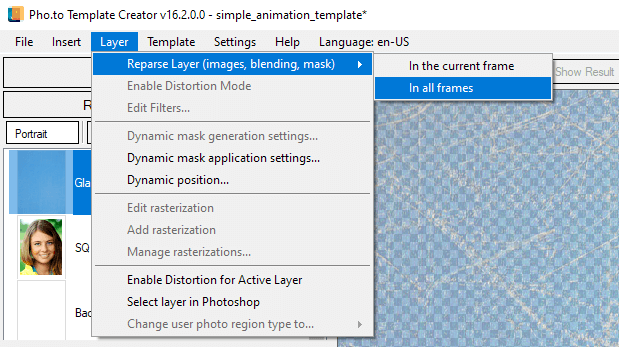
Further on, there is an option to reparse each layer either in the current frame, or in all frames. You can do so in two ways:
- via the layer context menu,
- via the Layer menu > Reparse Layer (...).
The settings window consists of several panels; each panel contains differently targeted settings.
- :
- — this option makes it possible to accelerate the PSD reparsing process on some computers. If this option is enabled, the Template Creator scales a Photoshop document (PSD) down to the minimum during reparsing. When reparsing is finished, the PSD is returned to its original scale.
- — this option allows you to automatically scale any preview picture (a layer, a test photo or a processing result) when switching them over, to scale it down to a mobile phone screen size or to make it fit the preview area of the Template Creator. To take advantage of the
Fix zoom mode, check this option box, then go to the Template Creator main window and click
or in the preview area.
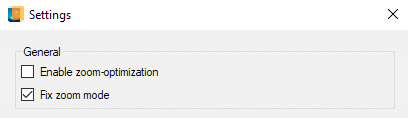
Fixing zoom mode in the settings window 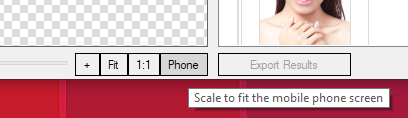
Setting a scaling preset
- :
In this settings panel, you can specify how many parallel processings of test photos the Template Creator will perform. The number of parallel processings, in its turn, can affect the processing speed of a large number of test photos. If you have a high-power computer, you can check the option and increase the value (which, by default, is the same as the CPU cores number). If your computer is low-power, you can select this option and, on the contrary, decrease the default value. However, the option (which is set by default) suits most computers perfectly.
- :
Remote processing settings let you set timeouts for different operations.
Timeout in this case is time allowed for performing a certain operation. After the specified timeout expires, the operation is aborted. If the Internet connection speed is low, you may increase timeouts for these operations.
The parameter appears in two cases:
- — it is the timeout for uploading a test photo.
- — it is the timeout for uploading an intermediary result to S3 when working with neurofilters / extracting figures / building dynamic masks, etc.
So, if you often get the following error: НError uploading to S3, it might be helpful to adjust this parameter.
The default timeout for each operation is 7 minutes, which is sufficient in most cases. - :
- :
- Use this option to switch between the production server and the test server. The test server is intended for beta testing of features that are in development. Templates created on the production server and processed on a test server can produce a result different from expected. And vice versa: if a template was created on a test server, it should not be processed on the production server. The test server URL can be obtained directly from the developers.