Step-by-step examples of creating filter templates
Creating a basic filter template with one user photo region
Let’s create a basic filter template that will apply a similar effect to user photos:
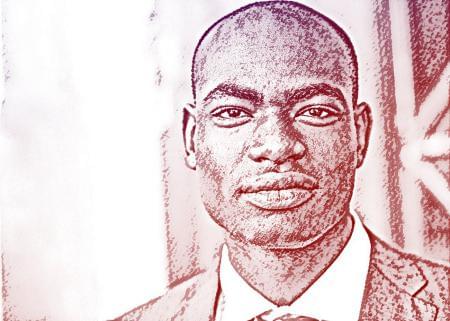
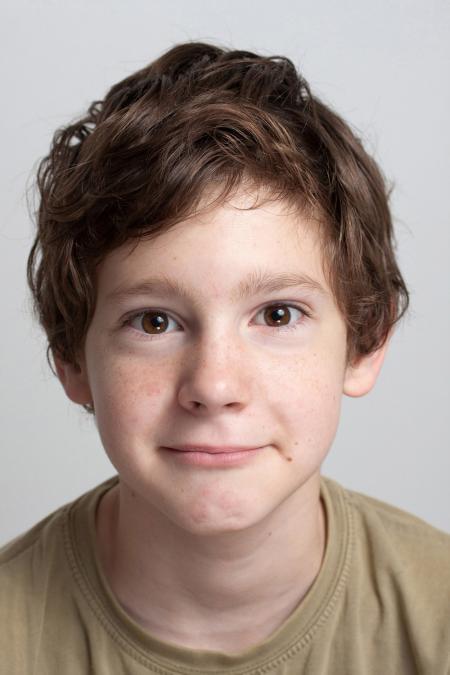
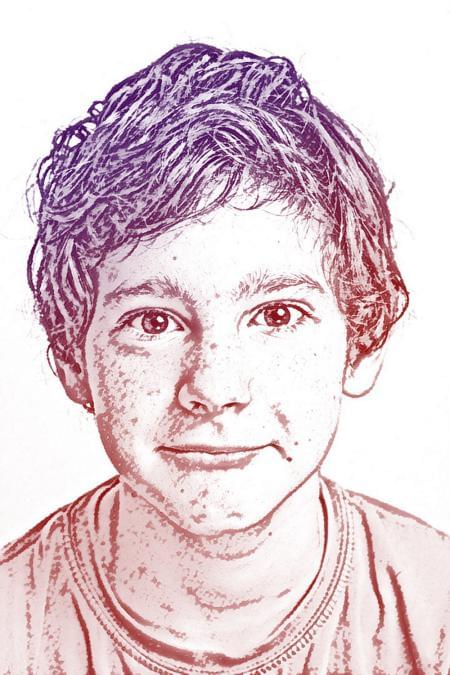
| Original photo | Photo processed with a filter template |
|---|---|
Judging by the sample pictures above, this effect can be achieved by first turning a photo to black and white with the Desaturation filter, then adding a Neural filter to it and finally adding a semi-transparent graphic layer with a blending mode.
| Original photo | Desaturation filter | Neural filter | Layer with a blending mode |
|---|---|---|---|
The project with the resulting template can be downloaded here.
Below is a step-by-step guide on how to create a filter template.
Step # 1
Open the Template Creator. Select File menu > Create Project.
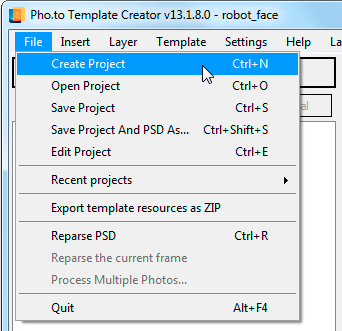
A New Project window will open. Select the Filter template type. As this template does not use any specifiс graphics that depends on a user photo orientation, select Universal Orientation.
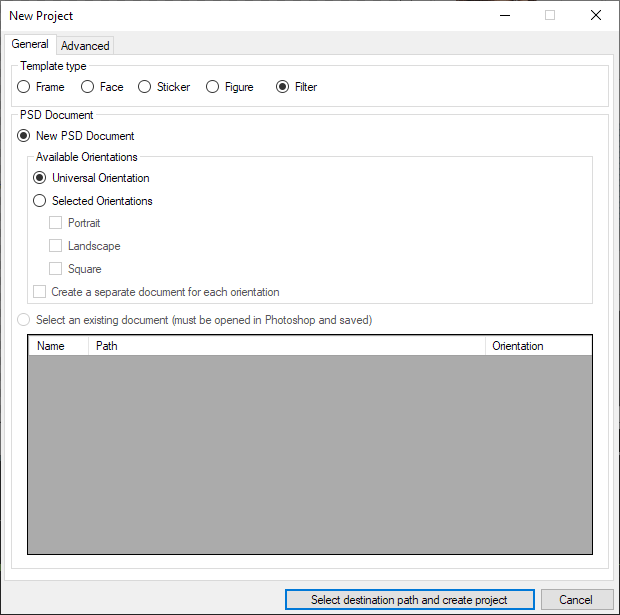
Select where to save your project and wait while the Template Creator generates a PSD document.
Step # 2
Now go to Photoshop and have a look at the PSD document. Its structure is simple and only contains one user photo region.
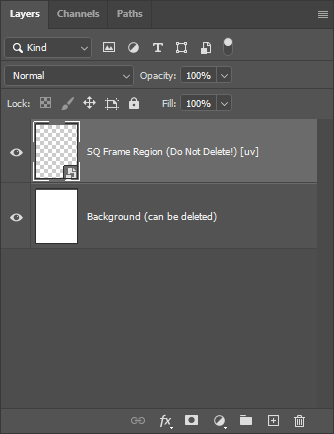
The current template structure lacks a graphic layer group that should contain filter graphics. We’re going to create the template step by step, so we’ll add this graphic layer later, when we need it.
Step # 3
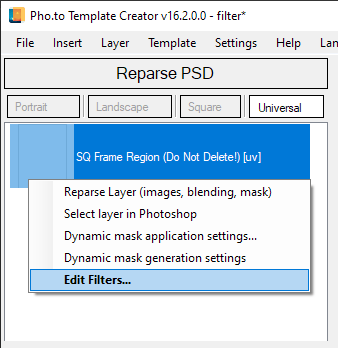
Reparse the PSD document and open the ‘Filter settings for user photo region’ dialog (to open the dialog, use one of these methods).
In the filter settings dialog, first add the Desaturation filter to the current user photo region.
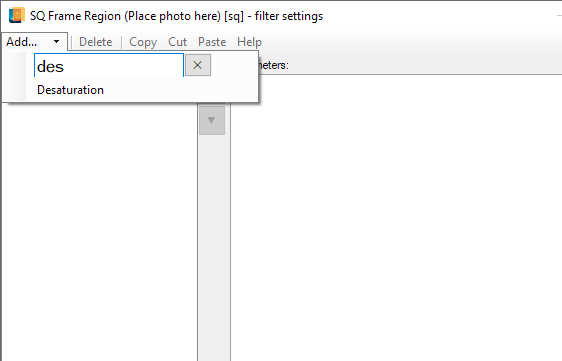
If you have never worked with filters in the Template Creator, you can confirm your changes and have a look at the intermediate result after processing a test photo. You should get a result like this:
| Original photo | Desaturation filter |
|---|---|
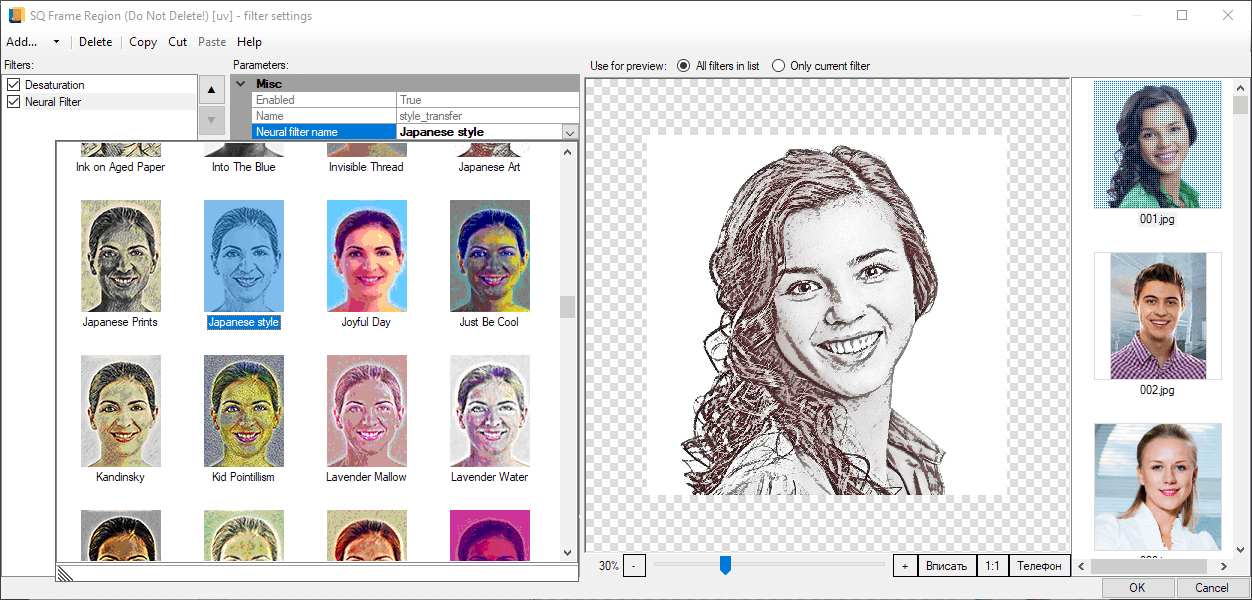
Then go back to the filters dialog and add Neural filter to the user photo region. Go to the Neural filter nam parameter and select Japanese style.
Click OK to confirm changes in this dialog and process a test photo to have a look at the preliminary result.
Finally, add a graphic layer with a blending mode to complete the design. To add a graphic layer into the PSD document, select Insert -> Graphic layer in the menu or use the Ctrl+Shift+L key combination.
Step # 4
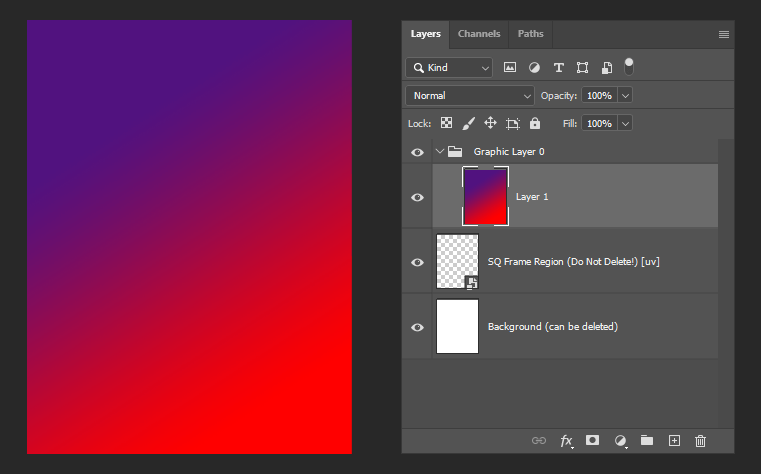
Go to the PSD document and add a new layer with a gradient into a new graphic layer subgroup. Fill the layer with a gradient like shown below:
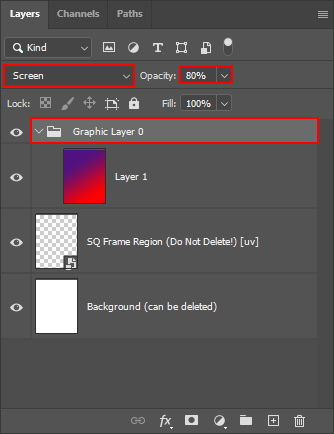
Apply the Screen blending mode to the graphic layer subgroup and set the opacity to 80%.
Then, go back to the Template Creator and reparse the PSD document. After this the new layer will be displayed in the Template Creator.
Step # 5
Process several test photos to evaluate the resulting effect.
An example of processing a landscape oriented photo
| Original photo | Result of processing |
|---|---|
An example of processing a portrait oriented photo
| Original photo | Result of processing |
|---|---|
An example of processing a square oriented photo
| Original photo | Result of processing |
|---|---|
The project with the resulting template can be downloaded here.


